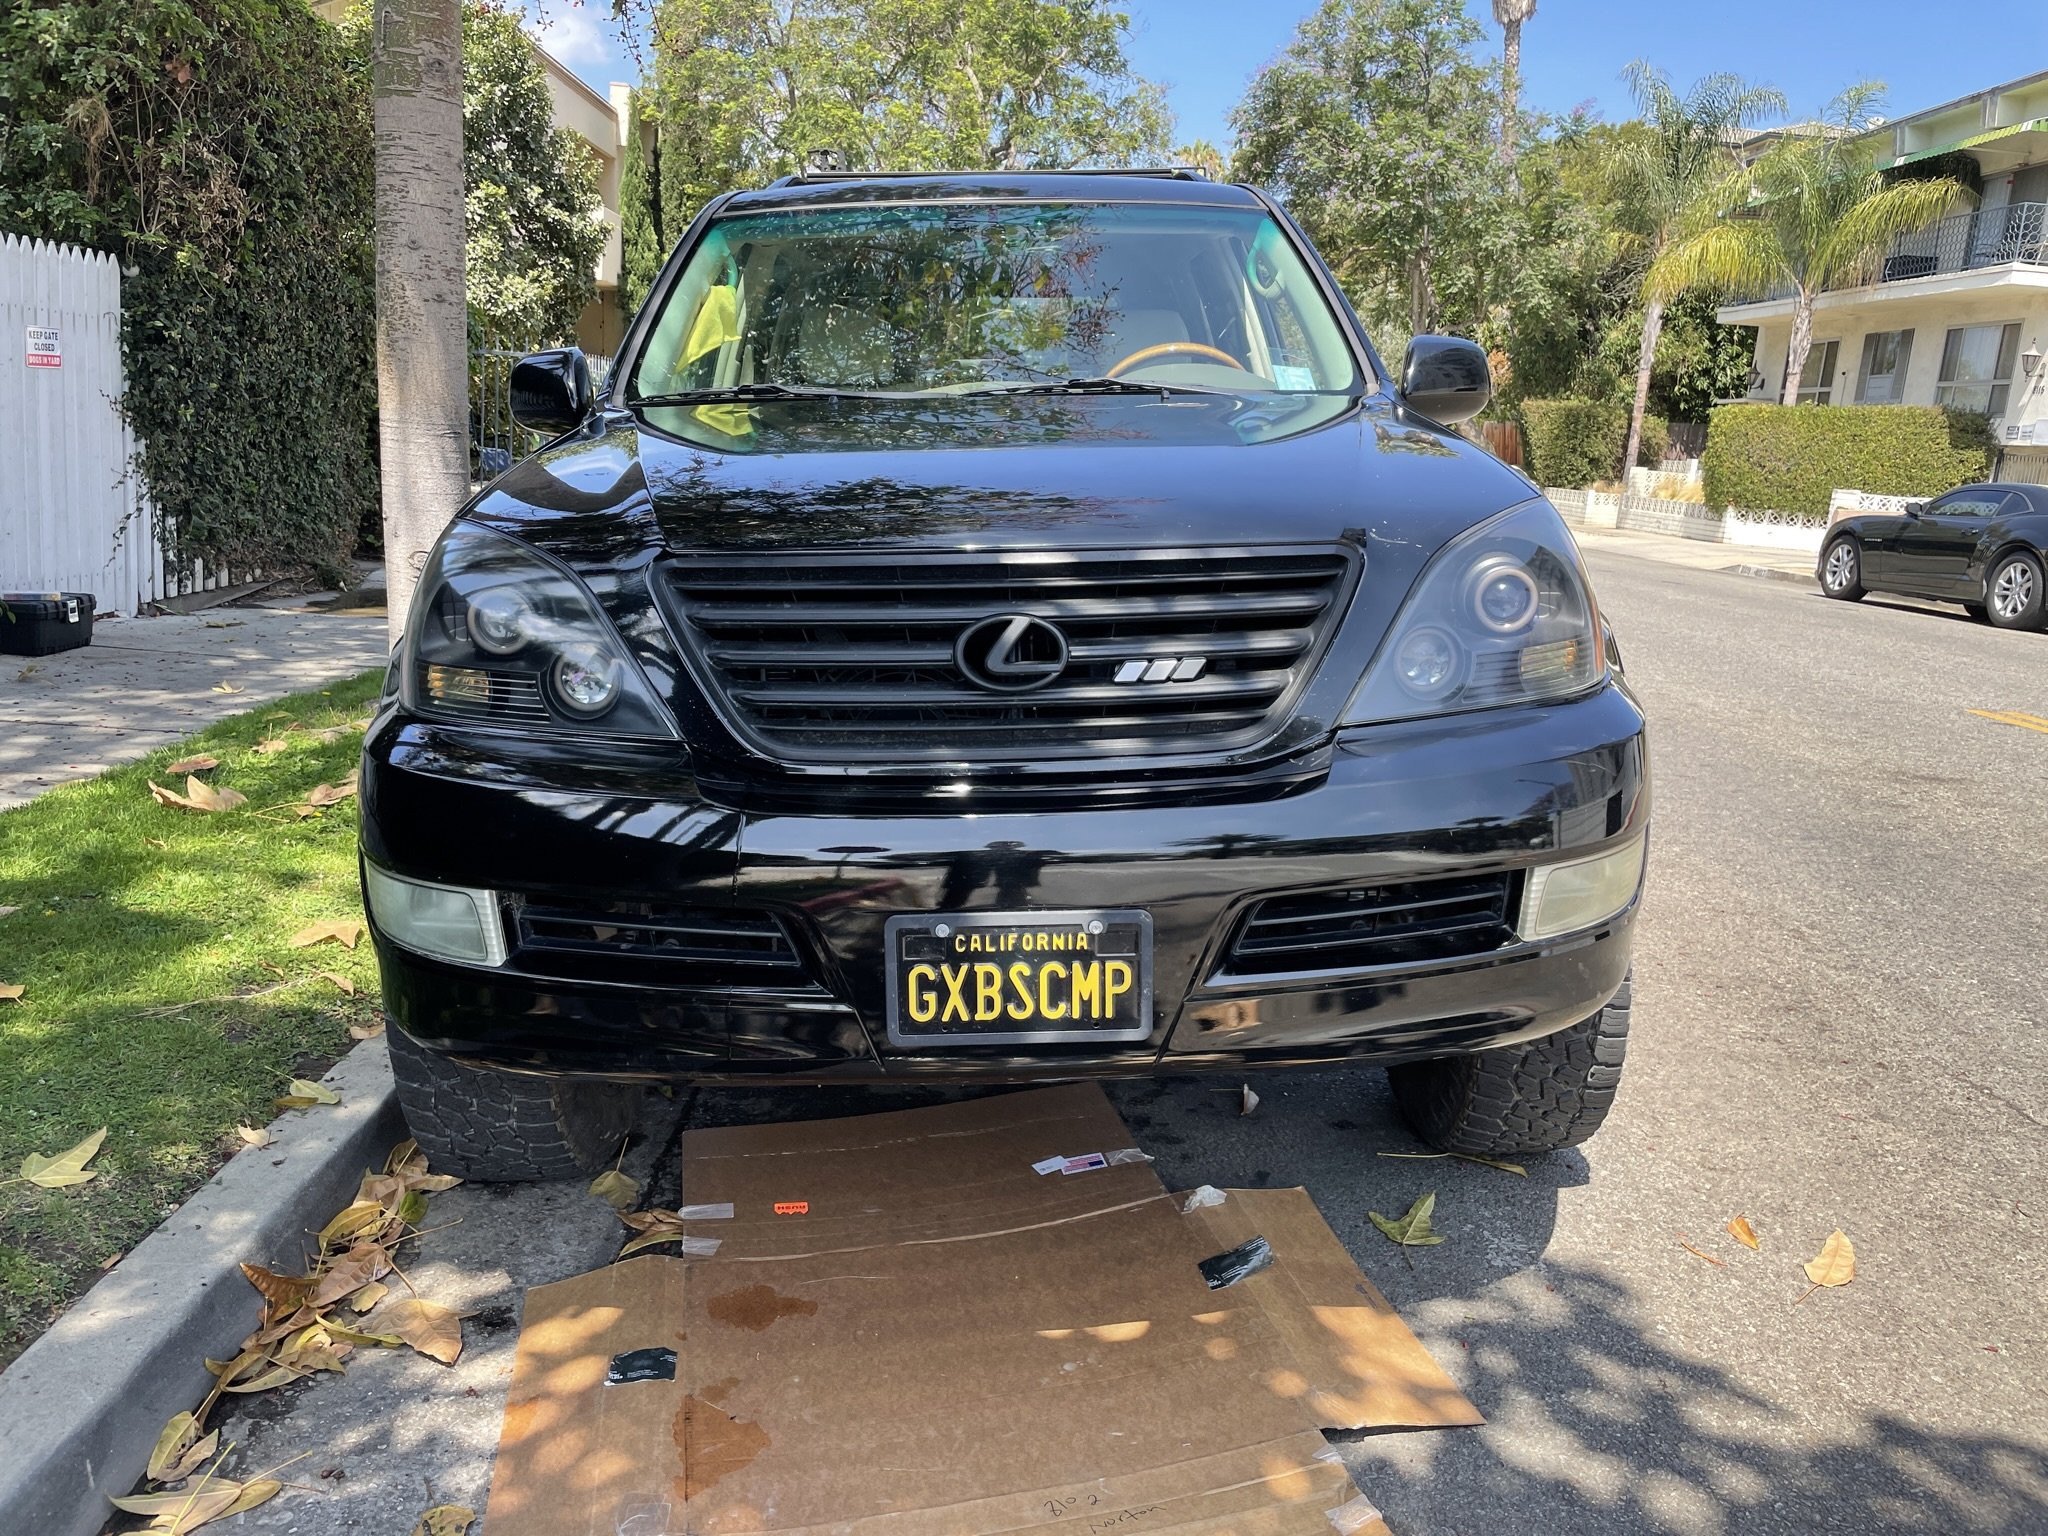
If your nearly-20 year old GX is anything like ours, your headlights are looking a little worse for wear and — let’s be honest — dated. The more “all black everything” ours gets, the more they stand out like a sore thumb. So we decided to do something about it with a headlight paint job and refinish. We were lucky enough to score a set of reasonably priced OEM headlights from someone who recently upgraded ($80 FTW!) so we can take our time with the refinish without taking our daily driver out of commission.
First things first…
Decide what you want to do with your headlights once you’ve taken them apart. If you want to keep it as cheap as possible (say in the $50 range), you can refinish the lenses, paint the reflectors, and call it a day. From there, the sky is the limit up to about $1500 (which is roughly what a fully decked out set of bi-xenon retrofitted headlights with halos, demon eyes, blah blah blah will run you from folks like BX Built or TEQ Customs. If you want to DIY a bi-xenon retrofit, you’re probably in to the tune of $800 or so (depending on what you choose). There’s a ton of information out there about what projectors to choose, what bulbs, etc.
Since we’re not quite ready to drop $800 on our mild headlight rebuild, we’re going to stick with some upgraded bulbs, added halos, and painted reflectors. And because we’re working on a spare set of headlights, we’re going to take it slowly and methodically (which basically means that we hadn’t even ordered parts yet when we took apart the headlight housings. If you’re looking for a pretty easy-to-follow video on the process, check out this one from mykeesgx on YouTube.
Tools
The deeper you get into this process, the more stuff you need to make it happen. Here’s what we used:
-
Phillips head screwdriver for removing screws from the headlights housings
-
Trim Removal Tools to help separate the lens from the housing
-
An oven that your spouse won’t mind you creating headlight soufflé in, along with a baking sheet and some foil (to protect said baking sheet)
-
Gloves: You’ll want work gloves for prying the headlights apart as well as rubber gloves for dealing with chemicals
-
Varying grits of wet/dry sandpaper (we used 400, 800, 1500, and 3000). Get this pack from Amazon; it’s WAY cheaper than buying separate packs at the hardware store.
-
A spray bottle of water (for wet sanding)
-
Rubbing alcohol for cleaning the oils off the lenses before you spray them
-
1 can of UV resistant clear gloss spray paint (See caveat below.)
-
paper towels
If you’re installing halos, you’ll need:
-
A drill with a 1-2mm drill bit and a larger bit
-
A dremel to notch the reflectors (for feeding the halo pigtails to the back
-
A can of compressed air (like for computer cleaning)
-
Side cutters (optional; could use the dremel)
-
Needle nose pliers (optional, but helpful)
Separating your Headlights…
Step 1:
Remove all of the bulbs from your headlight housings. Next, remove the four phillips head screws from the back of each headlight:

Step 2:
Preheat the oven to 200°. (Depending where you look, some folks recommend 225°. I’d rather be safe than sorry.) Once the oven is warmed up, pop a headlight in for 15 minutes. When the timer dings, pull on your gloves, take your headlight out and find a good workspace.
Step 3:
Beginning at the pointy end (the corner of the headlight that sits nearest the grill), use your trim removal tools to pry between the clear lens and the black housing. Be sure to unclip the tabs around the edge as you go. Work your way around the outside perimeter of the headlight, prying carefully. There’s black sealant that you need to break through; if the sealant isn’t soft enough yet then reheat the headlight for a few minutes.
Best advice for this step: work carefully and methodically. Reheat as needed to soften the sealent.
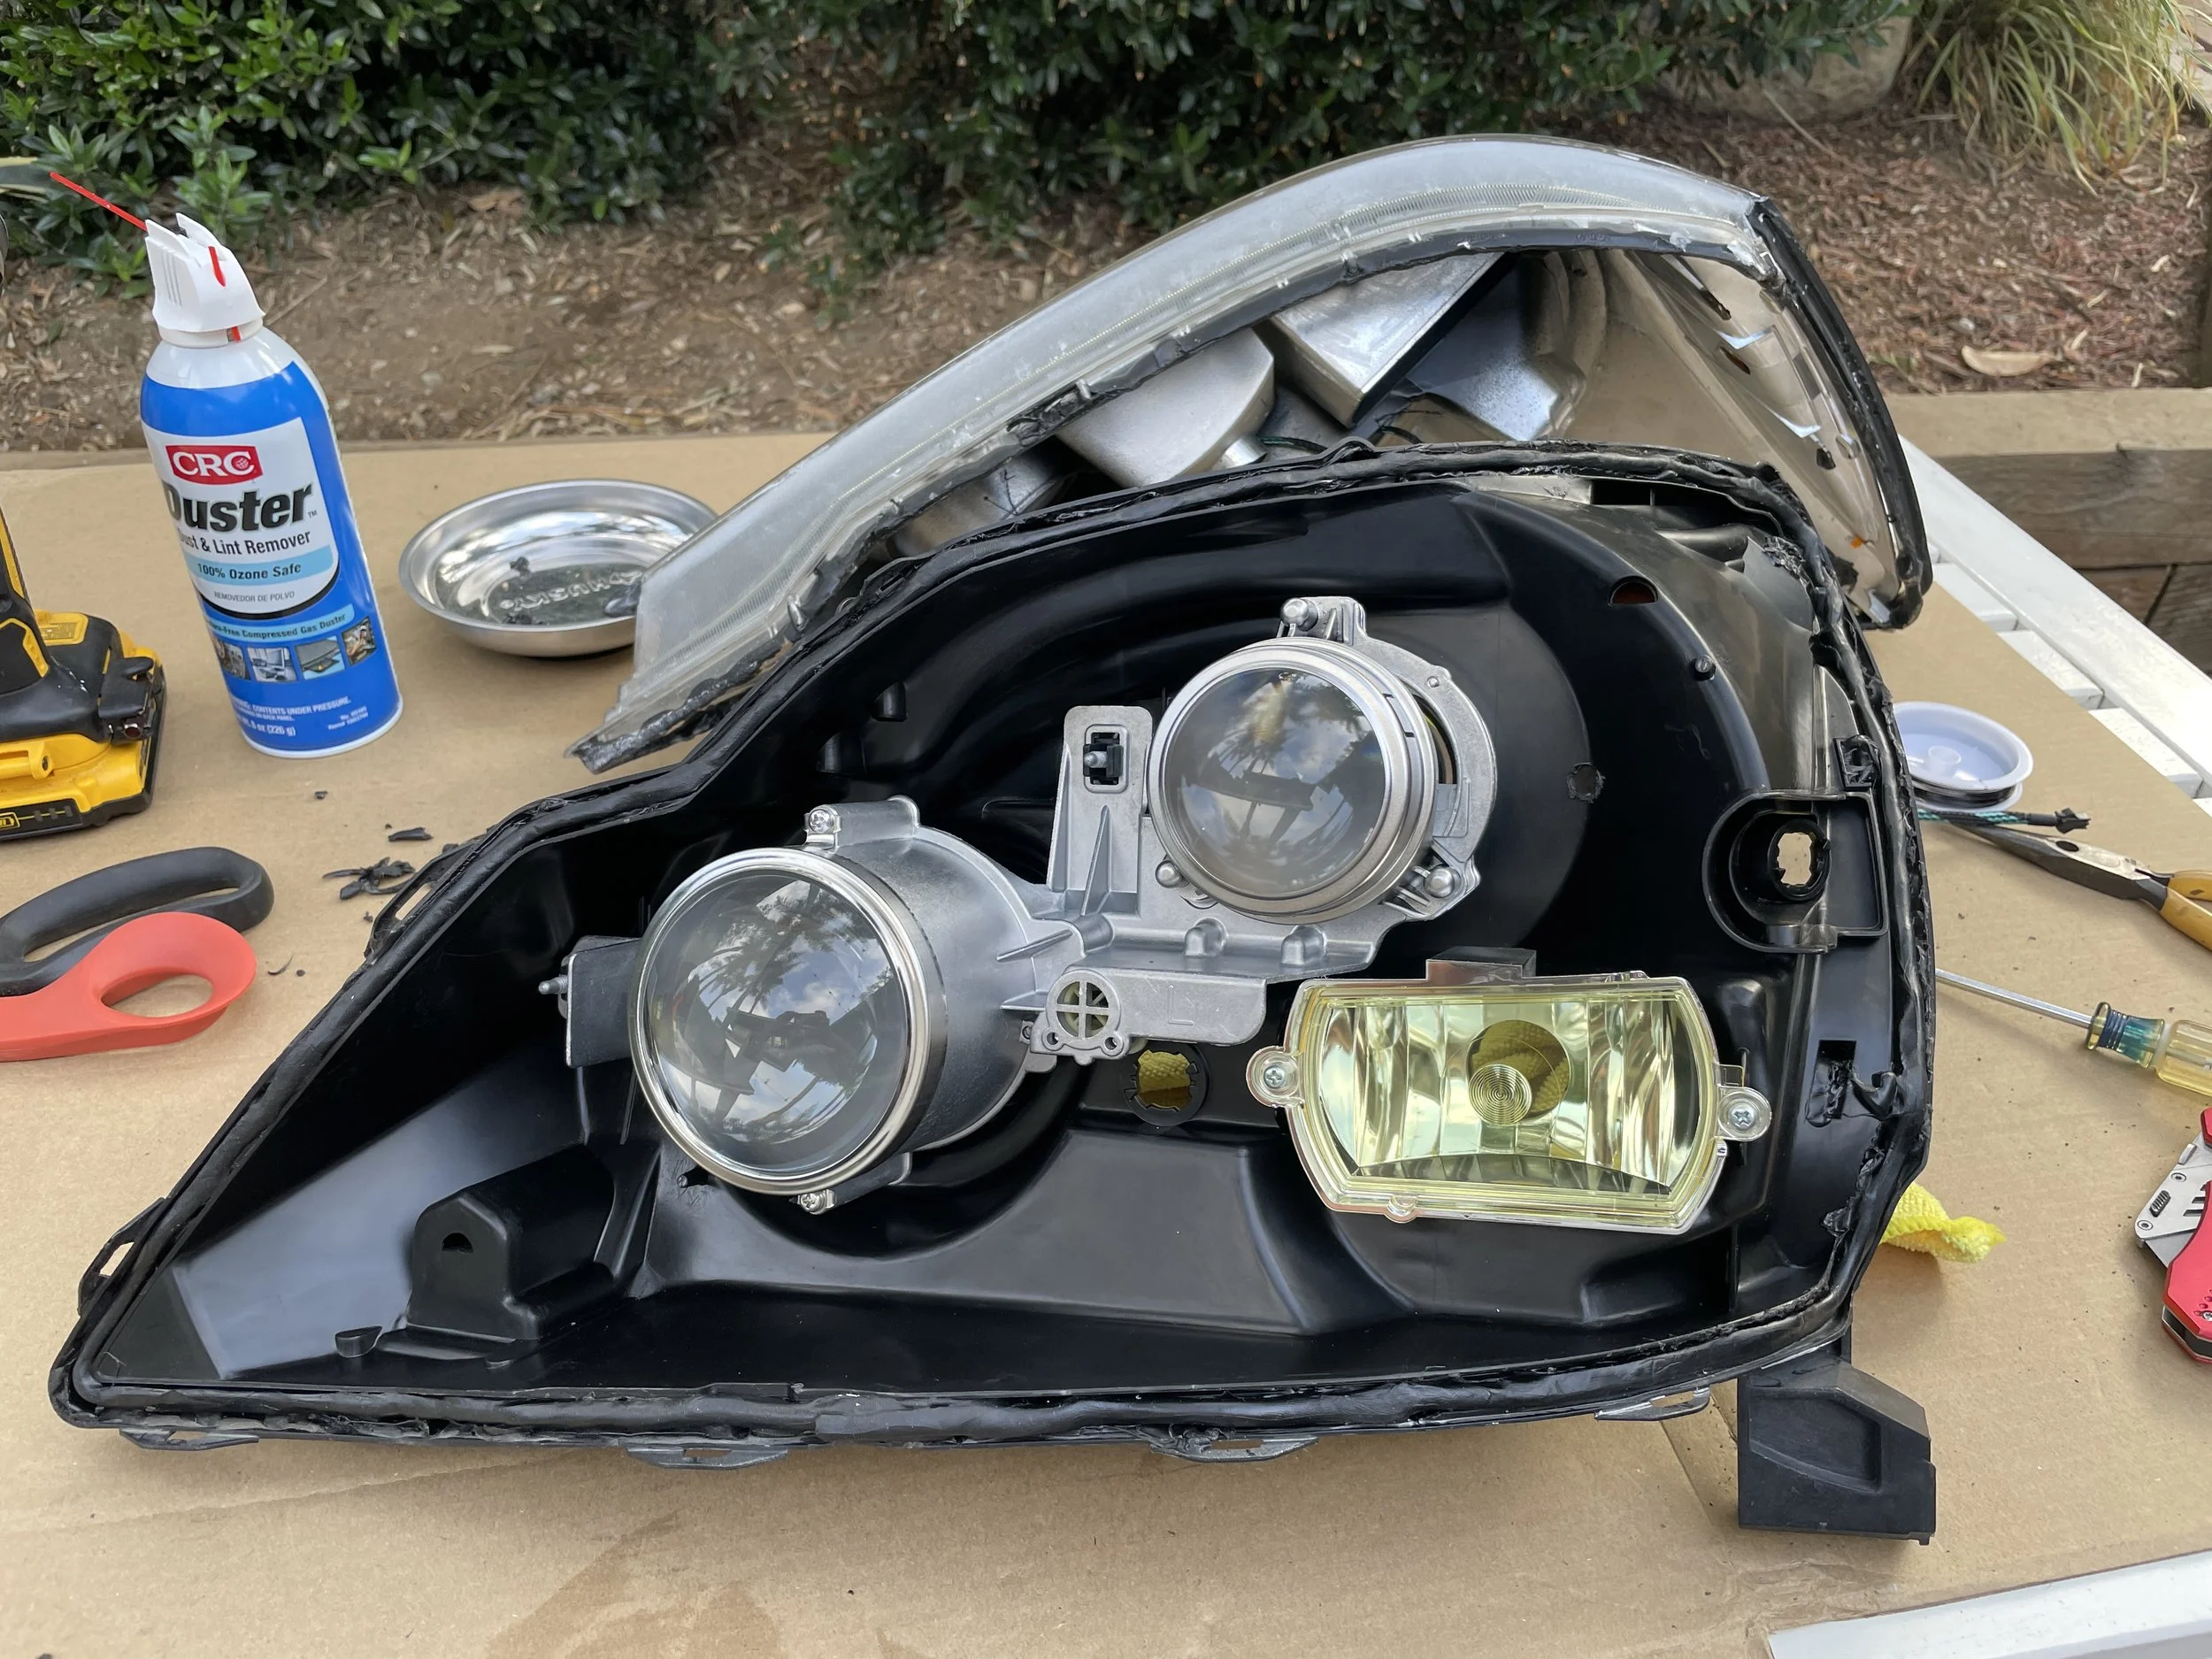
Step 4:
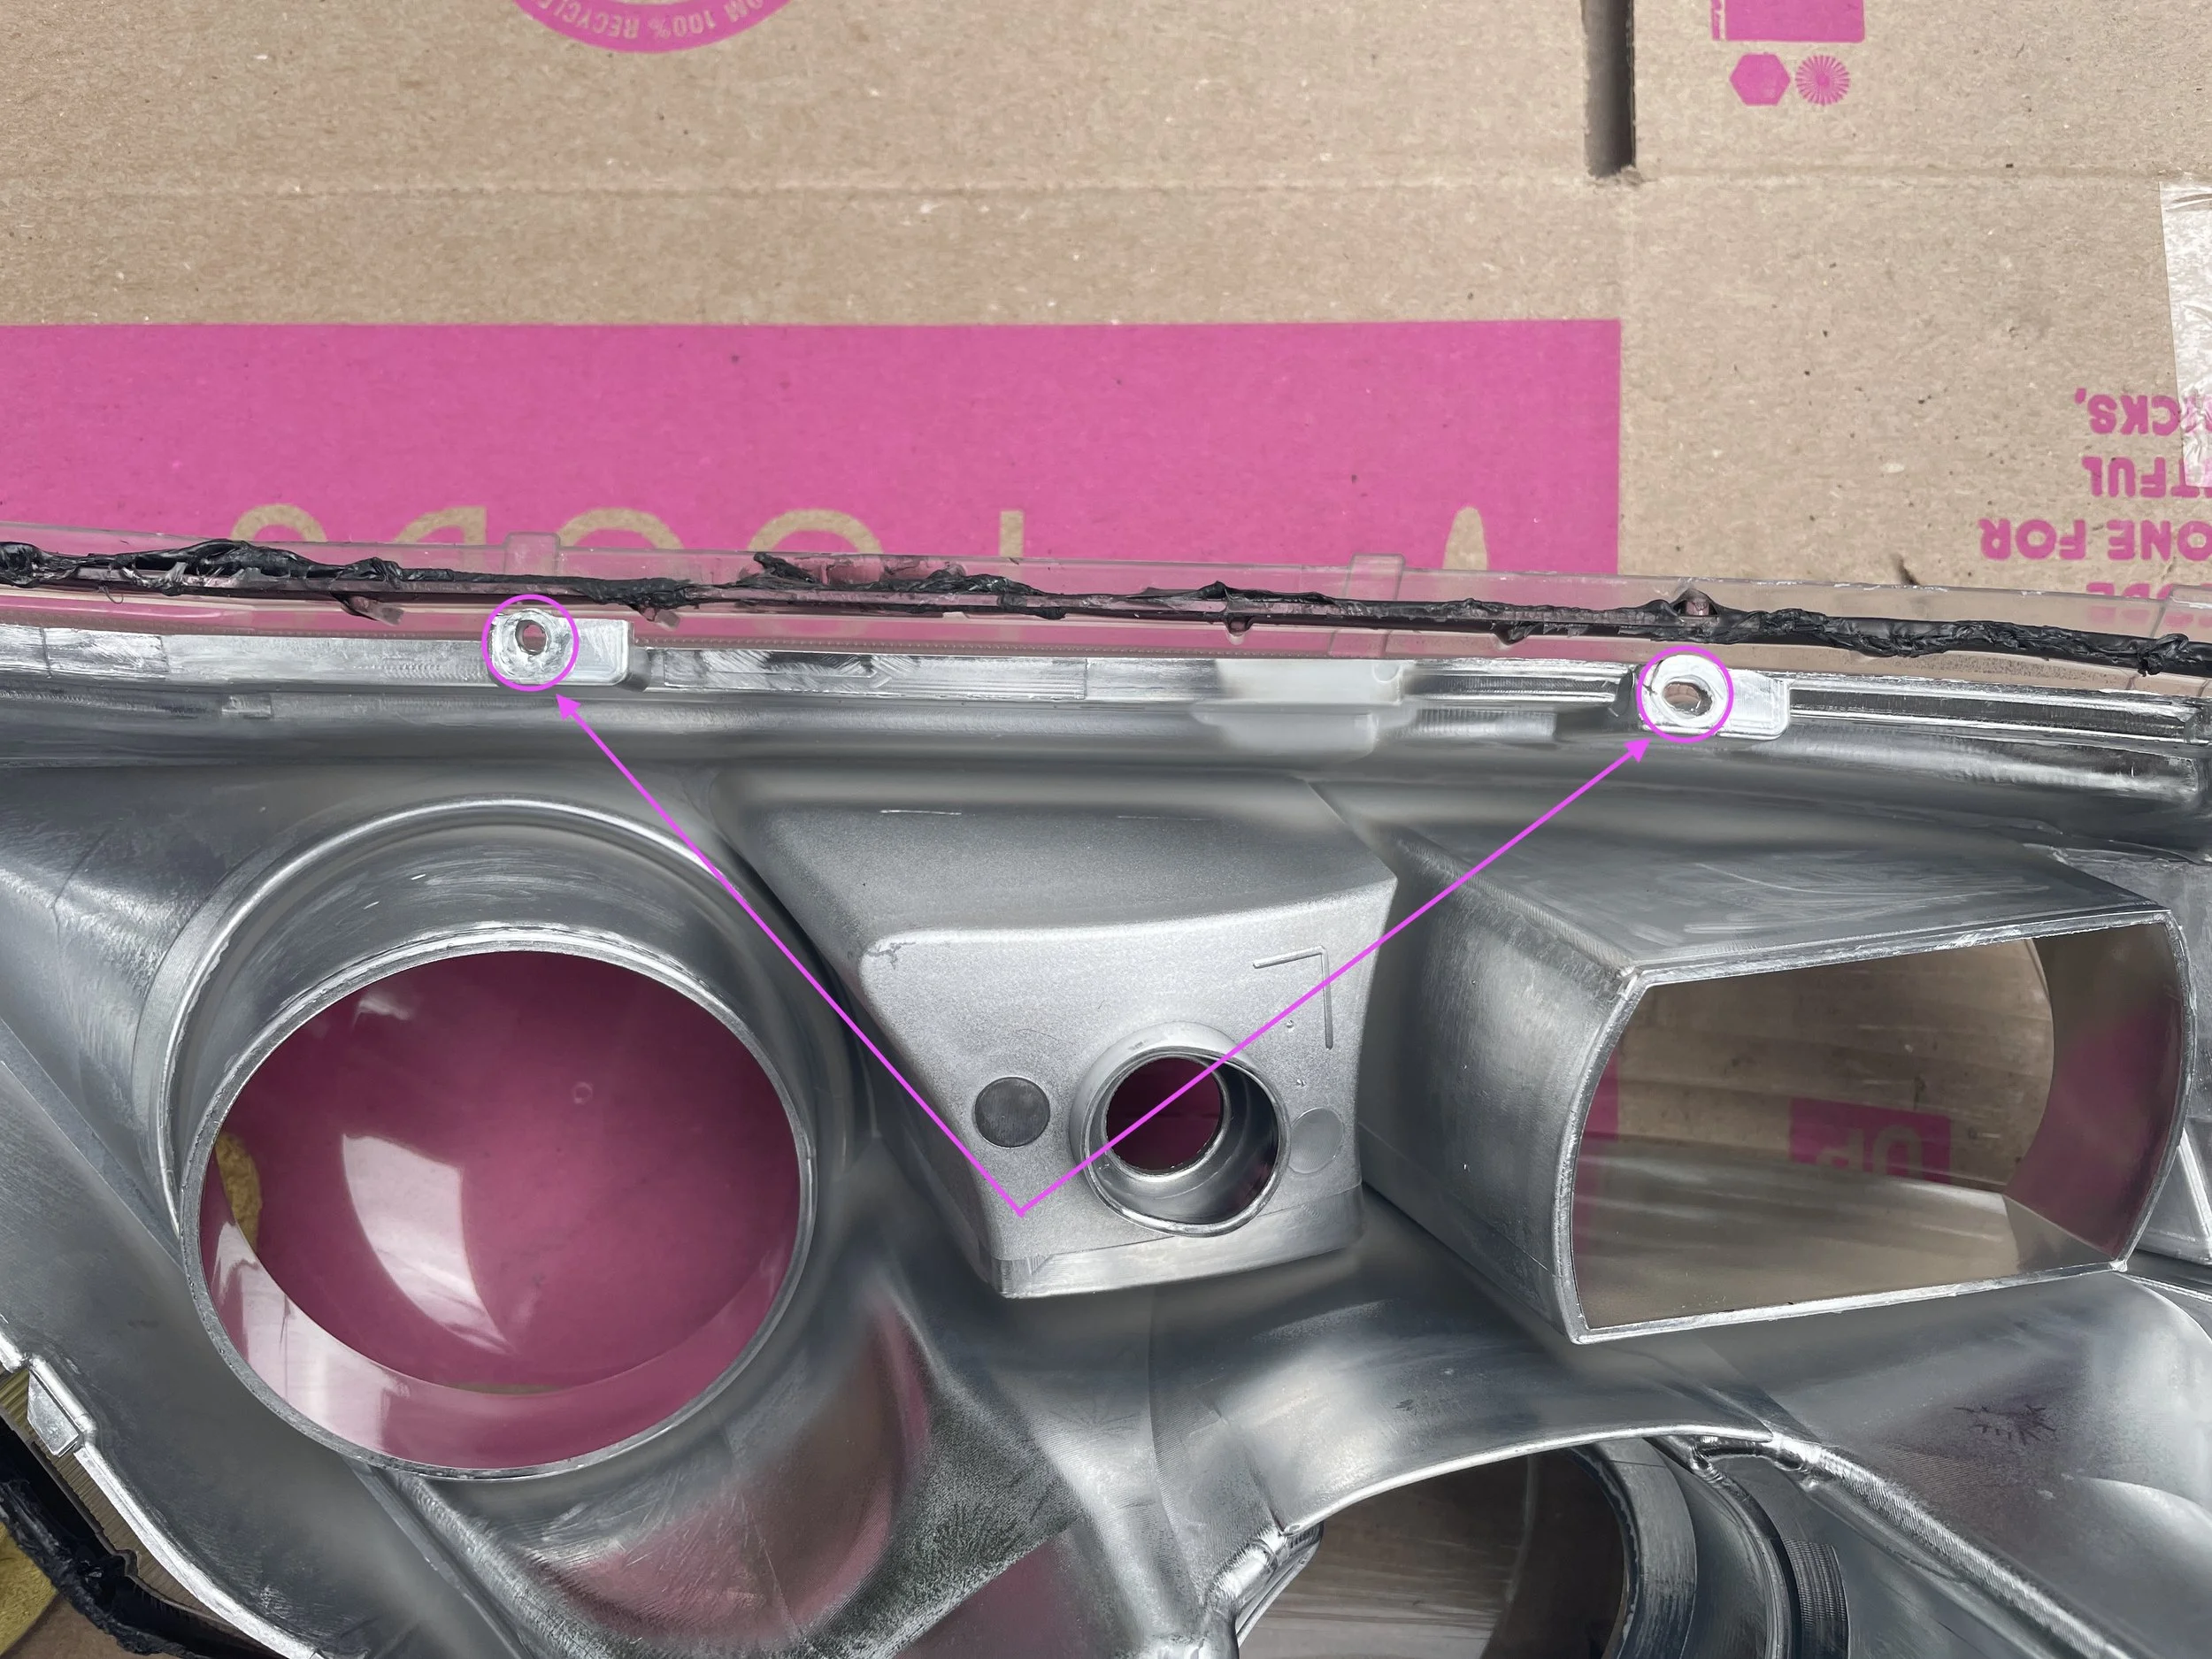
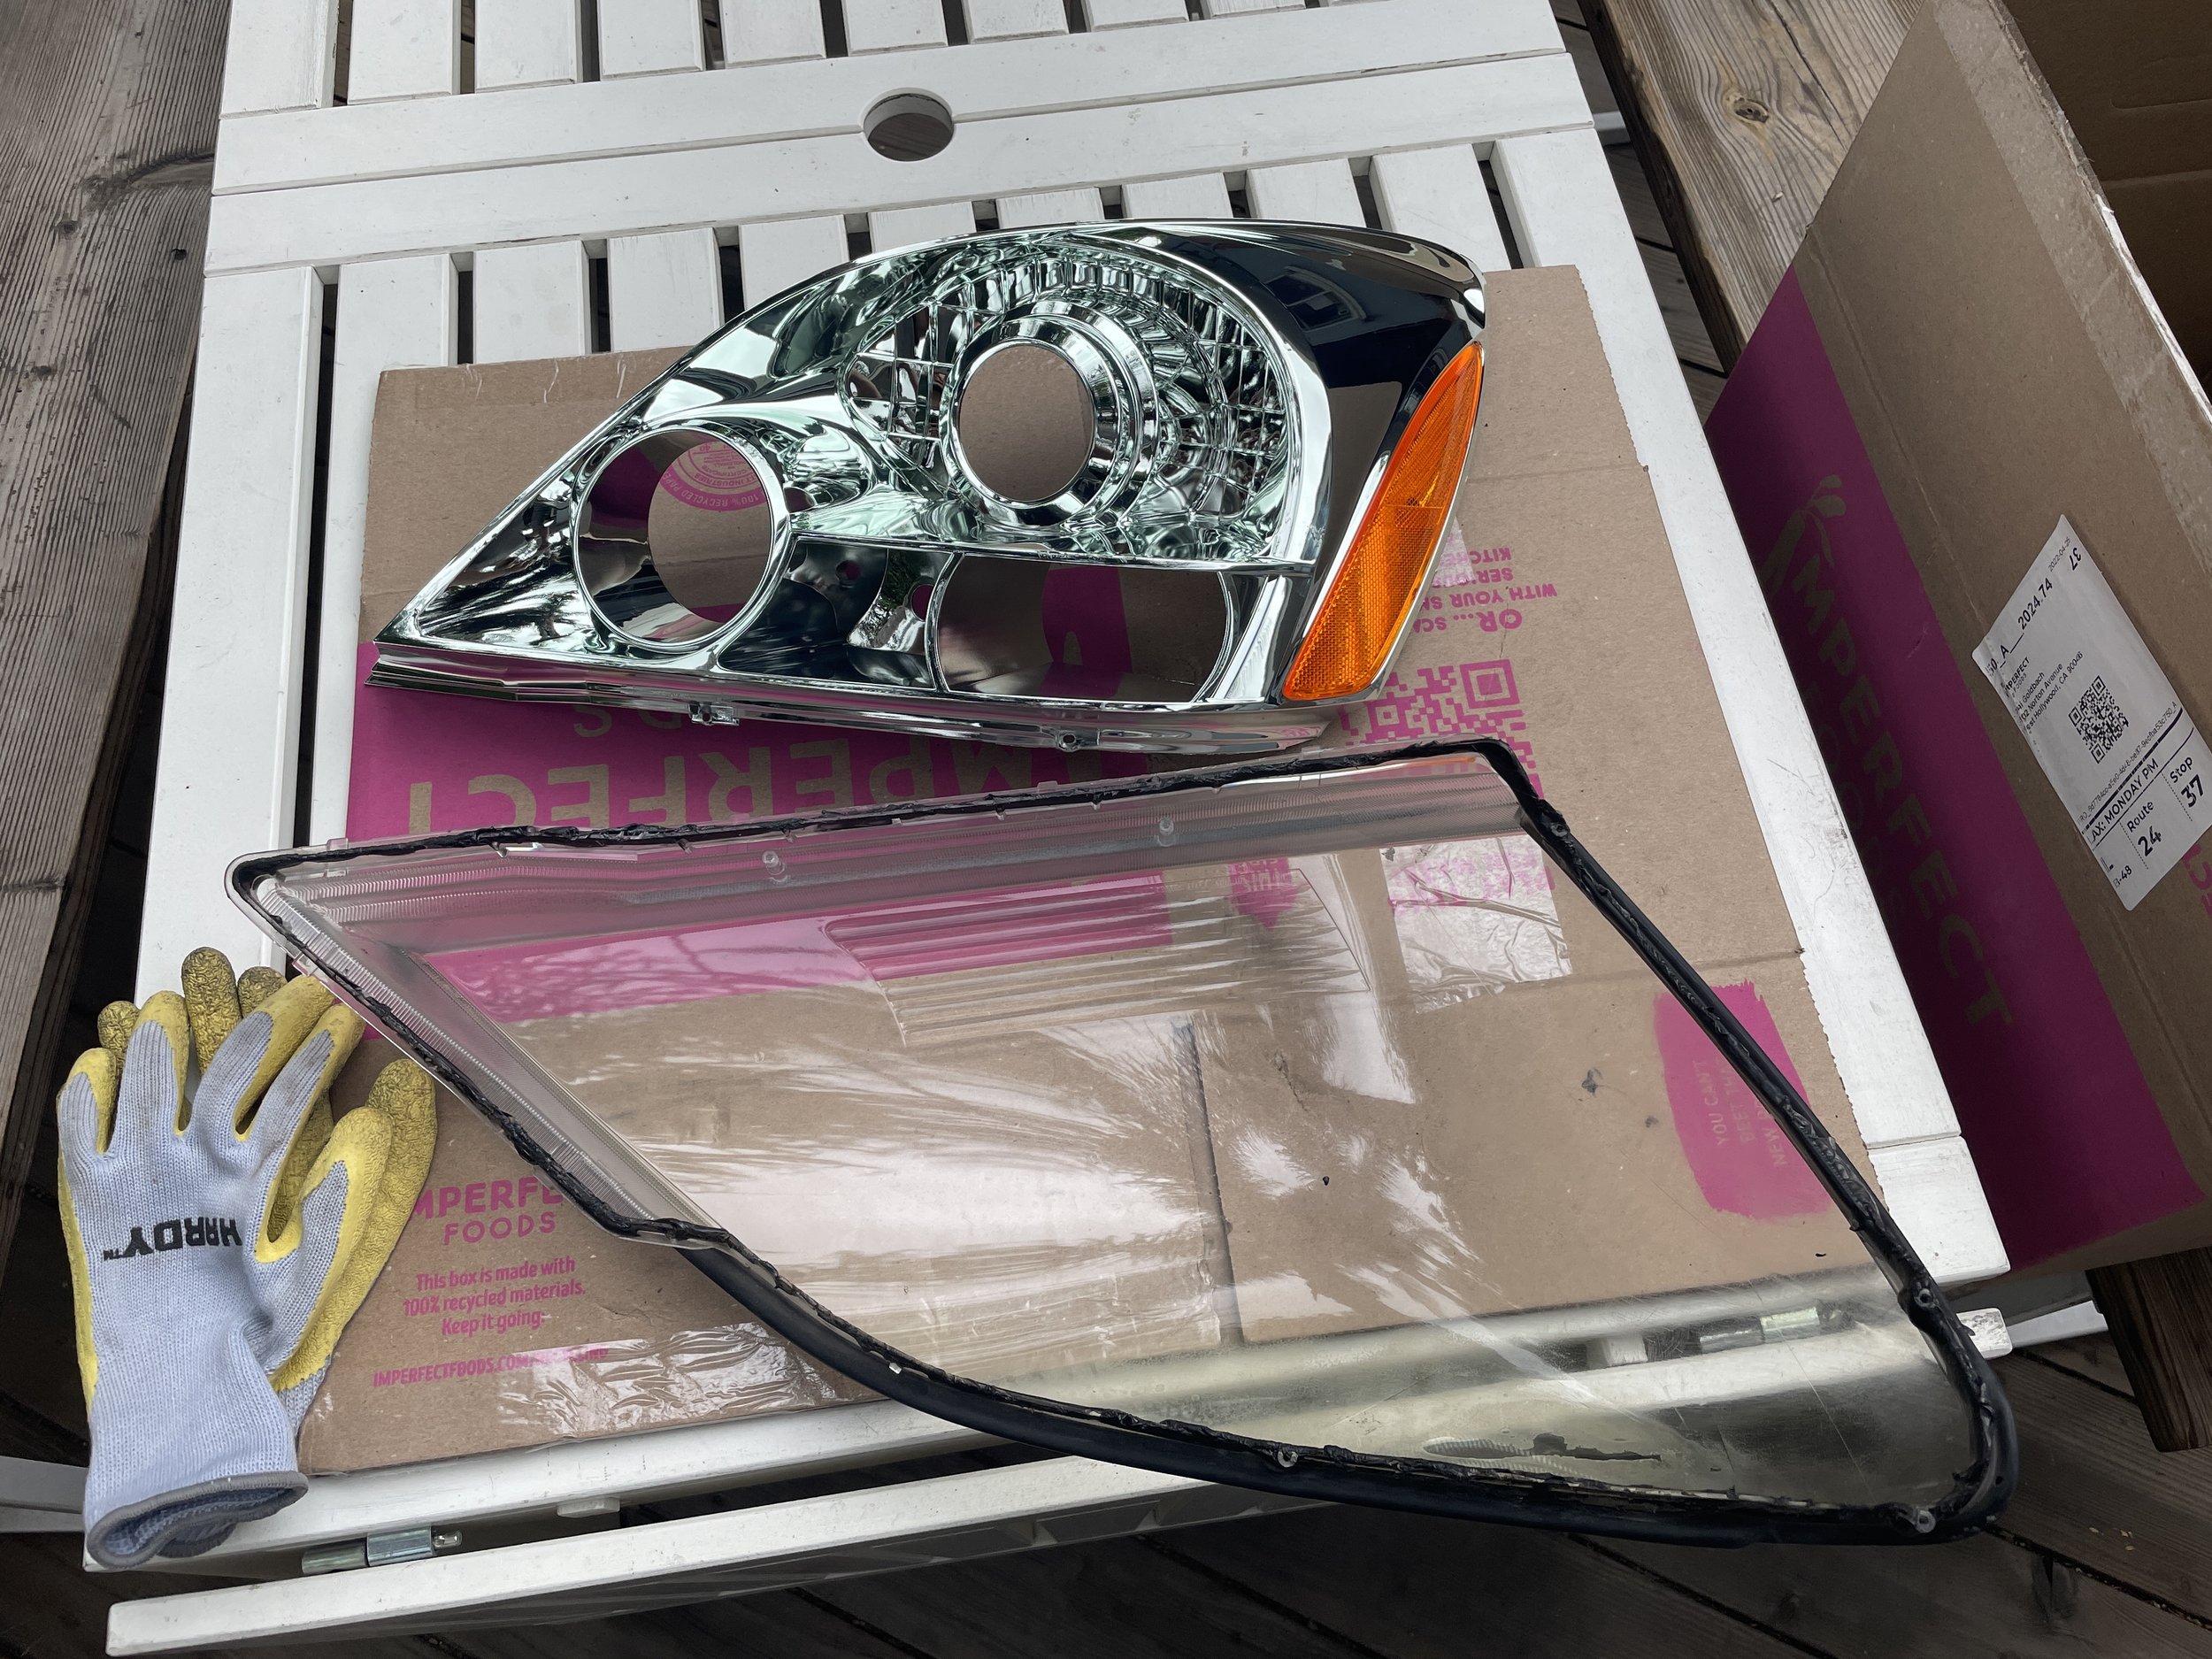
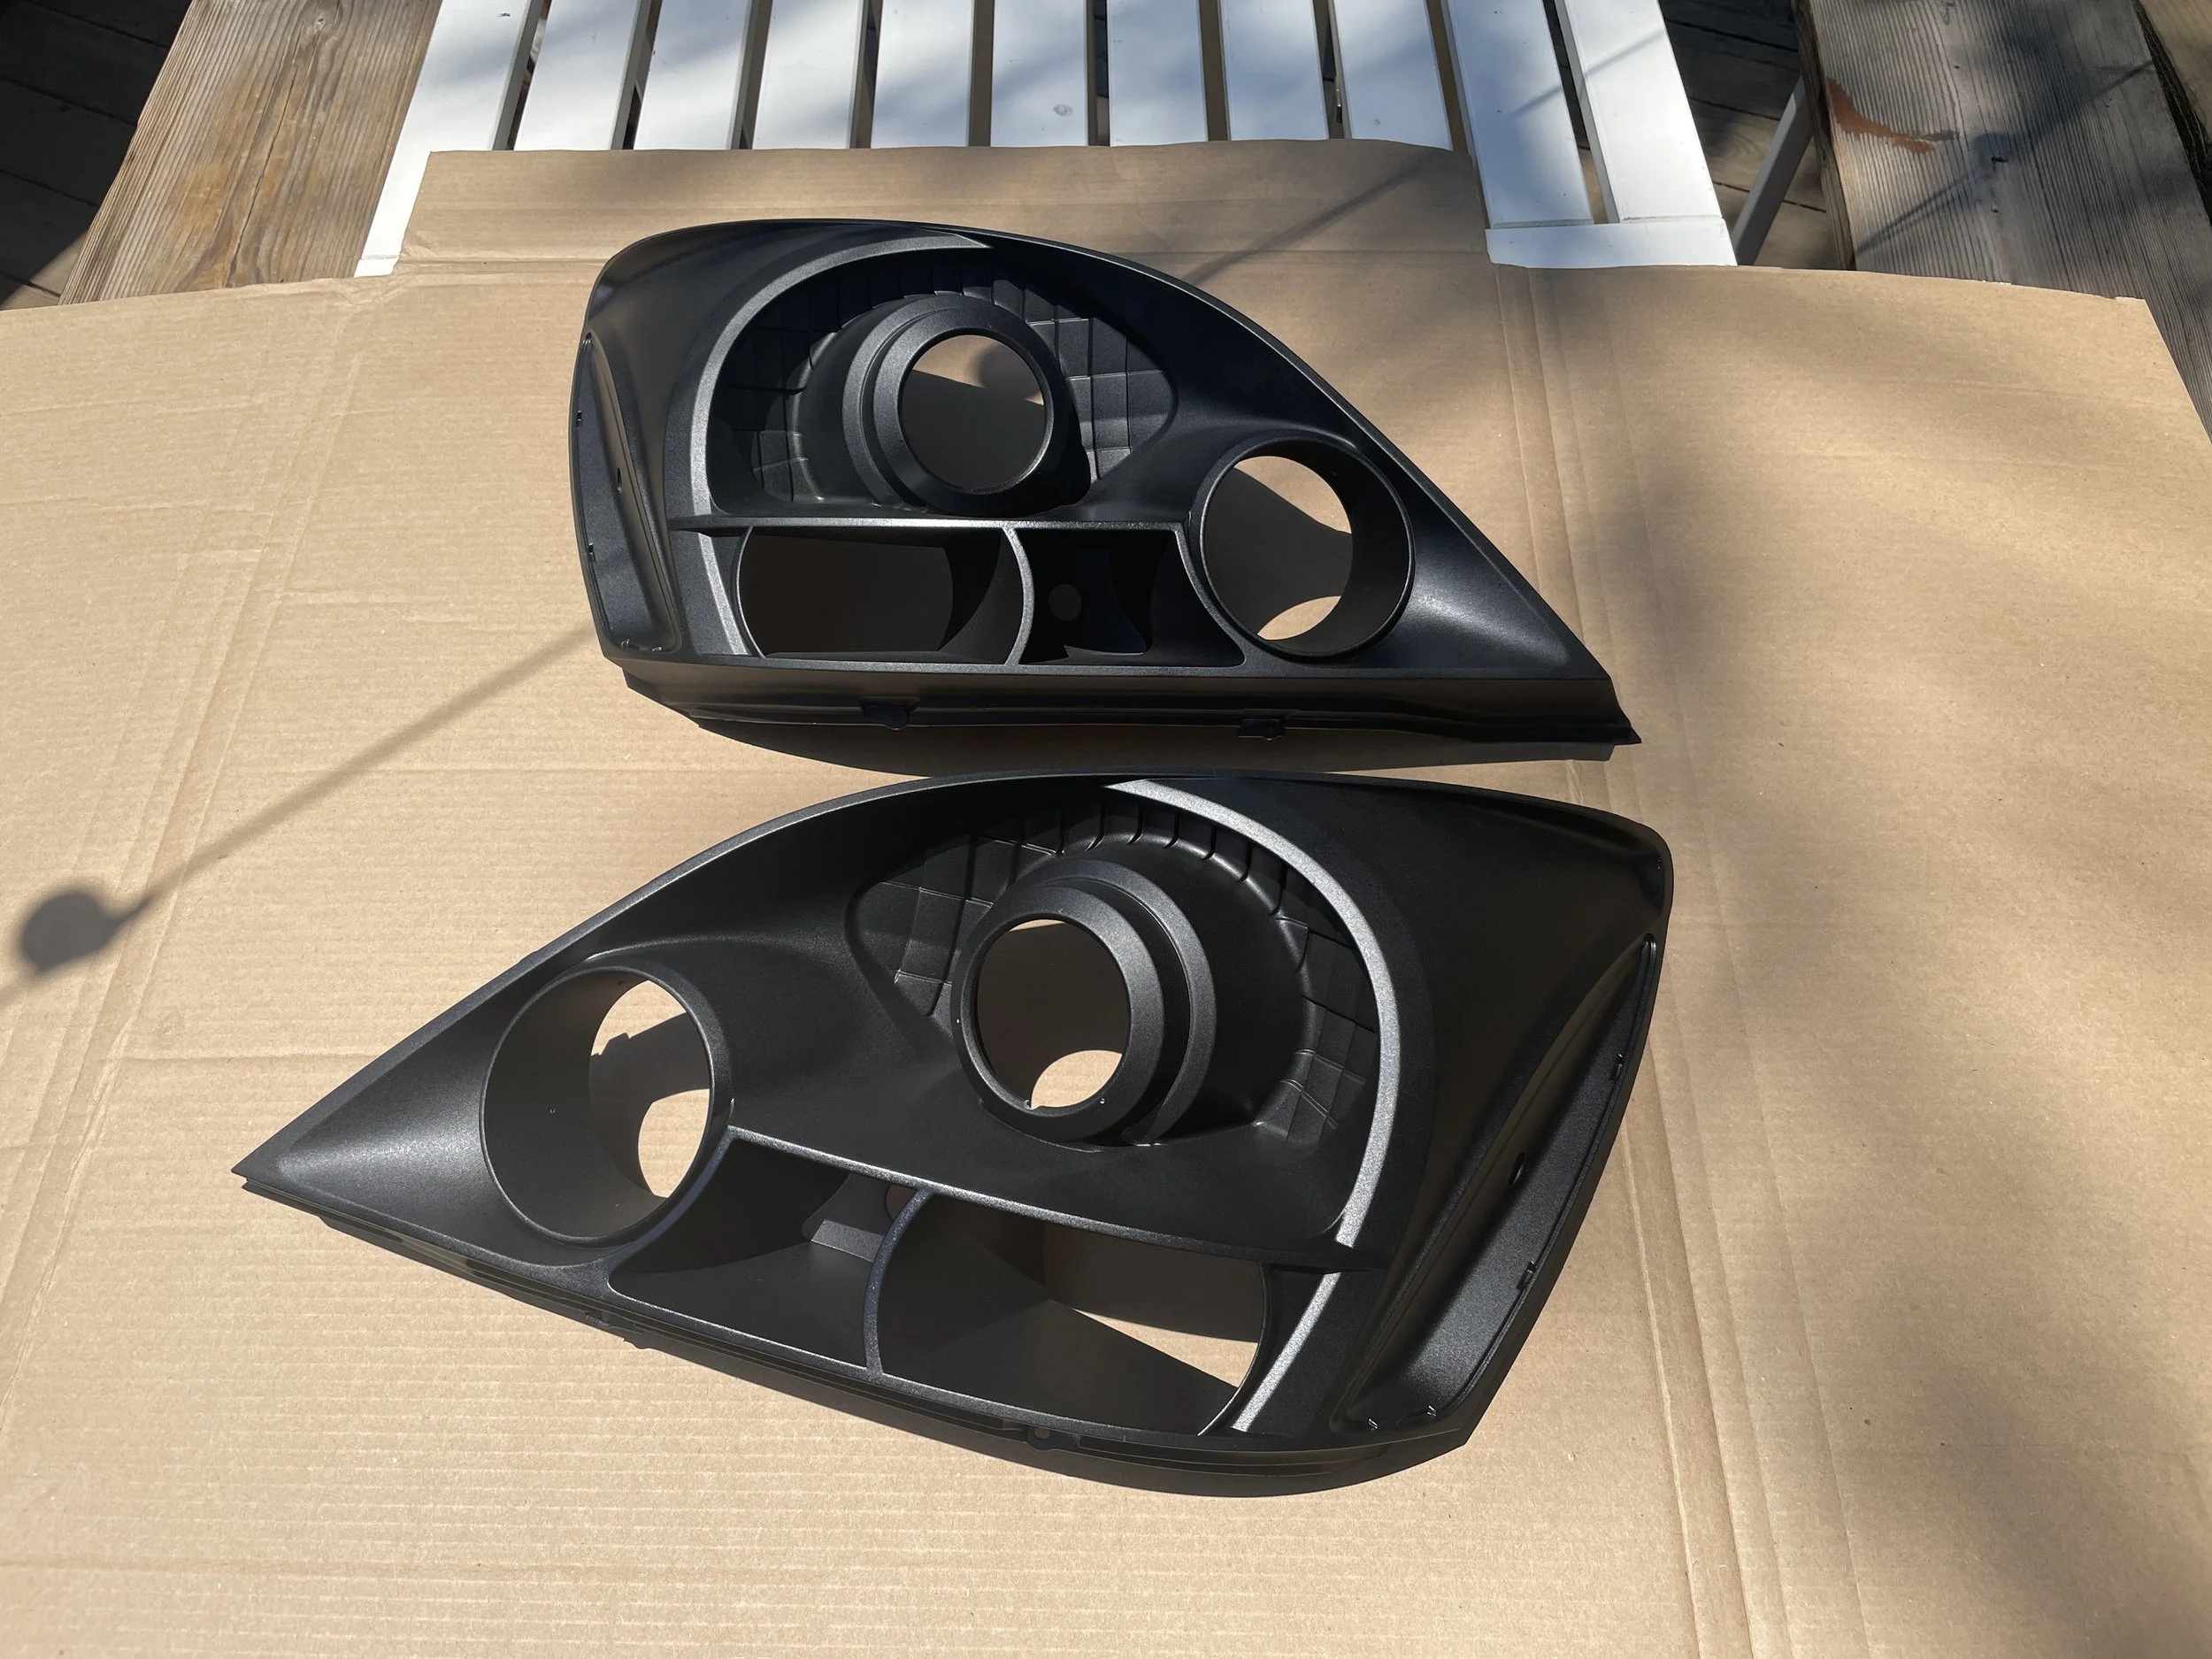
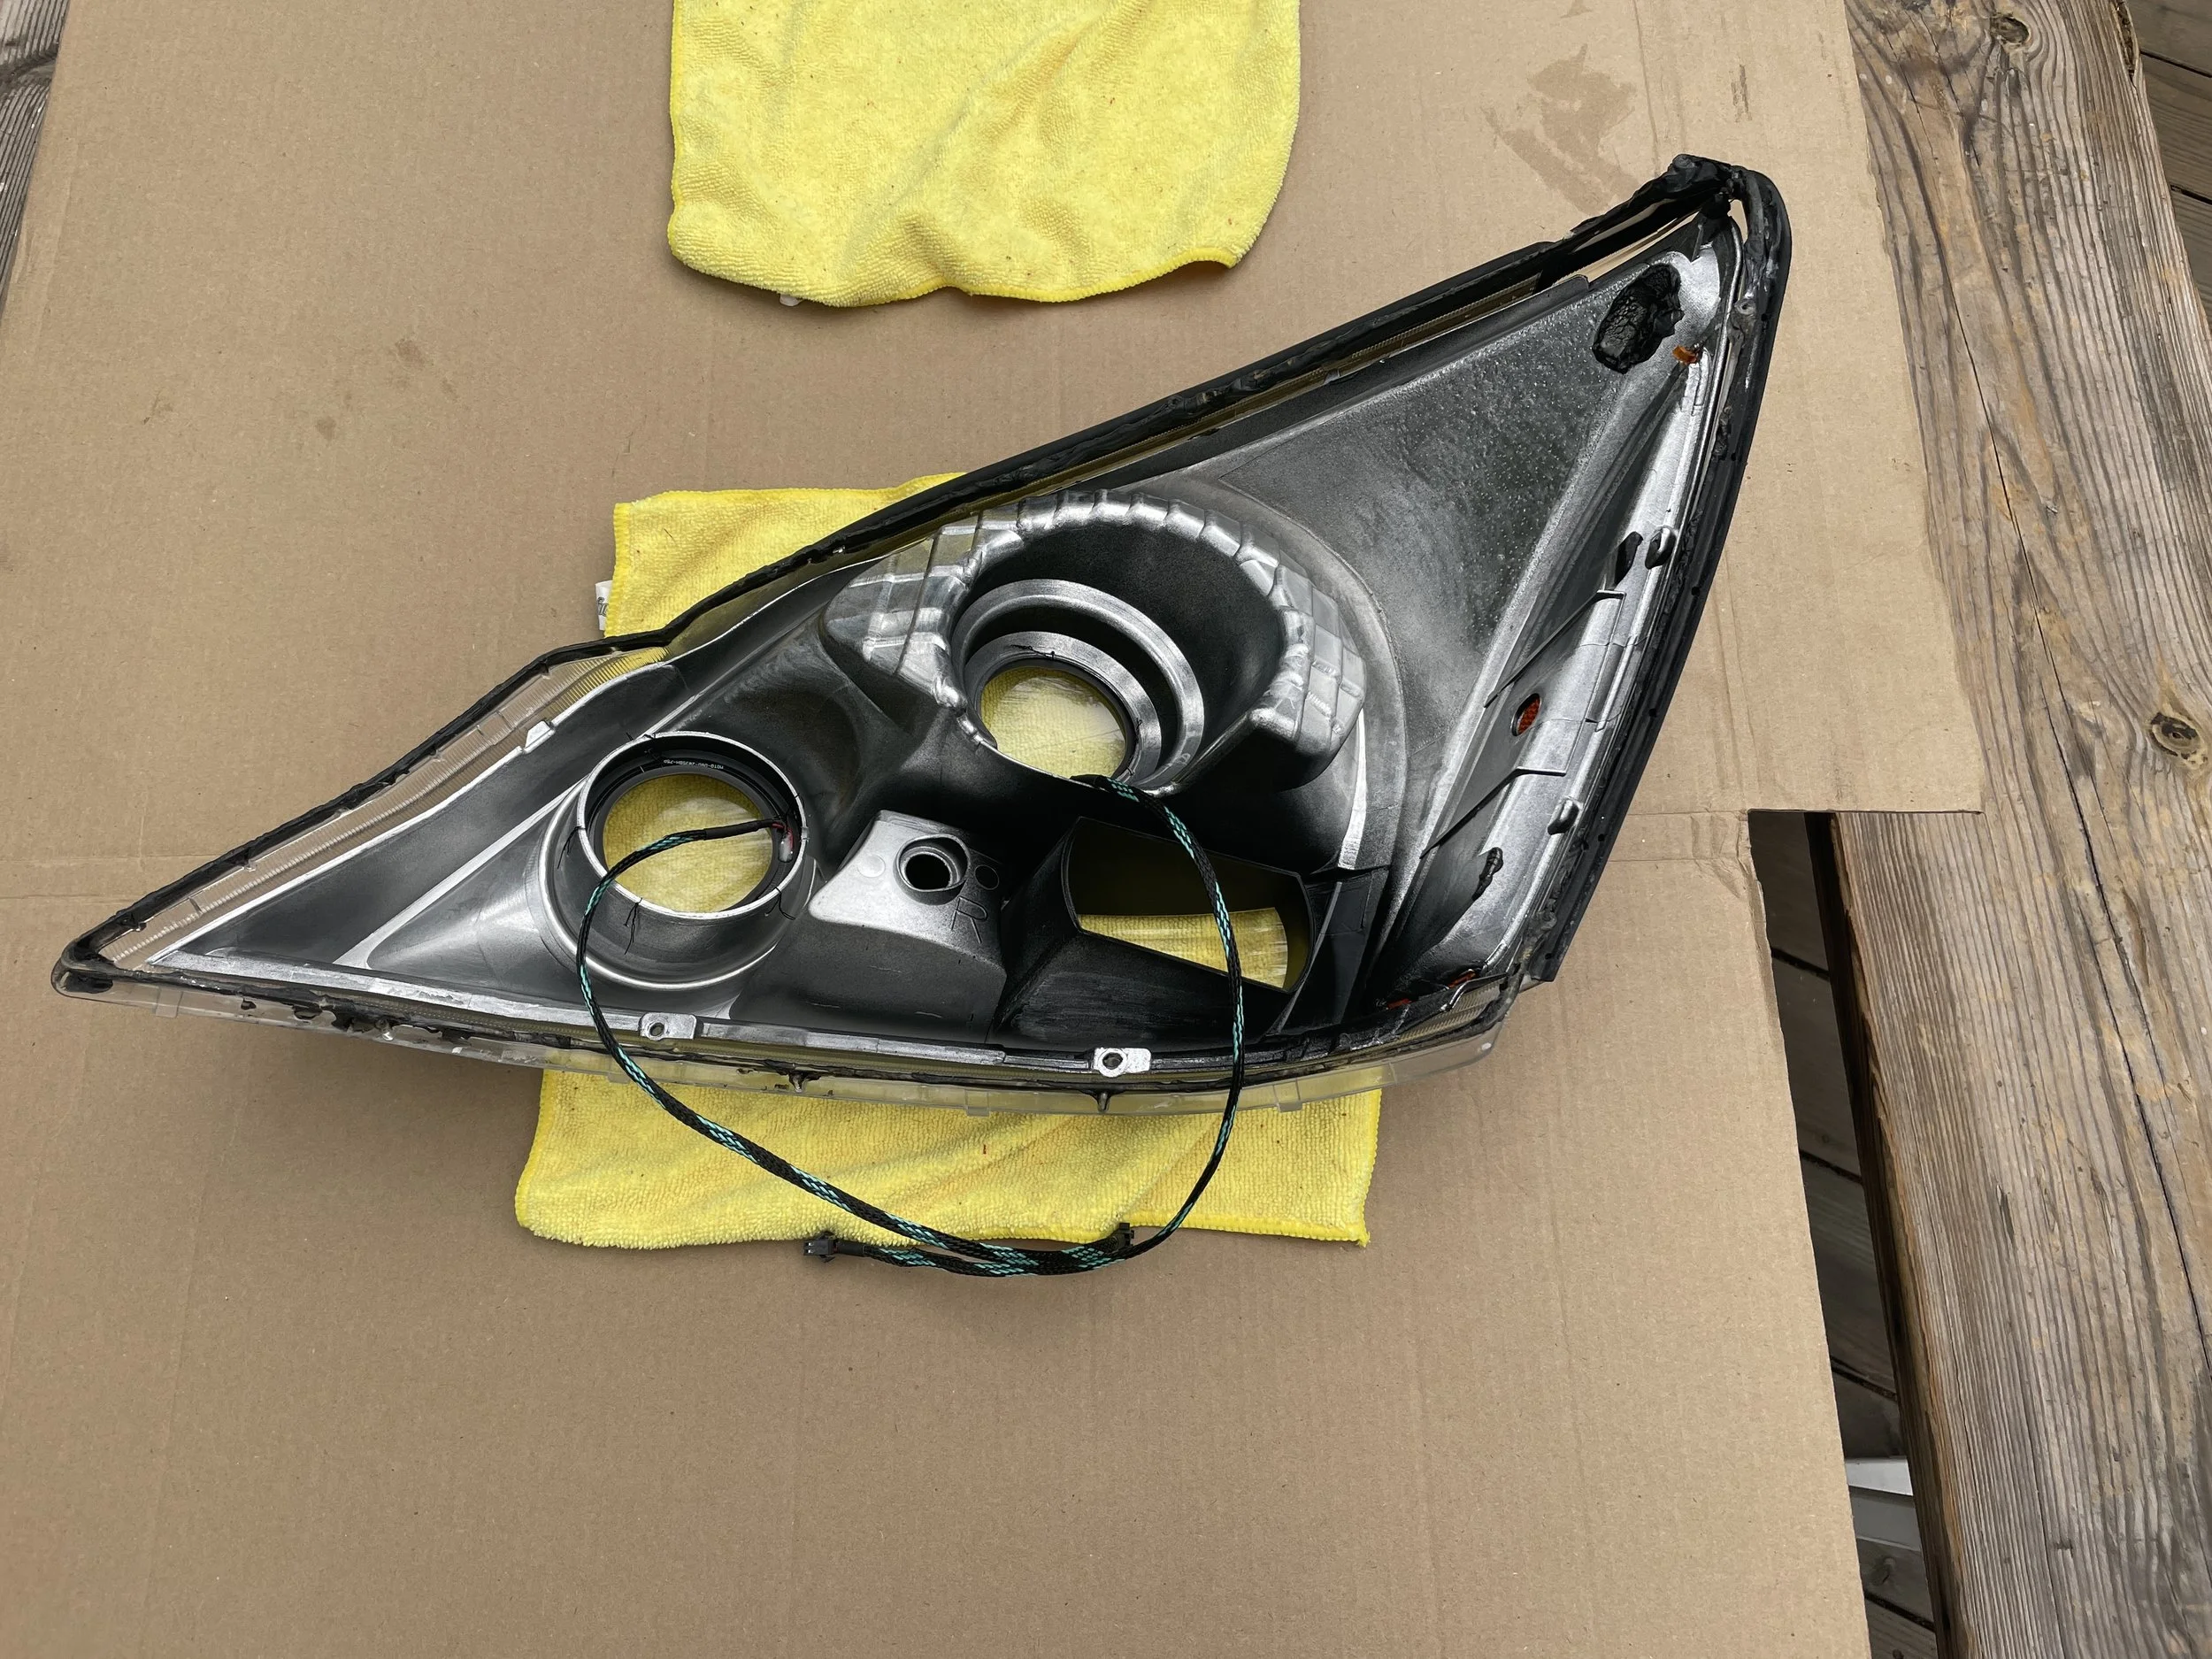
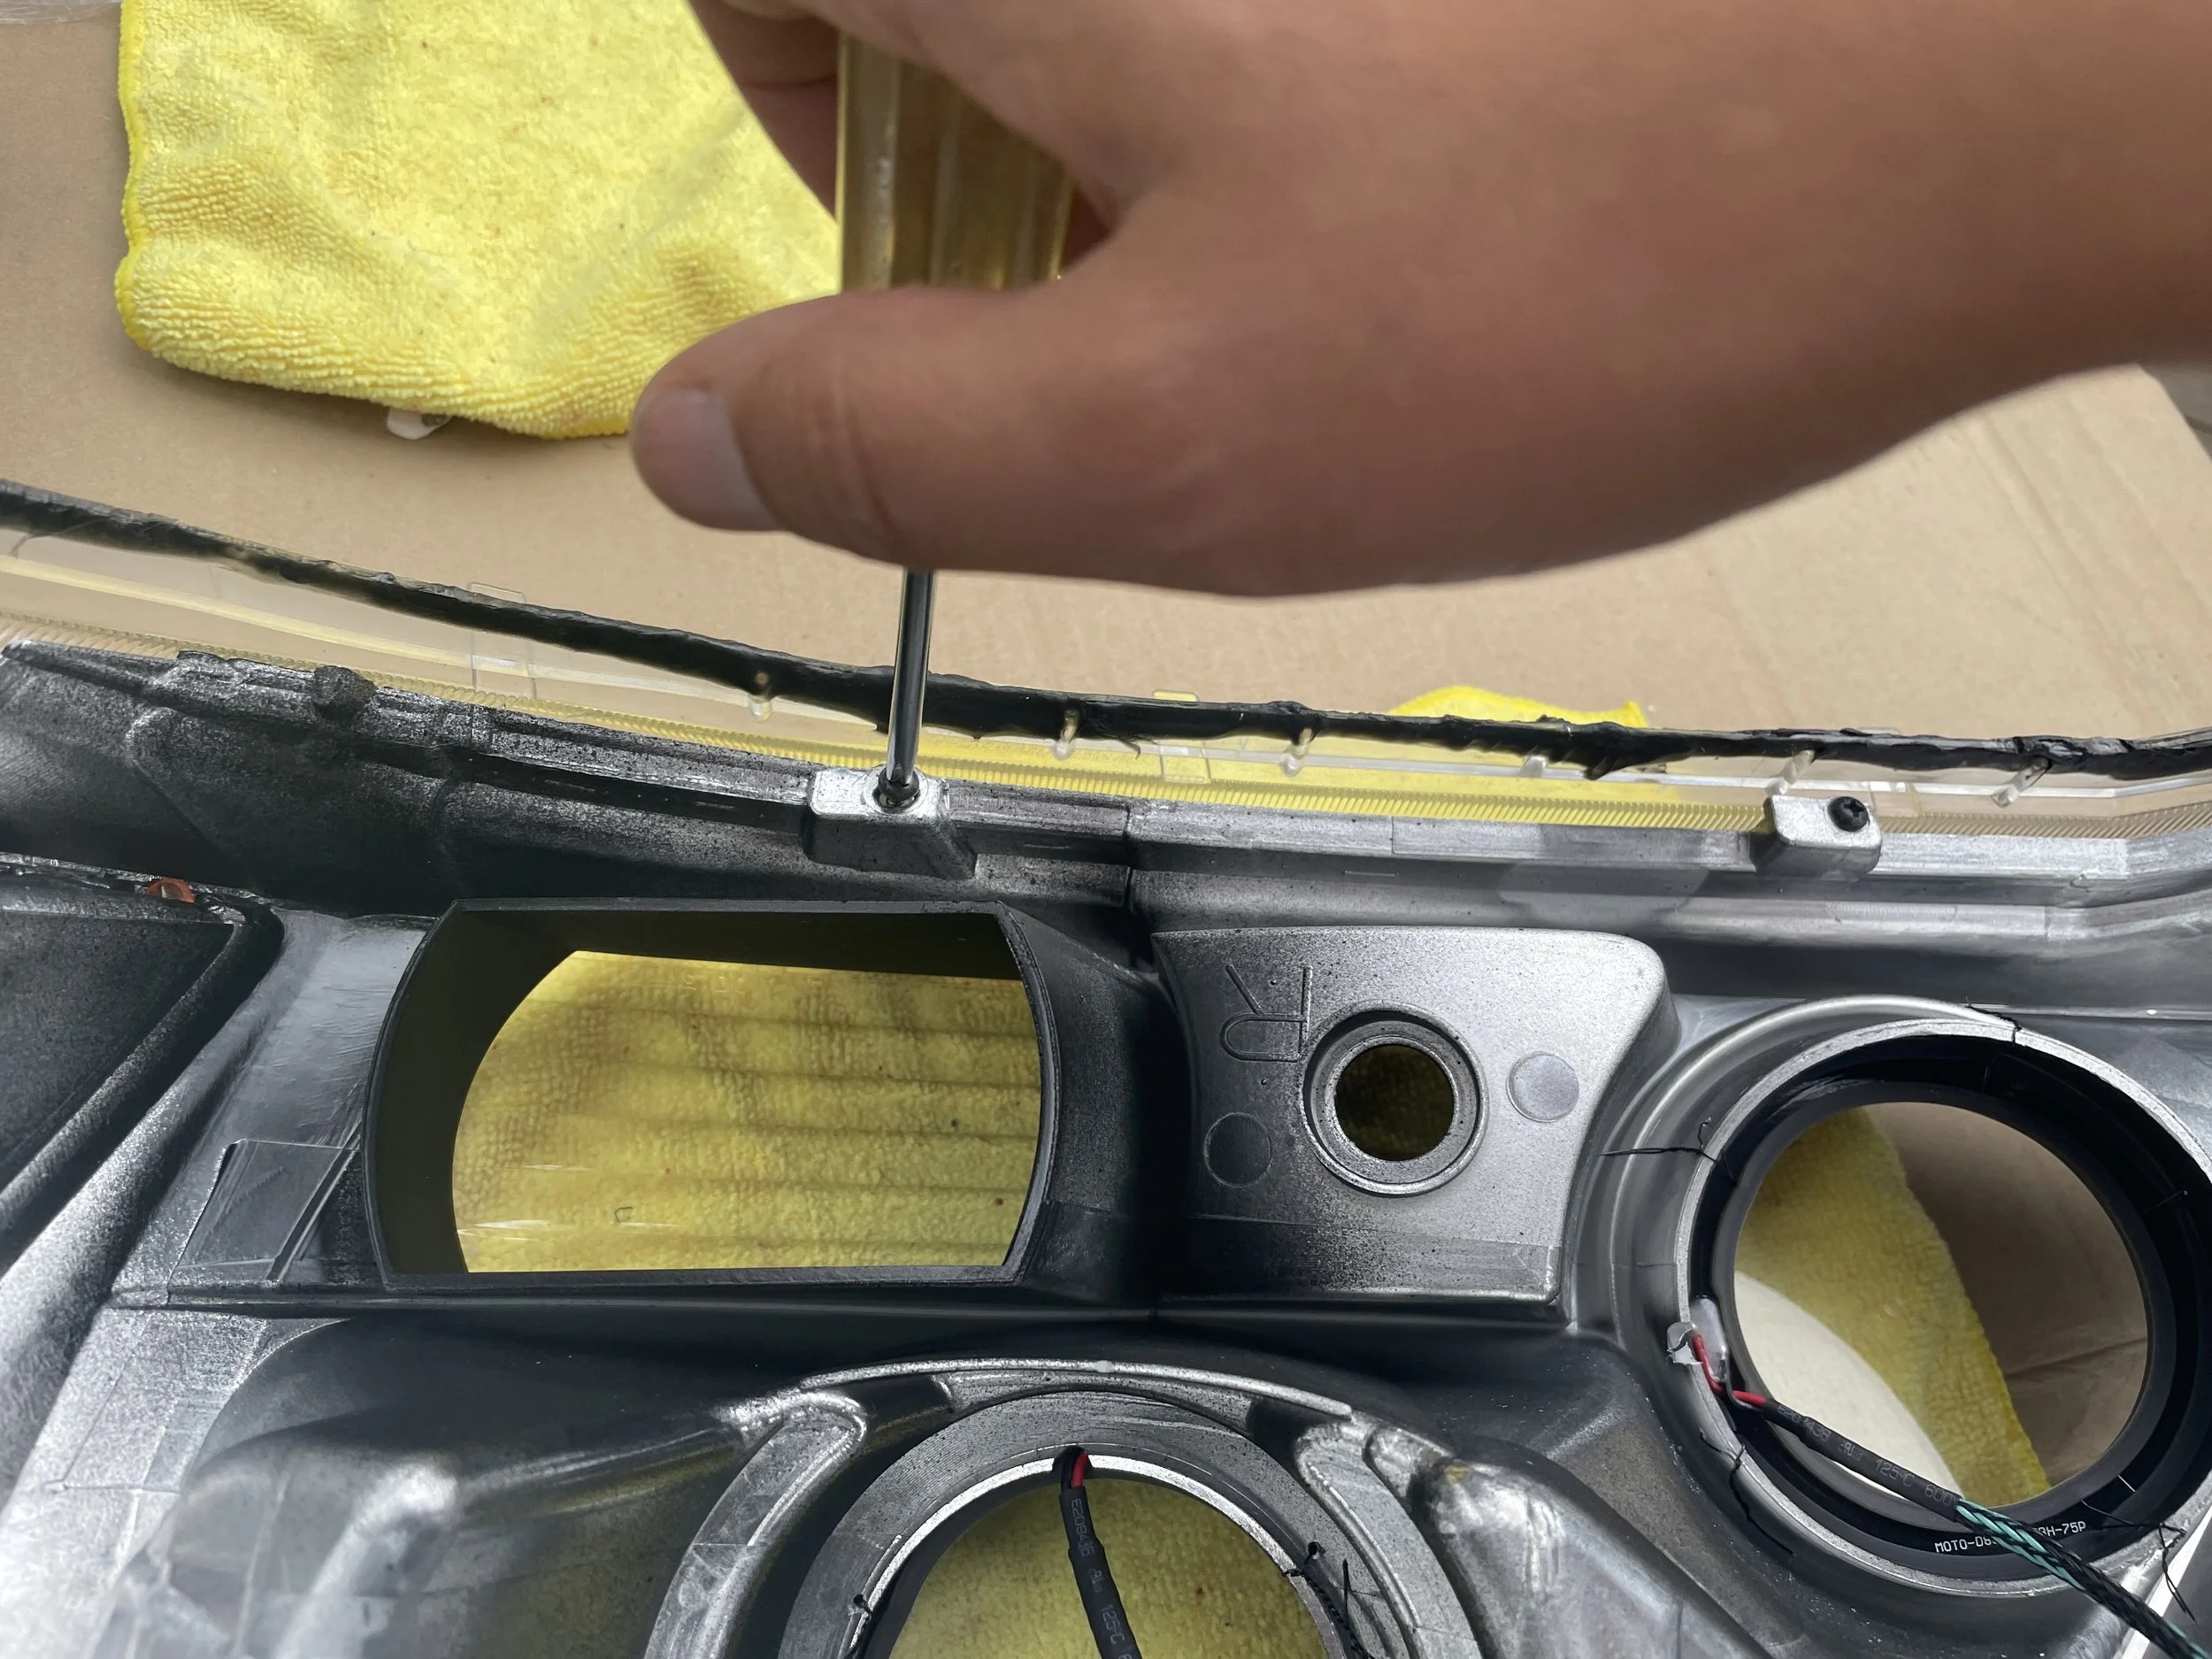
Once you’ve fully separated the lens from the housing, your headlight should be in two pieces with the reflector and the lens still attached to one another. Set aside the black housing that has the hardware attached. On the lens/reflector unit, find the two screws near the bottom edge of the headlight and remove them:
Step 5:
Again, starting at the pointy corner that sits nearest the grill, carefully pull the reflector plastic out of the lens. You may need to trim away some of the remaining black sealant. Work carefully; don’t force it.
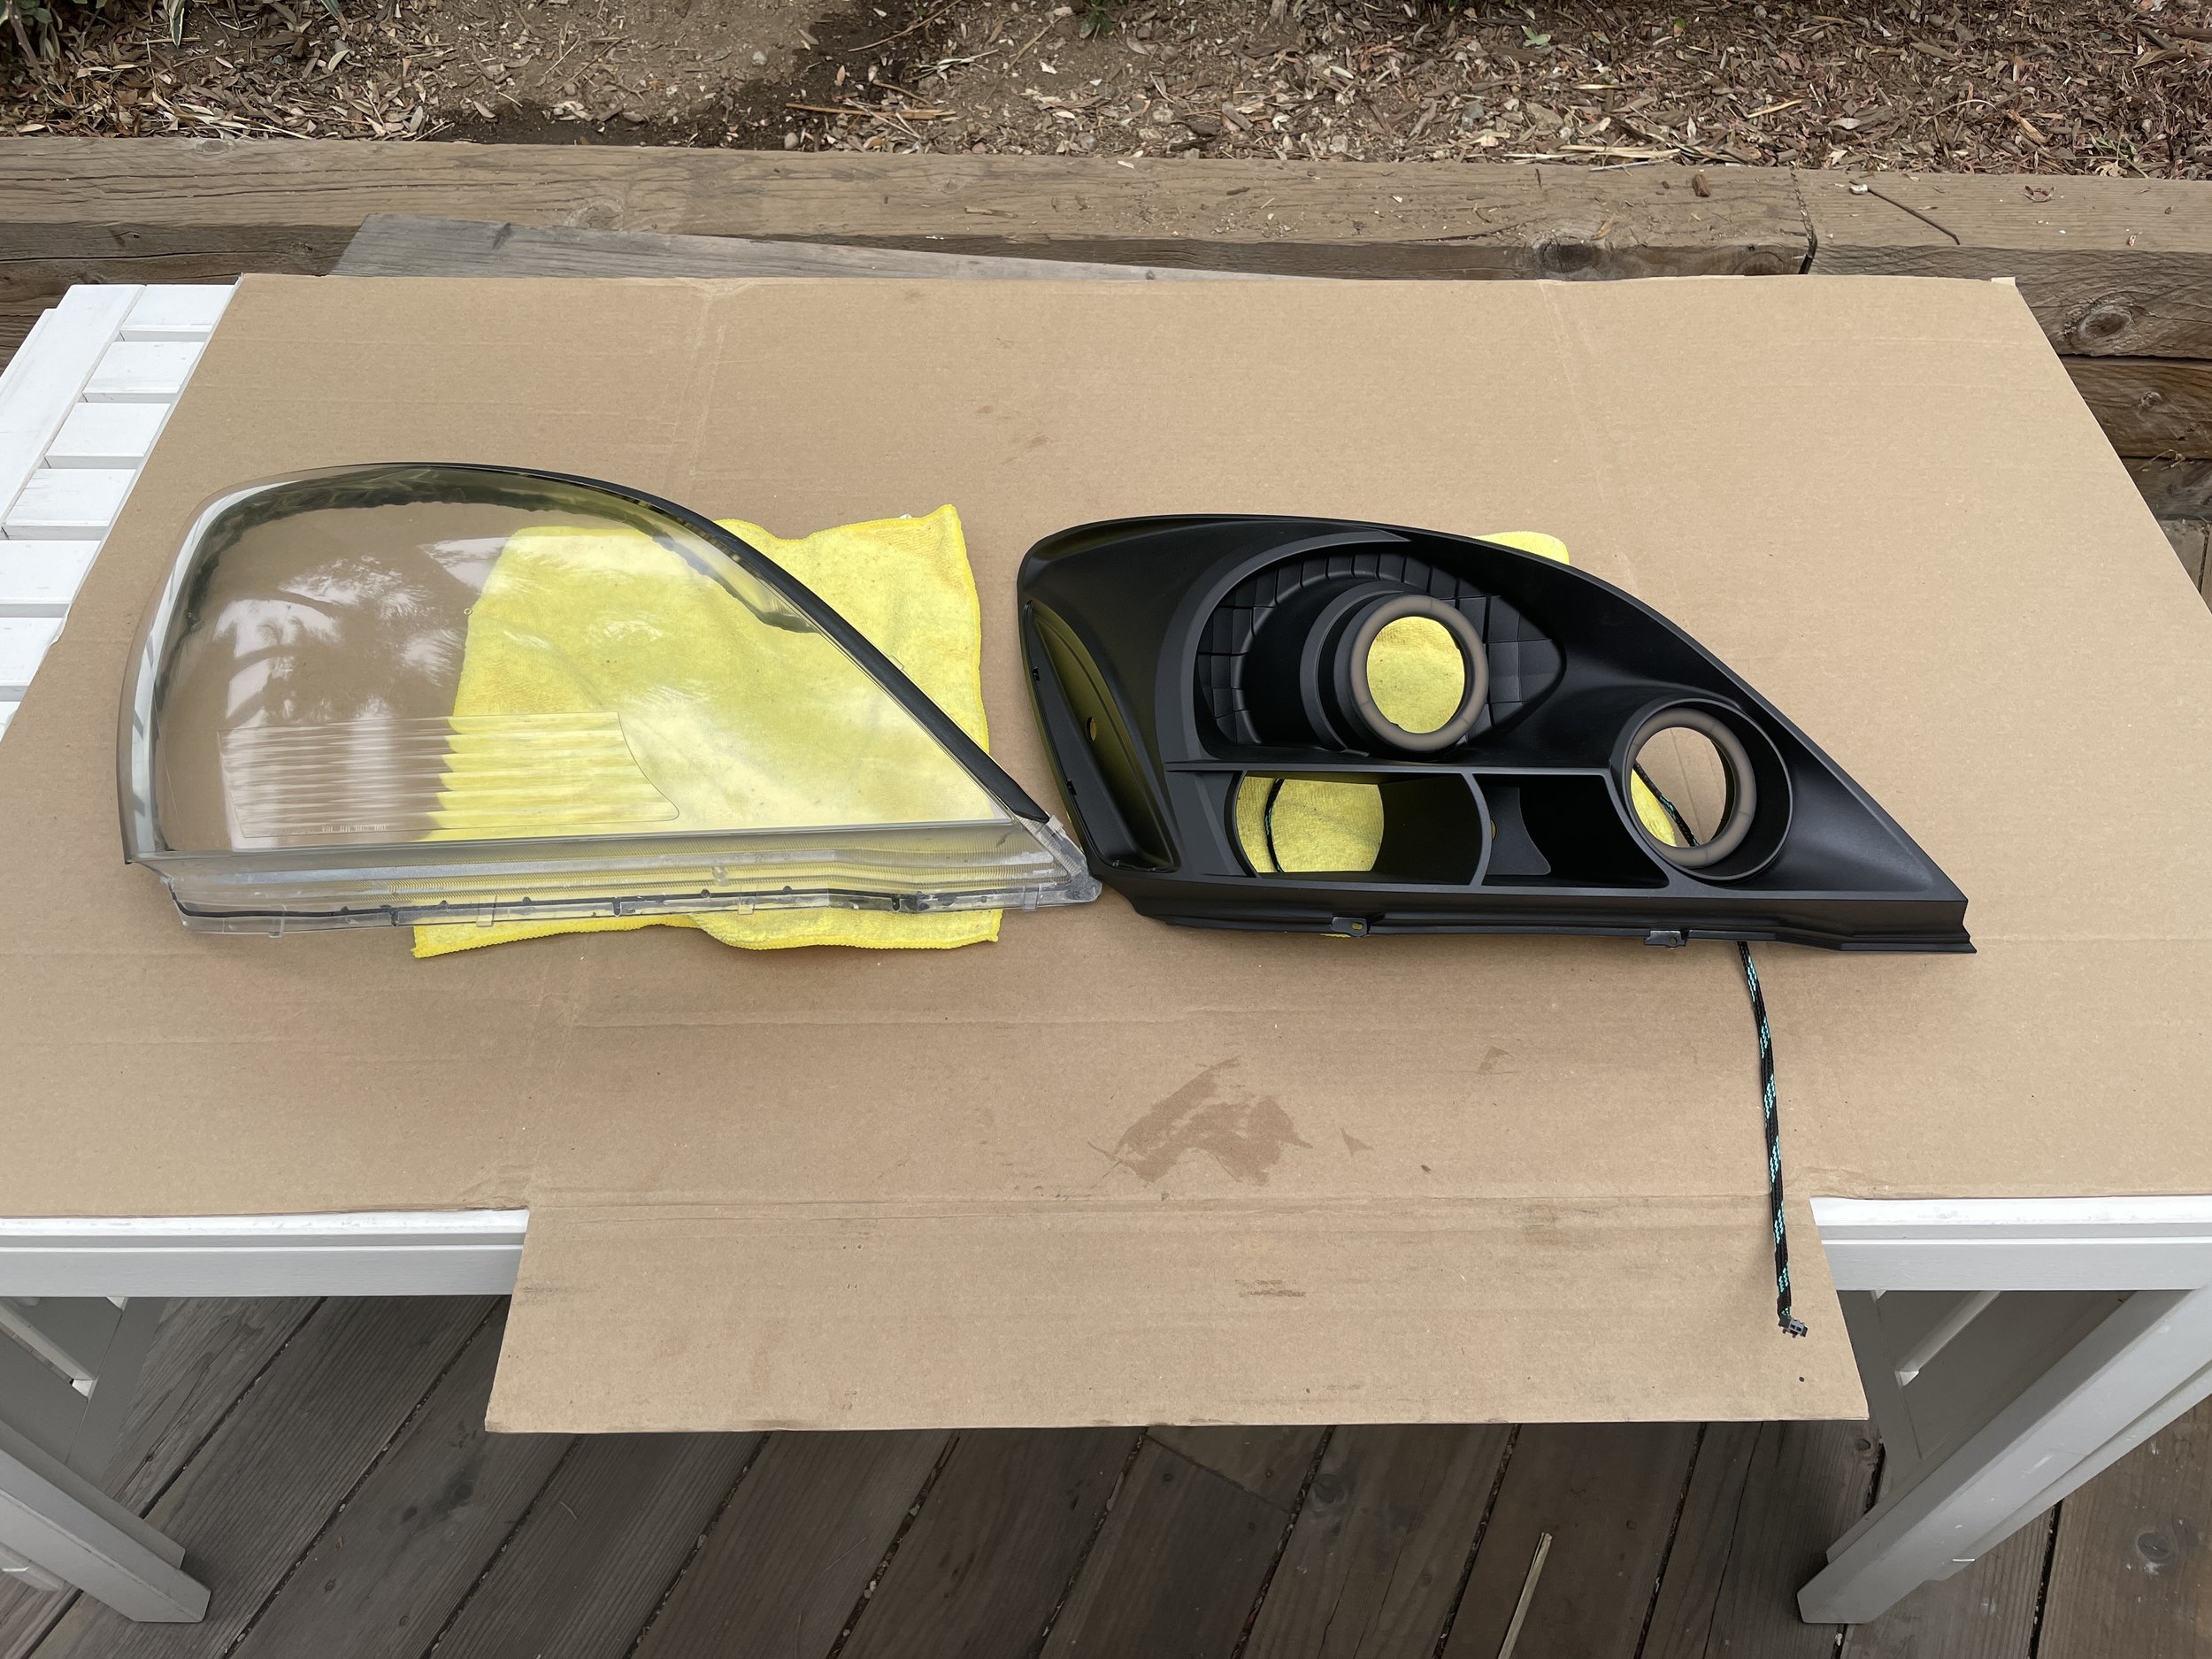
Prepping your Reflectors…
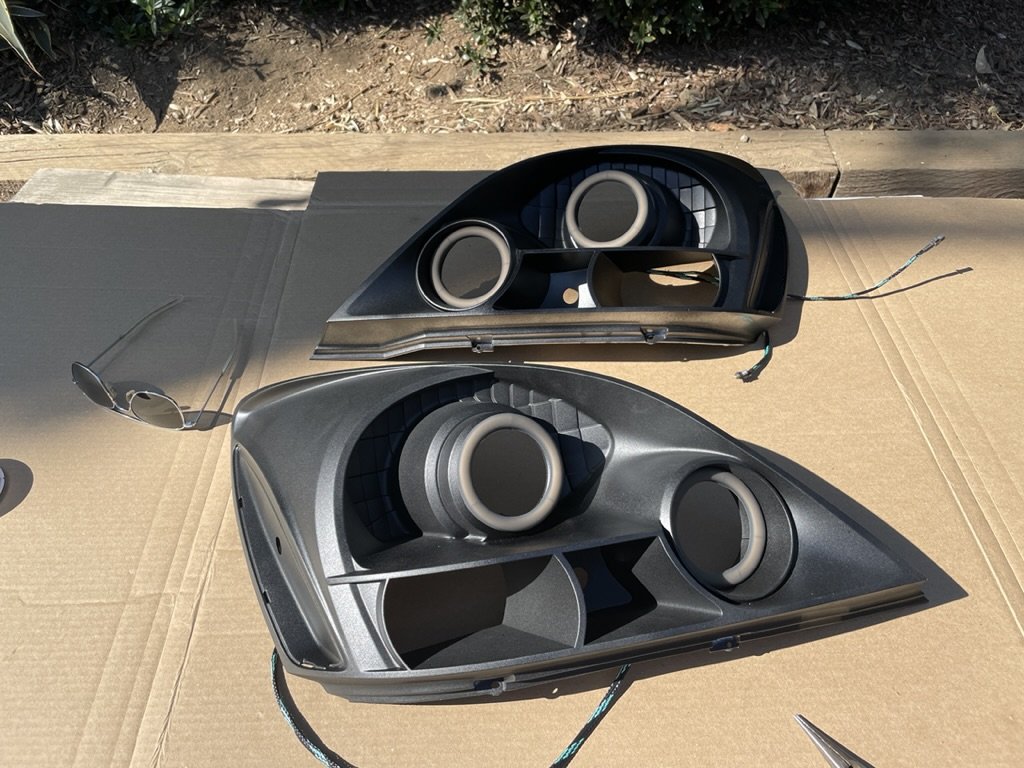
Step 1:
Remove the orange corner reflectors by carefully lifting the tab at the pointy end and pushing it through from the back of the reflector. The orange lens should then lift away from the reflector.

Step 2 (if you are NOT installing halos, jump to step 4):
If you are installing halos, do your notching and drilling before you paint your reflectors. (You’ll notice from our photos that we did not. We regret it.)
Gather your halos and install wire as well as side cutters or a dremel with a grinding wheel. We purchased 4x 80mm halos from The Retrofit Source along with the smoke rings and install thread in black. First, hold your halos up to your reflectors and test fit them to ensure you’re happy with where they’ll sit. Assuming you are, keep on trucking.
Because we’re putting the silicon smoke rings on our halos, we opted to remove the mounting tabs. If you’re not installing smoke rings, go ahead and use the mounting tabs to mount your halos.


Step 3:
Position your halos on your reflector to determine where you’ll need to drill mounting holes through which to thread the install wire. You’ll also want to figure out where to notch your reflector to make room for the pigtails. Carefully drill 3-4 holes in the reflector housing just behind where your halo will sit and notch the housing for the halo pigtails.


Step 4:
Once you’ve drilled all of your mounting holes and notched the four projector holes for the halo pigtails, it’s time to set your halos aside and paint your reflectors in your color of choice. Before you start painting though, use the compressed air can to blow any plastic particulate off the reflectors so the paint goes on smoothly.
We opted for matte black Rustoleum Trim & Bumper paint. Color choice is up to you. Remember, thin, light coats of spray paint — you don’t want the paint to run. We used nearly an entire can of spray on our reflectors (the chromes takes a few coats to cover thoroughly) over the course of about 4 days. When you’re done, you should have a nice, even coat on your reflectors with no visible chrome.
Installing your halos…
Step 1:
You should have your painted reflectors already prepped for halo install with notches cut and holes drilled. Gather your halos and prep a ~3” piece of install wire for each of the mounting holes you’ve drilled. Again, we’re installing smoke rings on our halos, so we opted to wrap the wire around the halo and then install the smoke ring on top…


Step 2:
Thread the pigtail through the projector hole in your reflector and align the pigtail to the notch you cut previously. Next, align your mounting wire to the holes you drilled and thread one end through each hole. Twist the ends of the install wire around the back of the reflector housing to hold the halo in place. You may want a set of needle nose pliers for this step. Repeat for each of your 4 halos.


Once your halos are installed to your liking, you can set your reflectors aside.
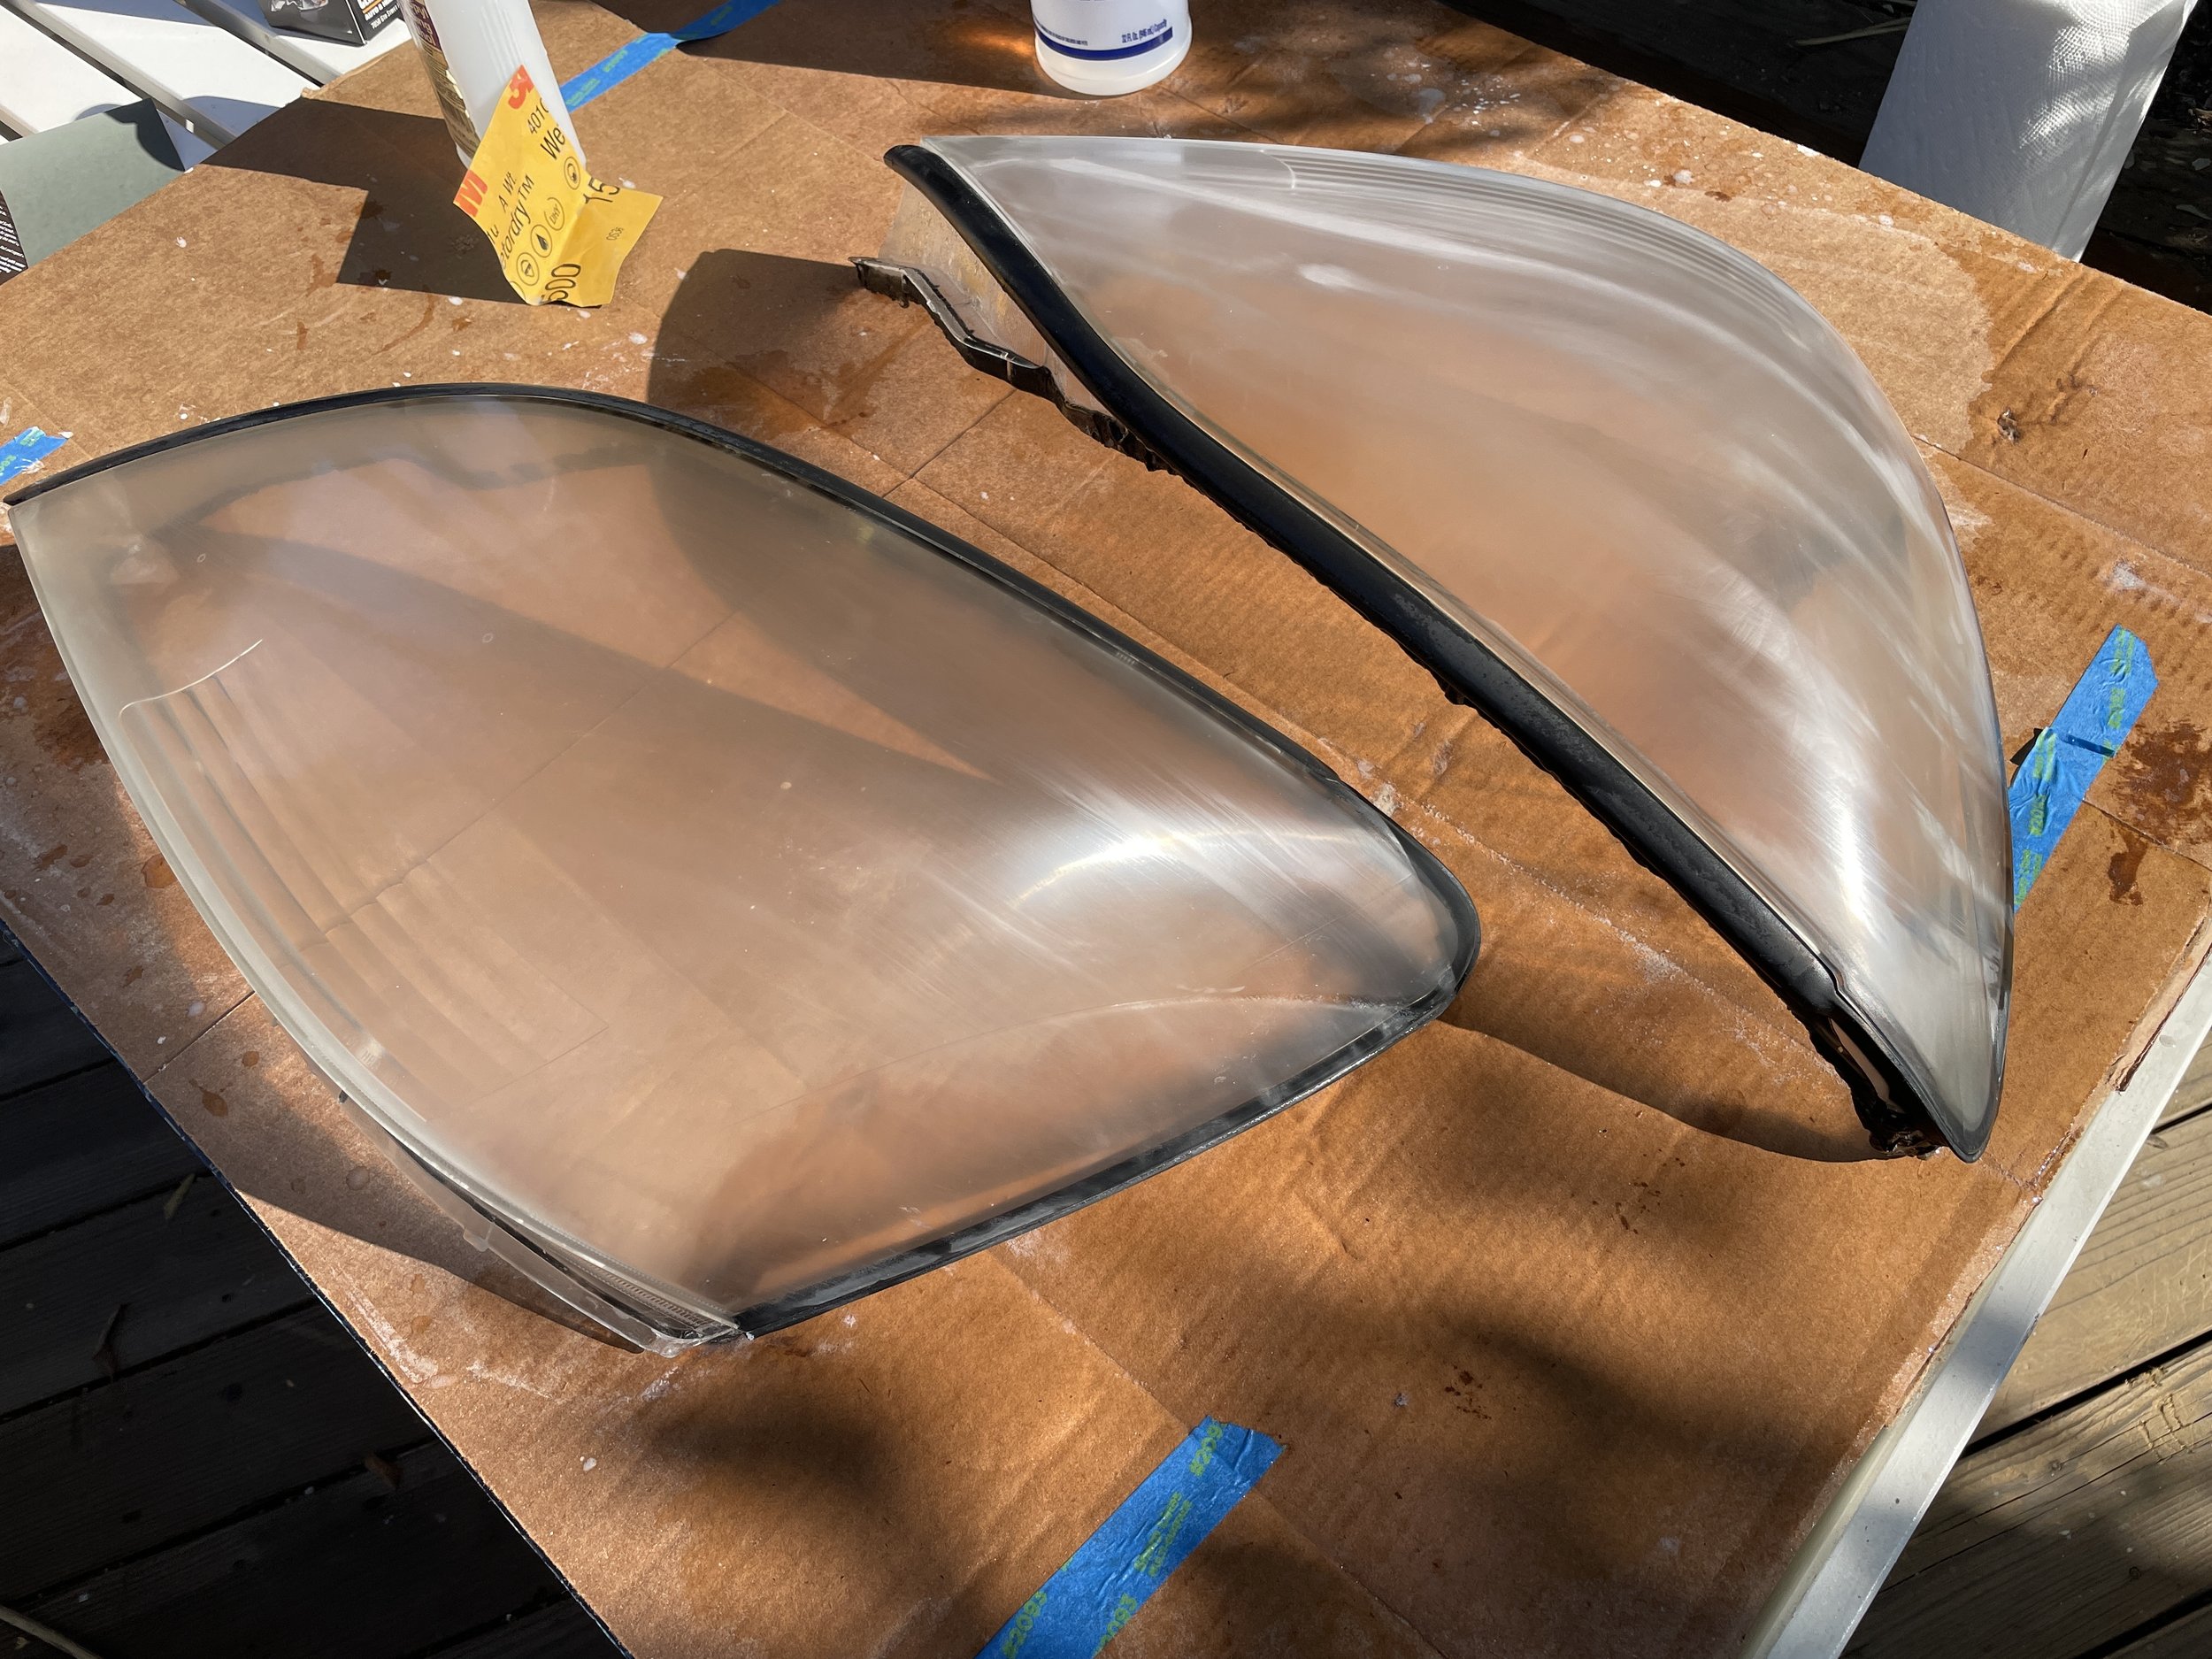
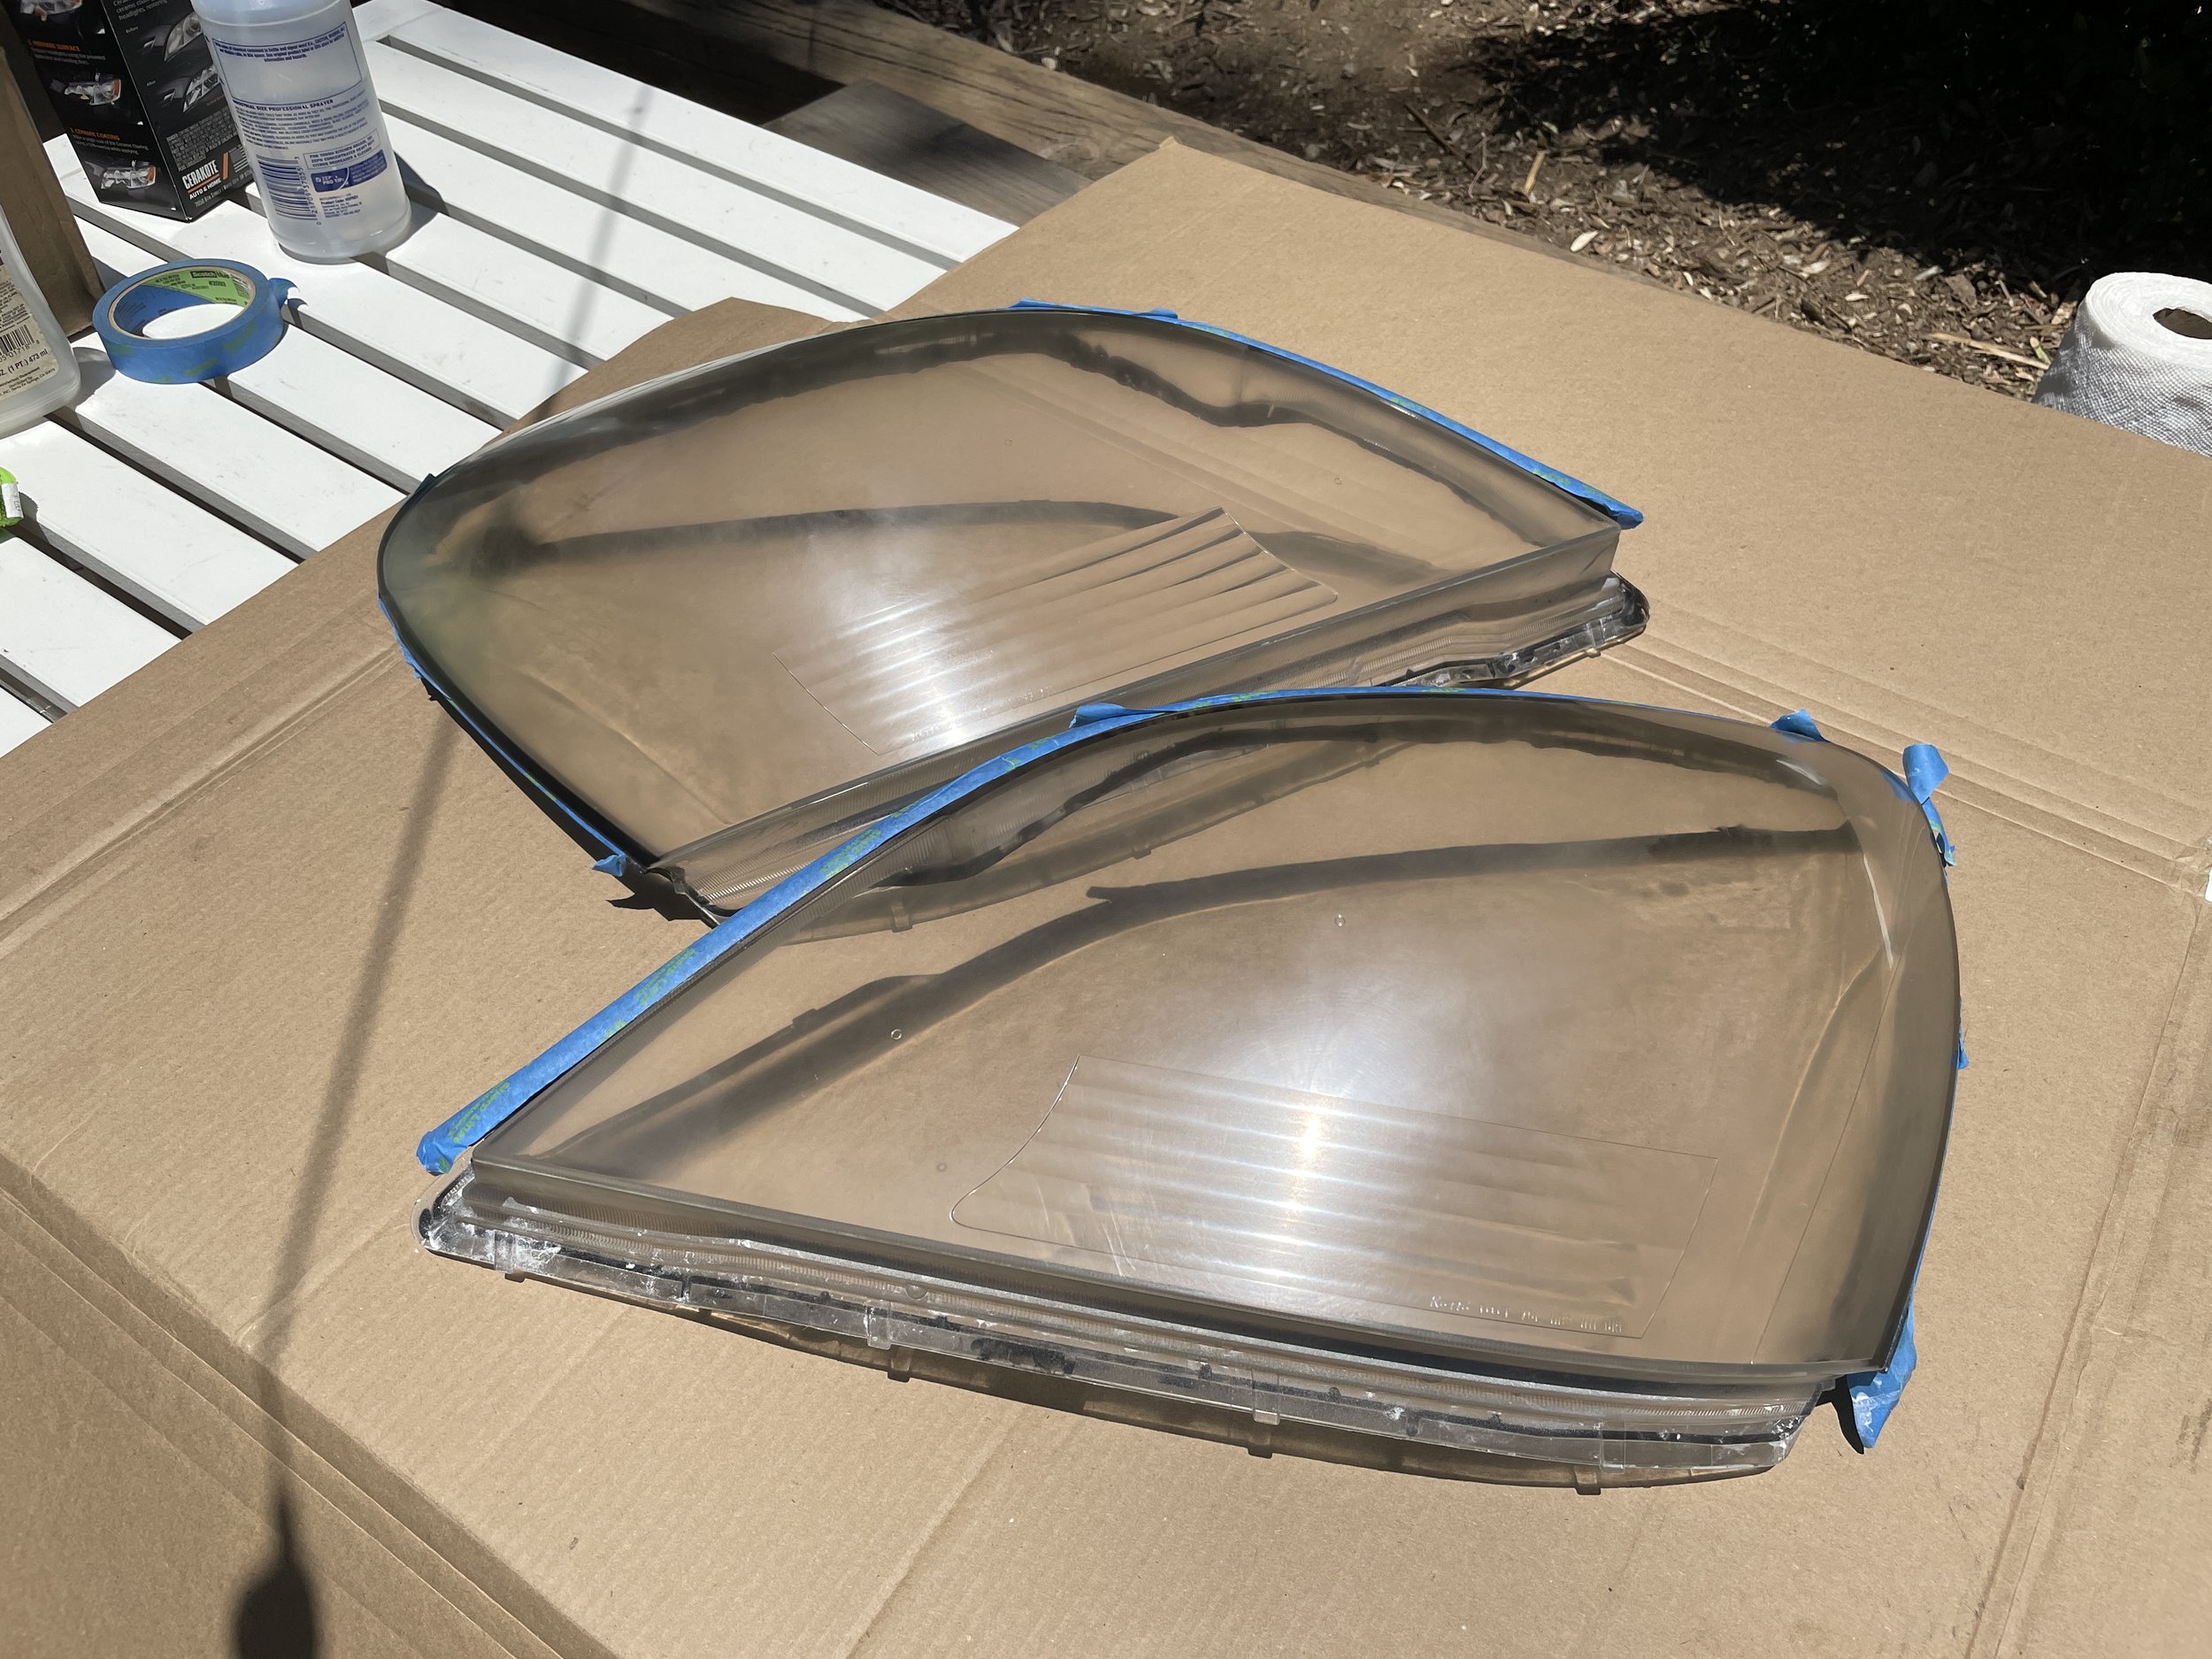
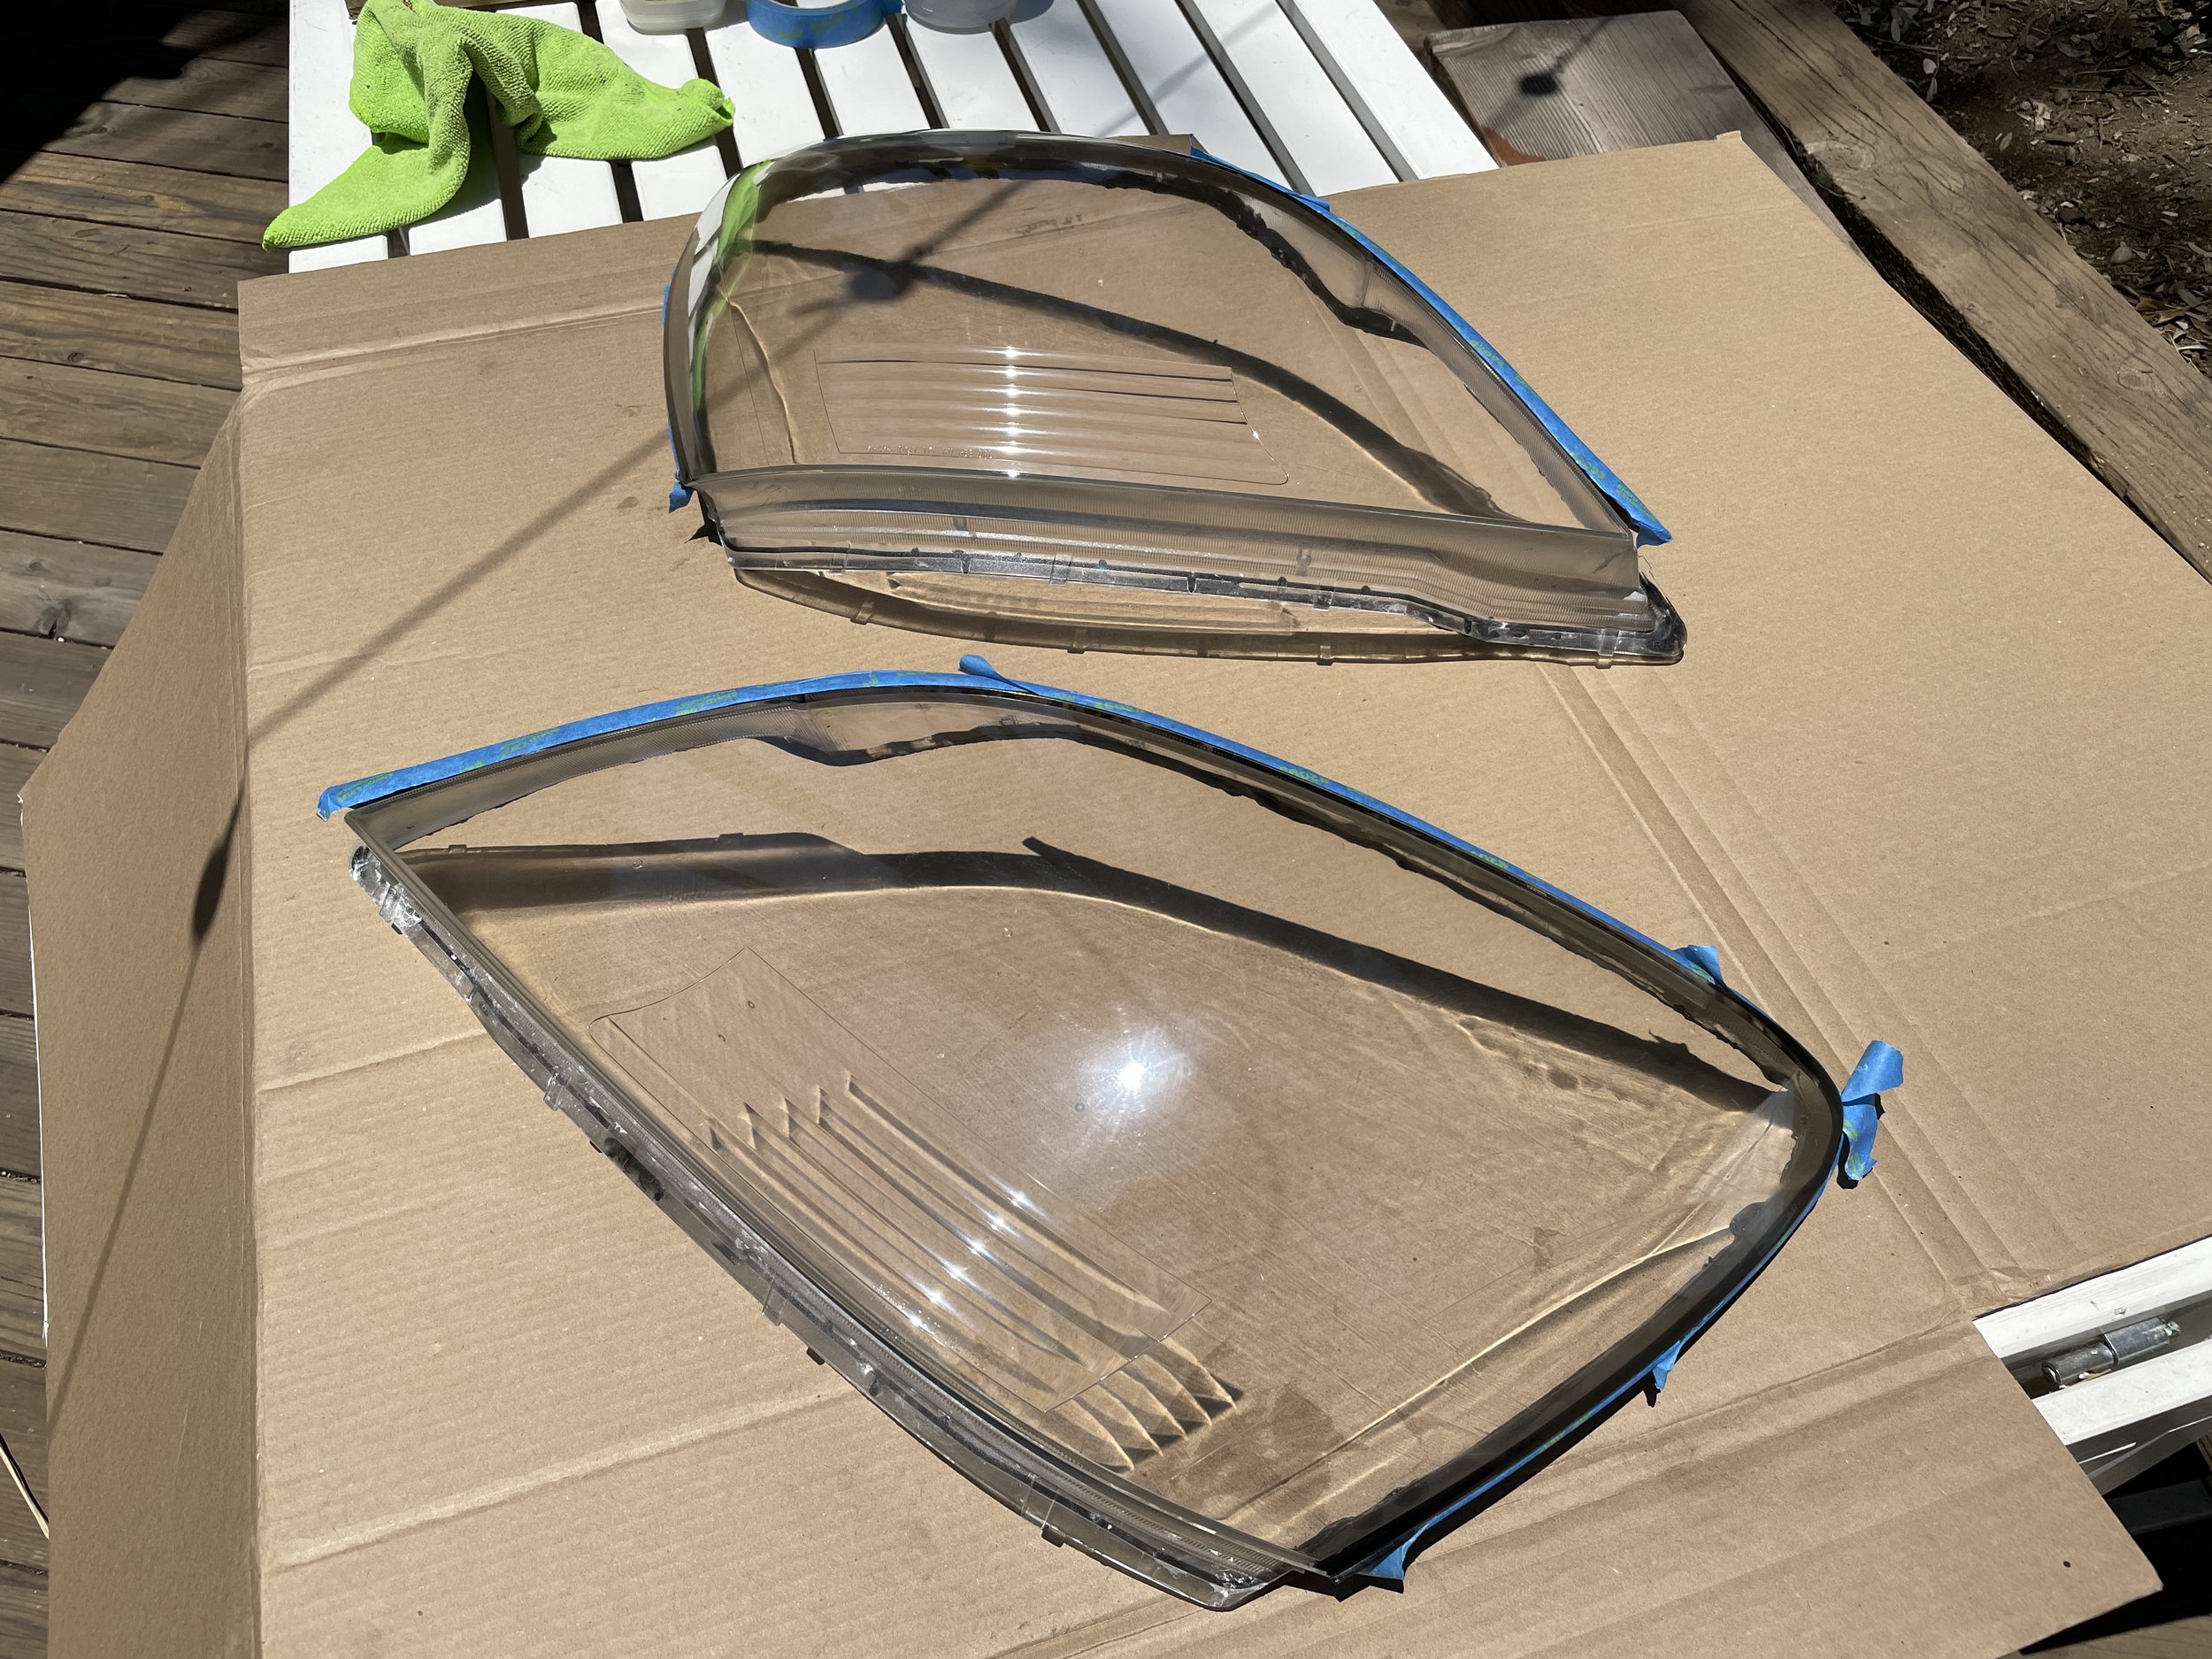
Cleaning up your Headlight Lenses…
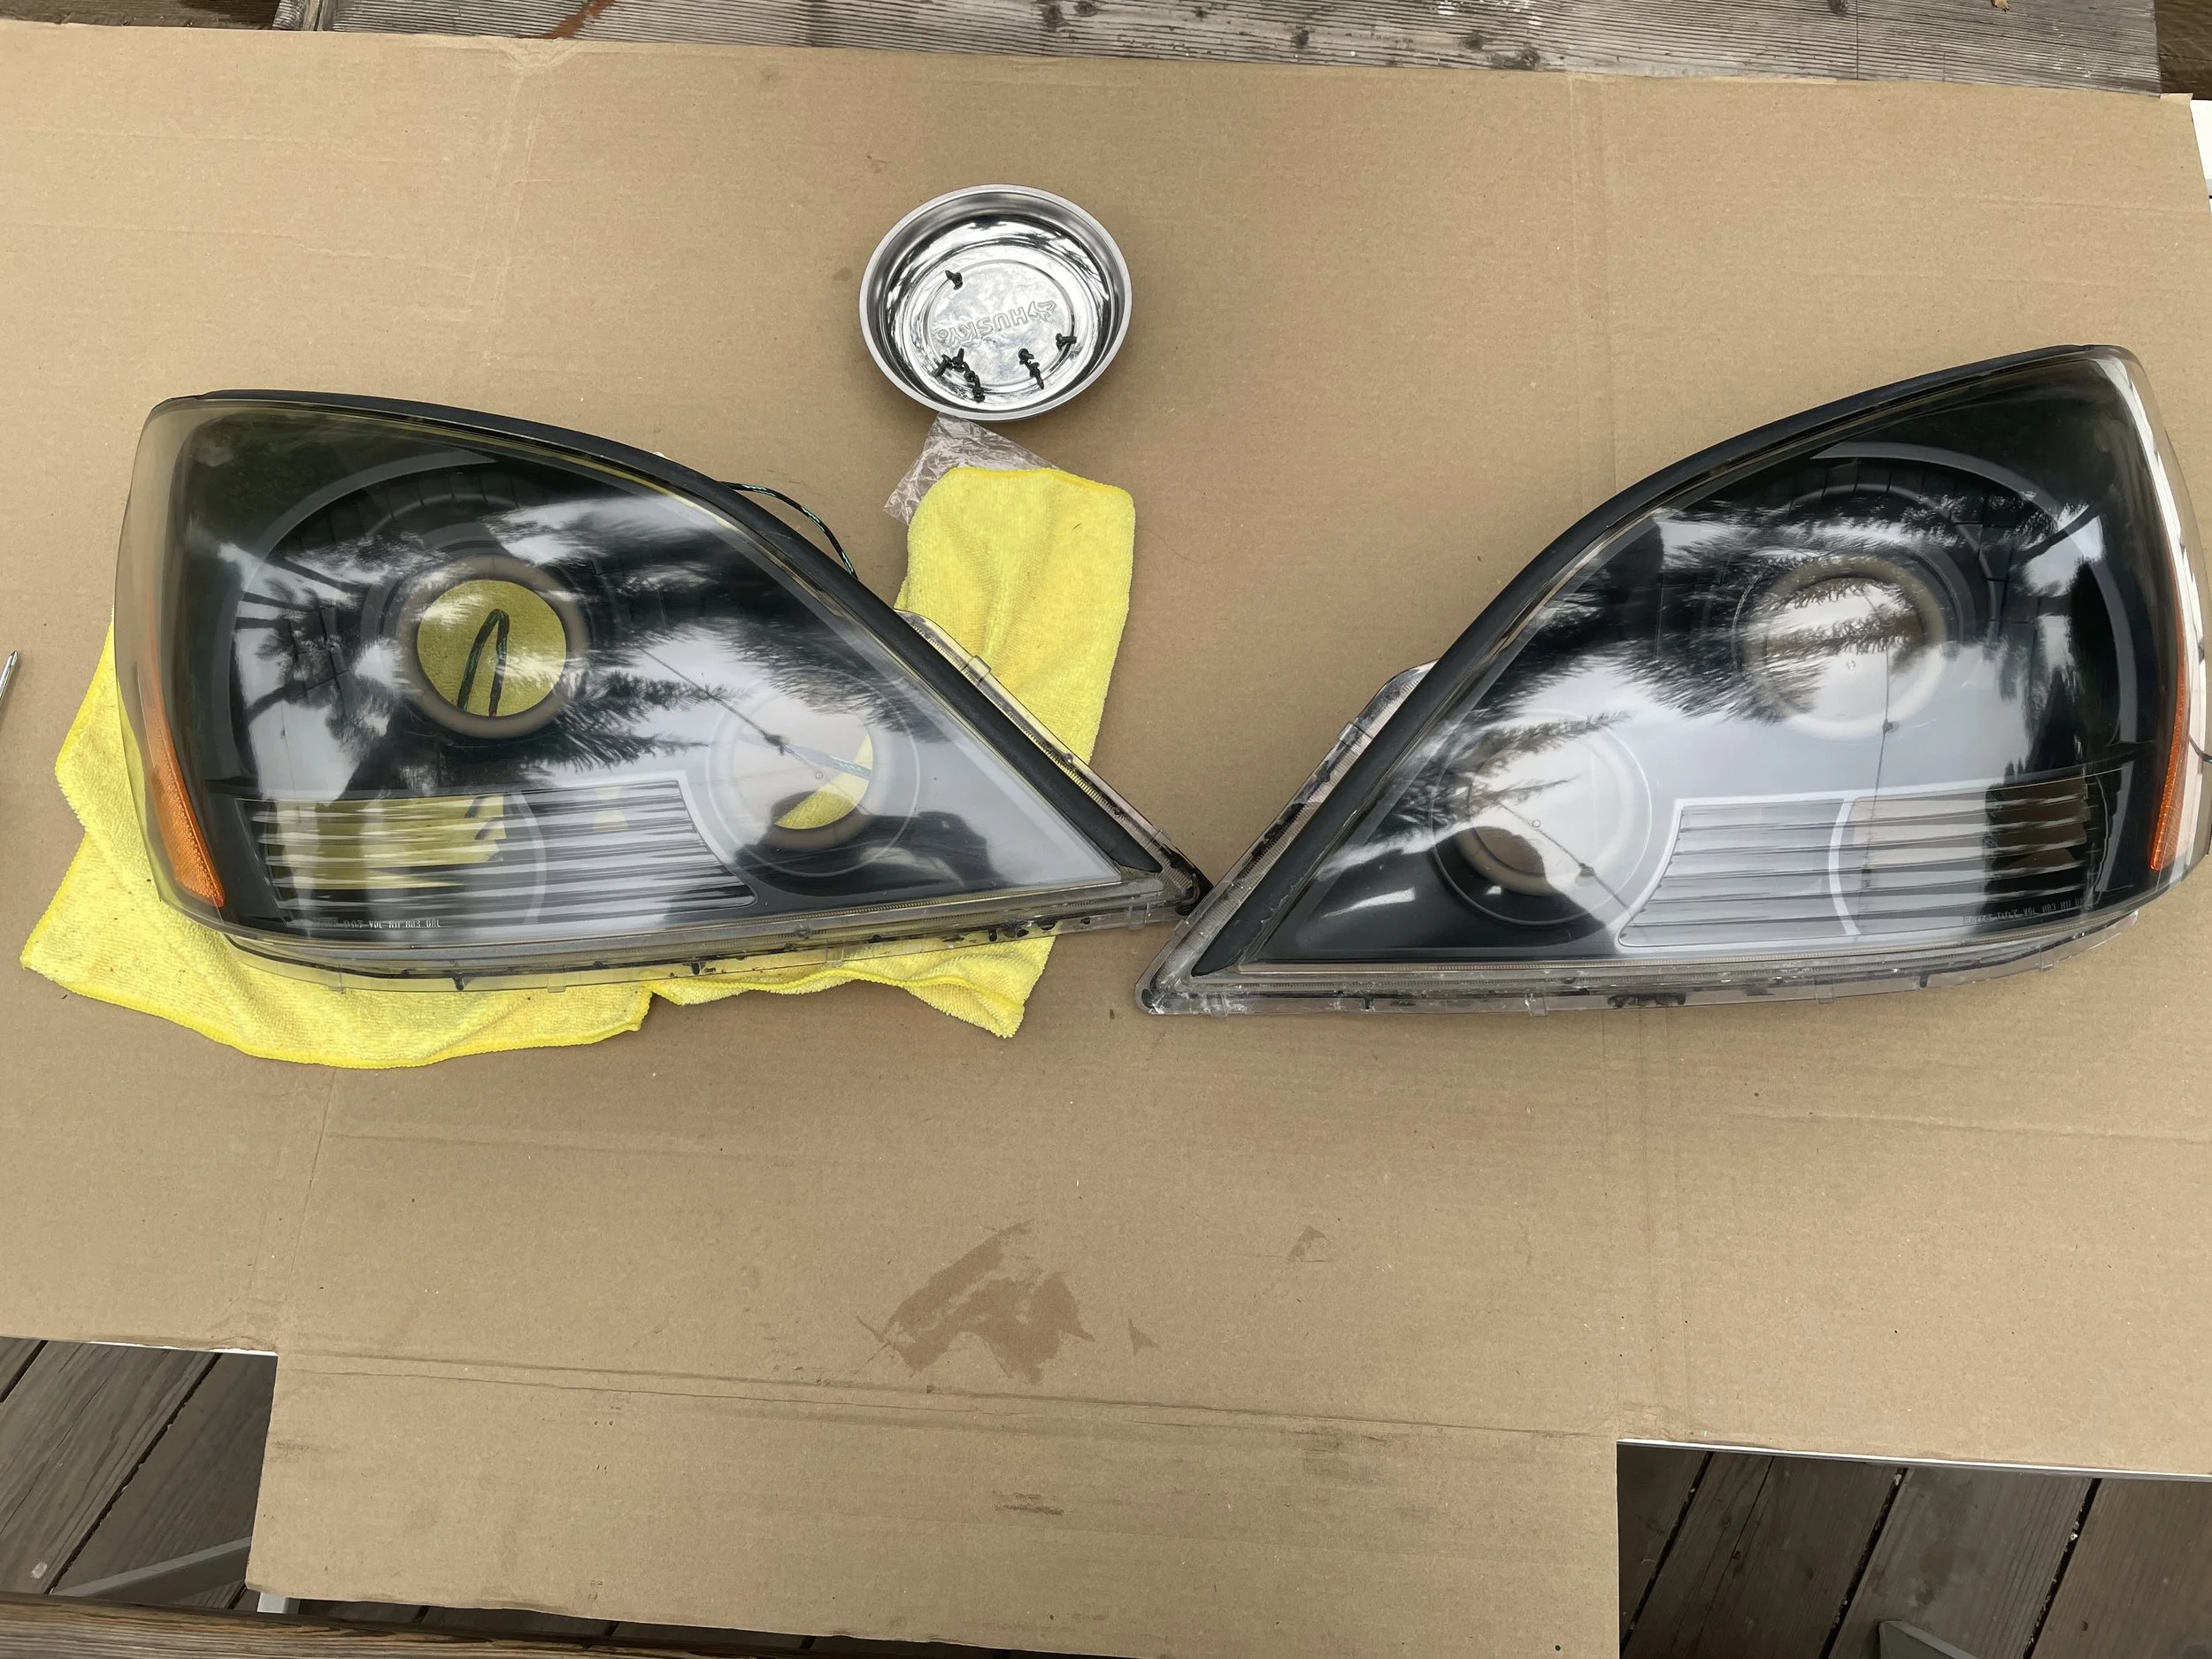
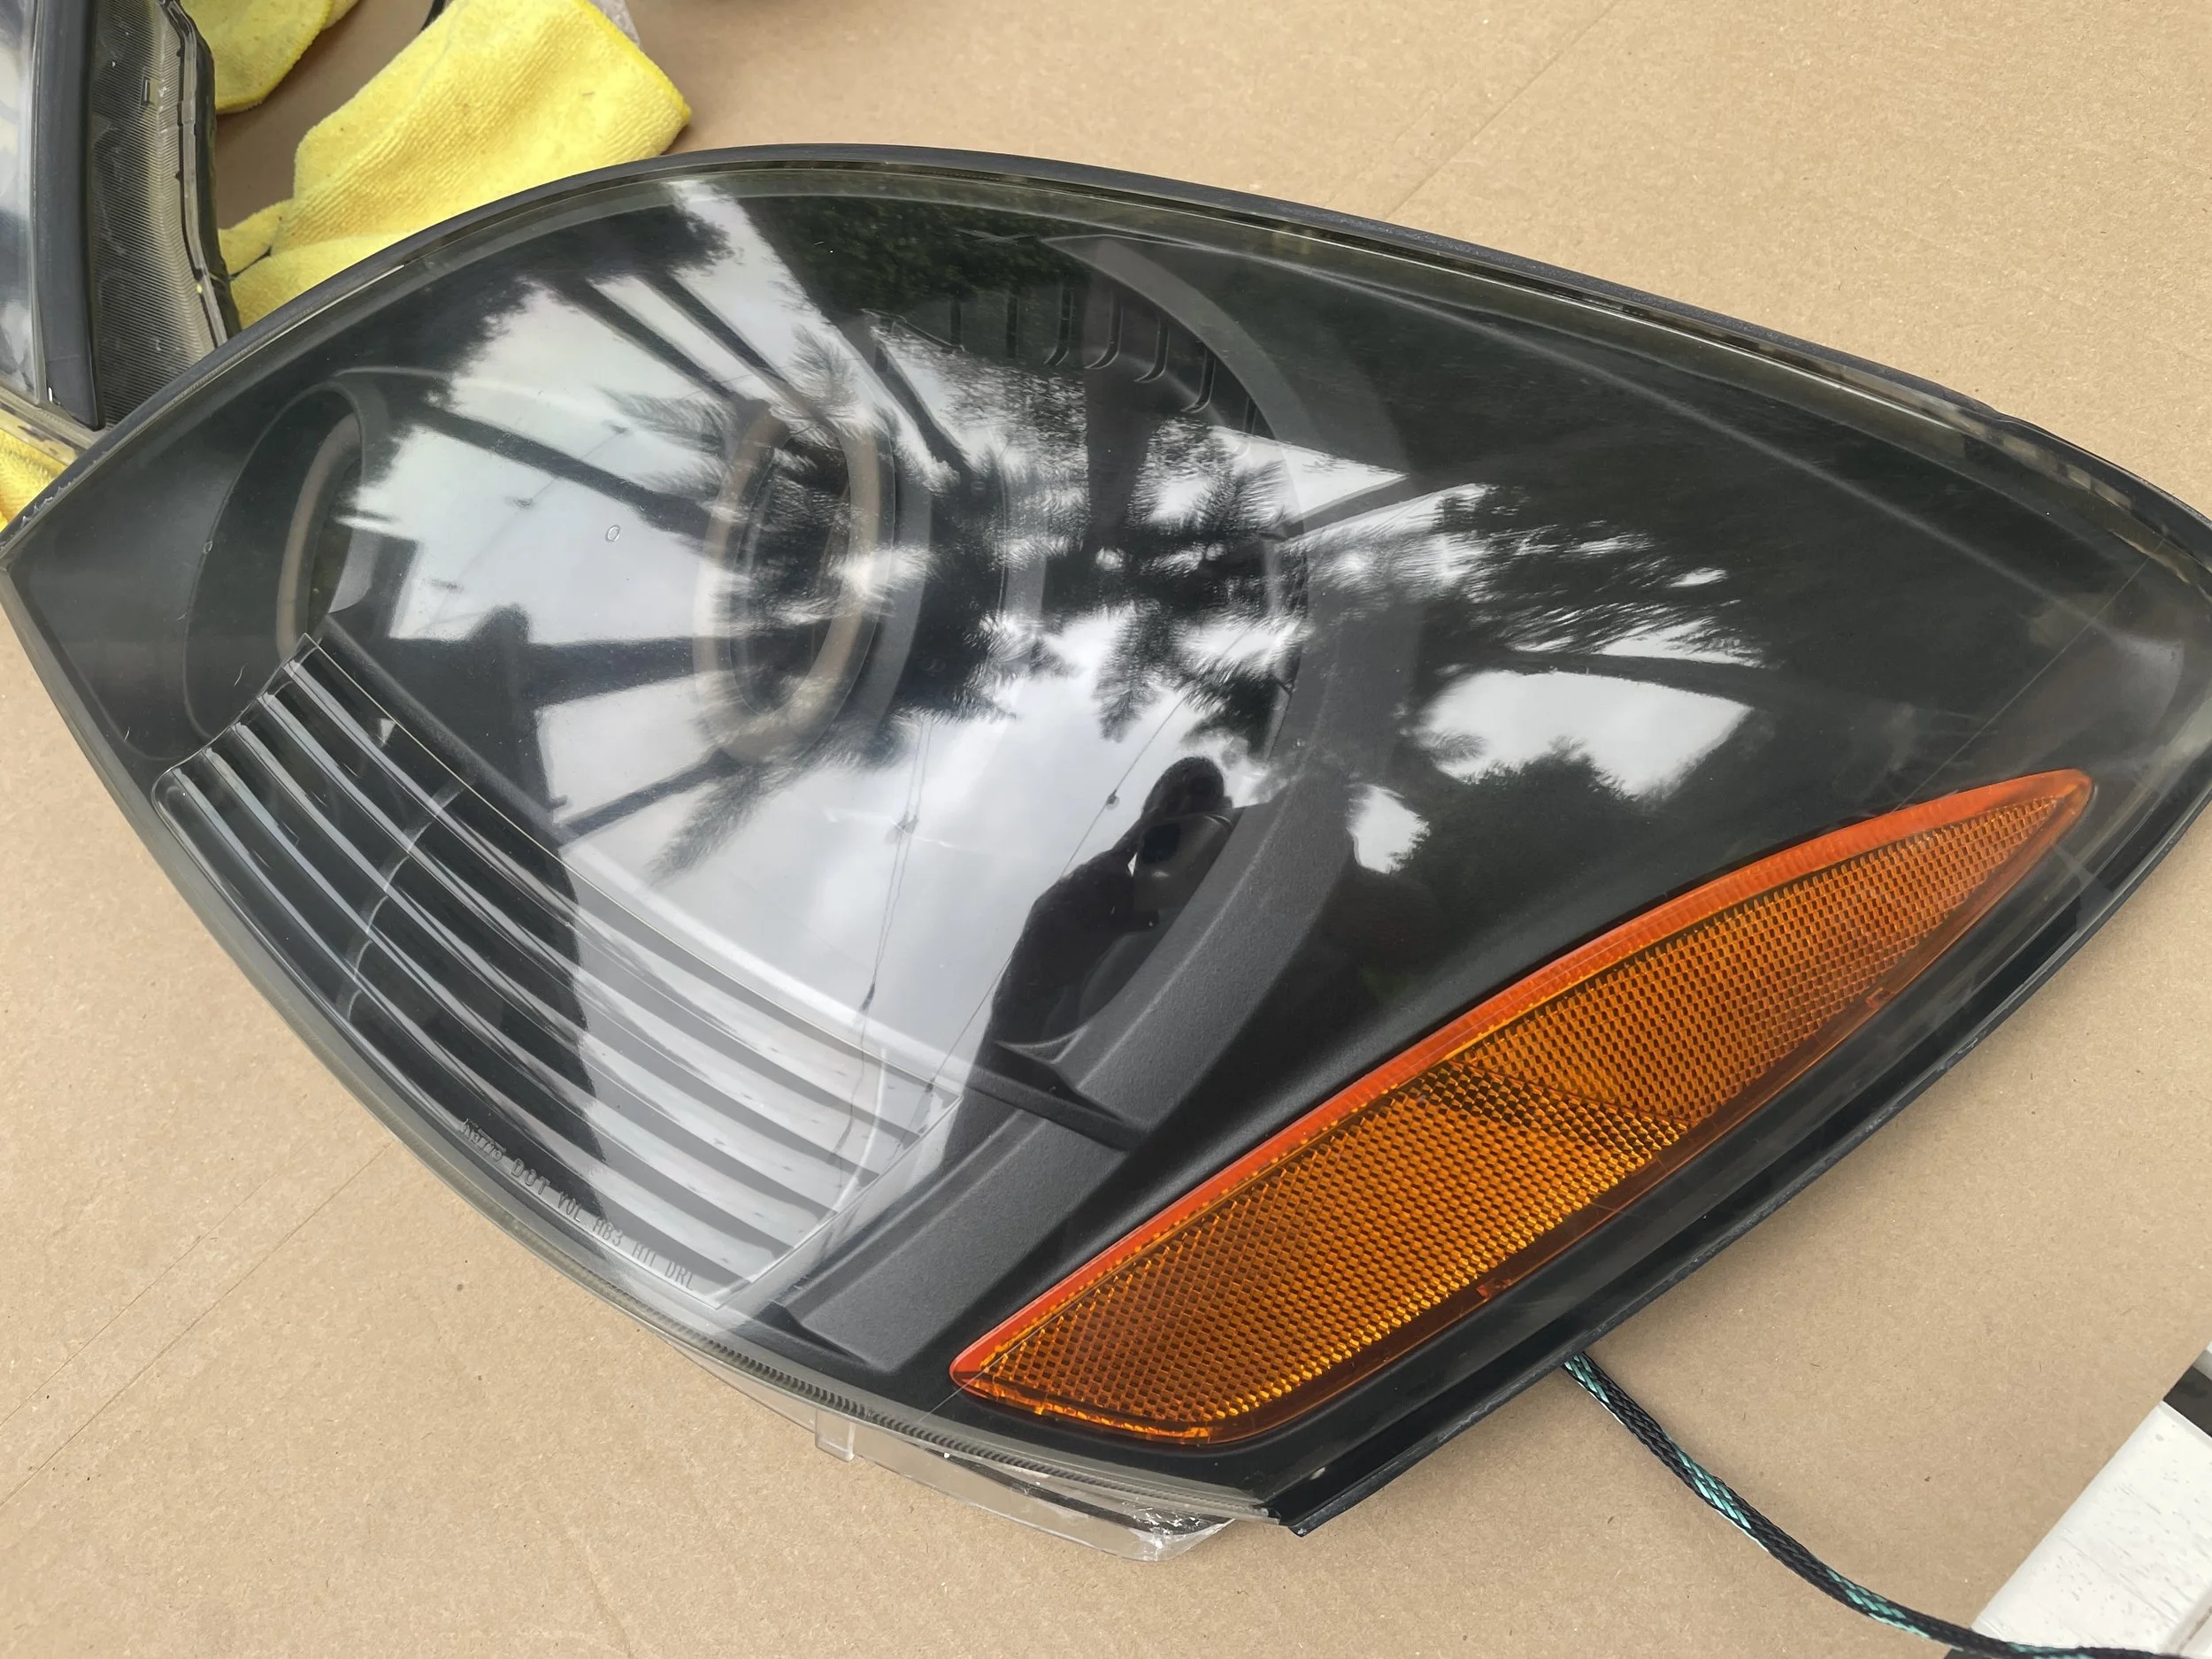
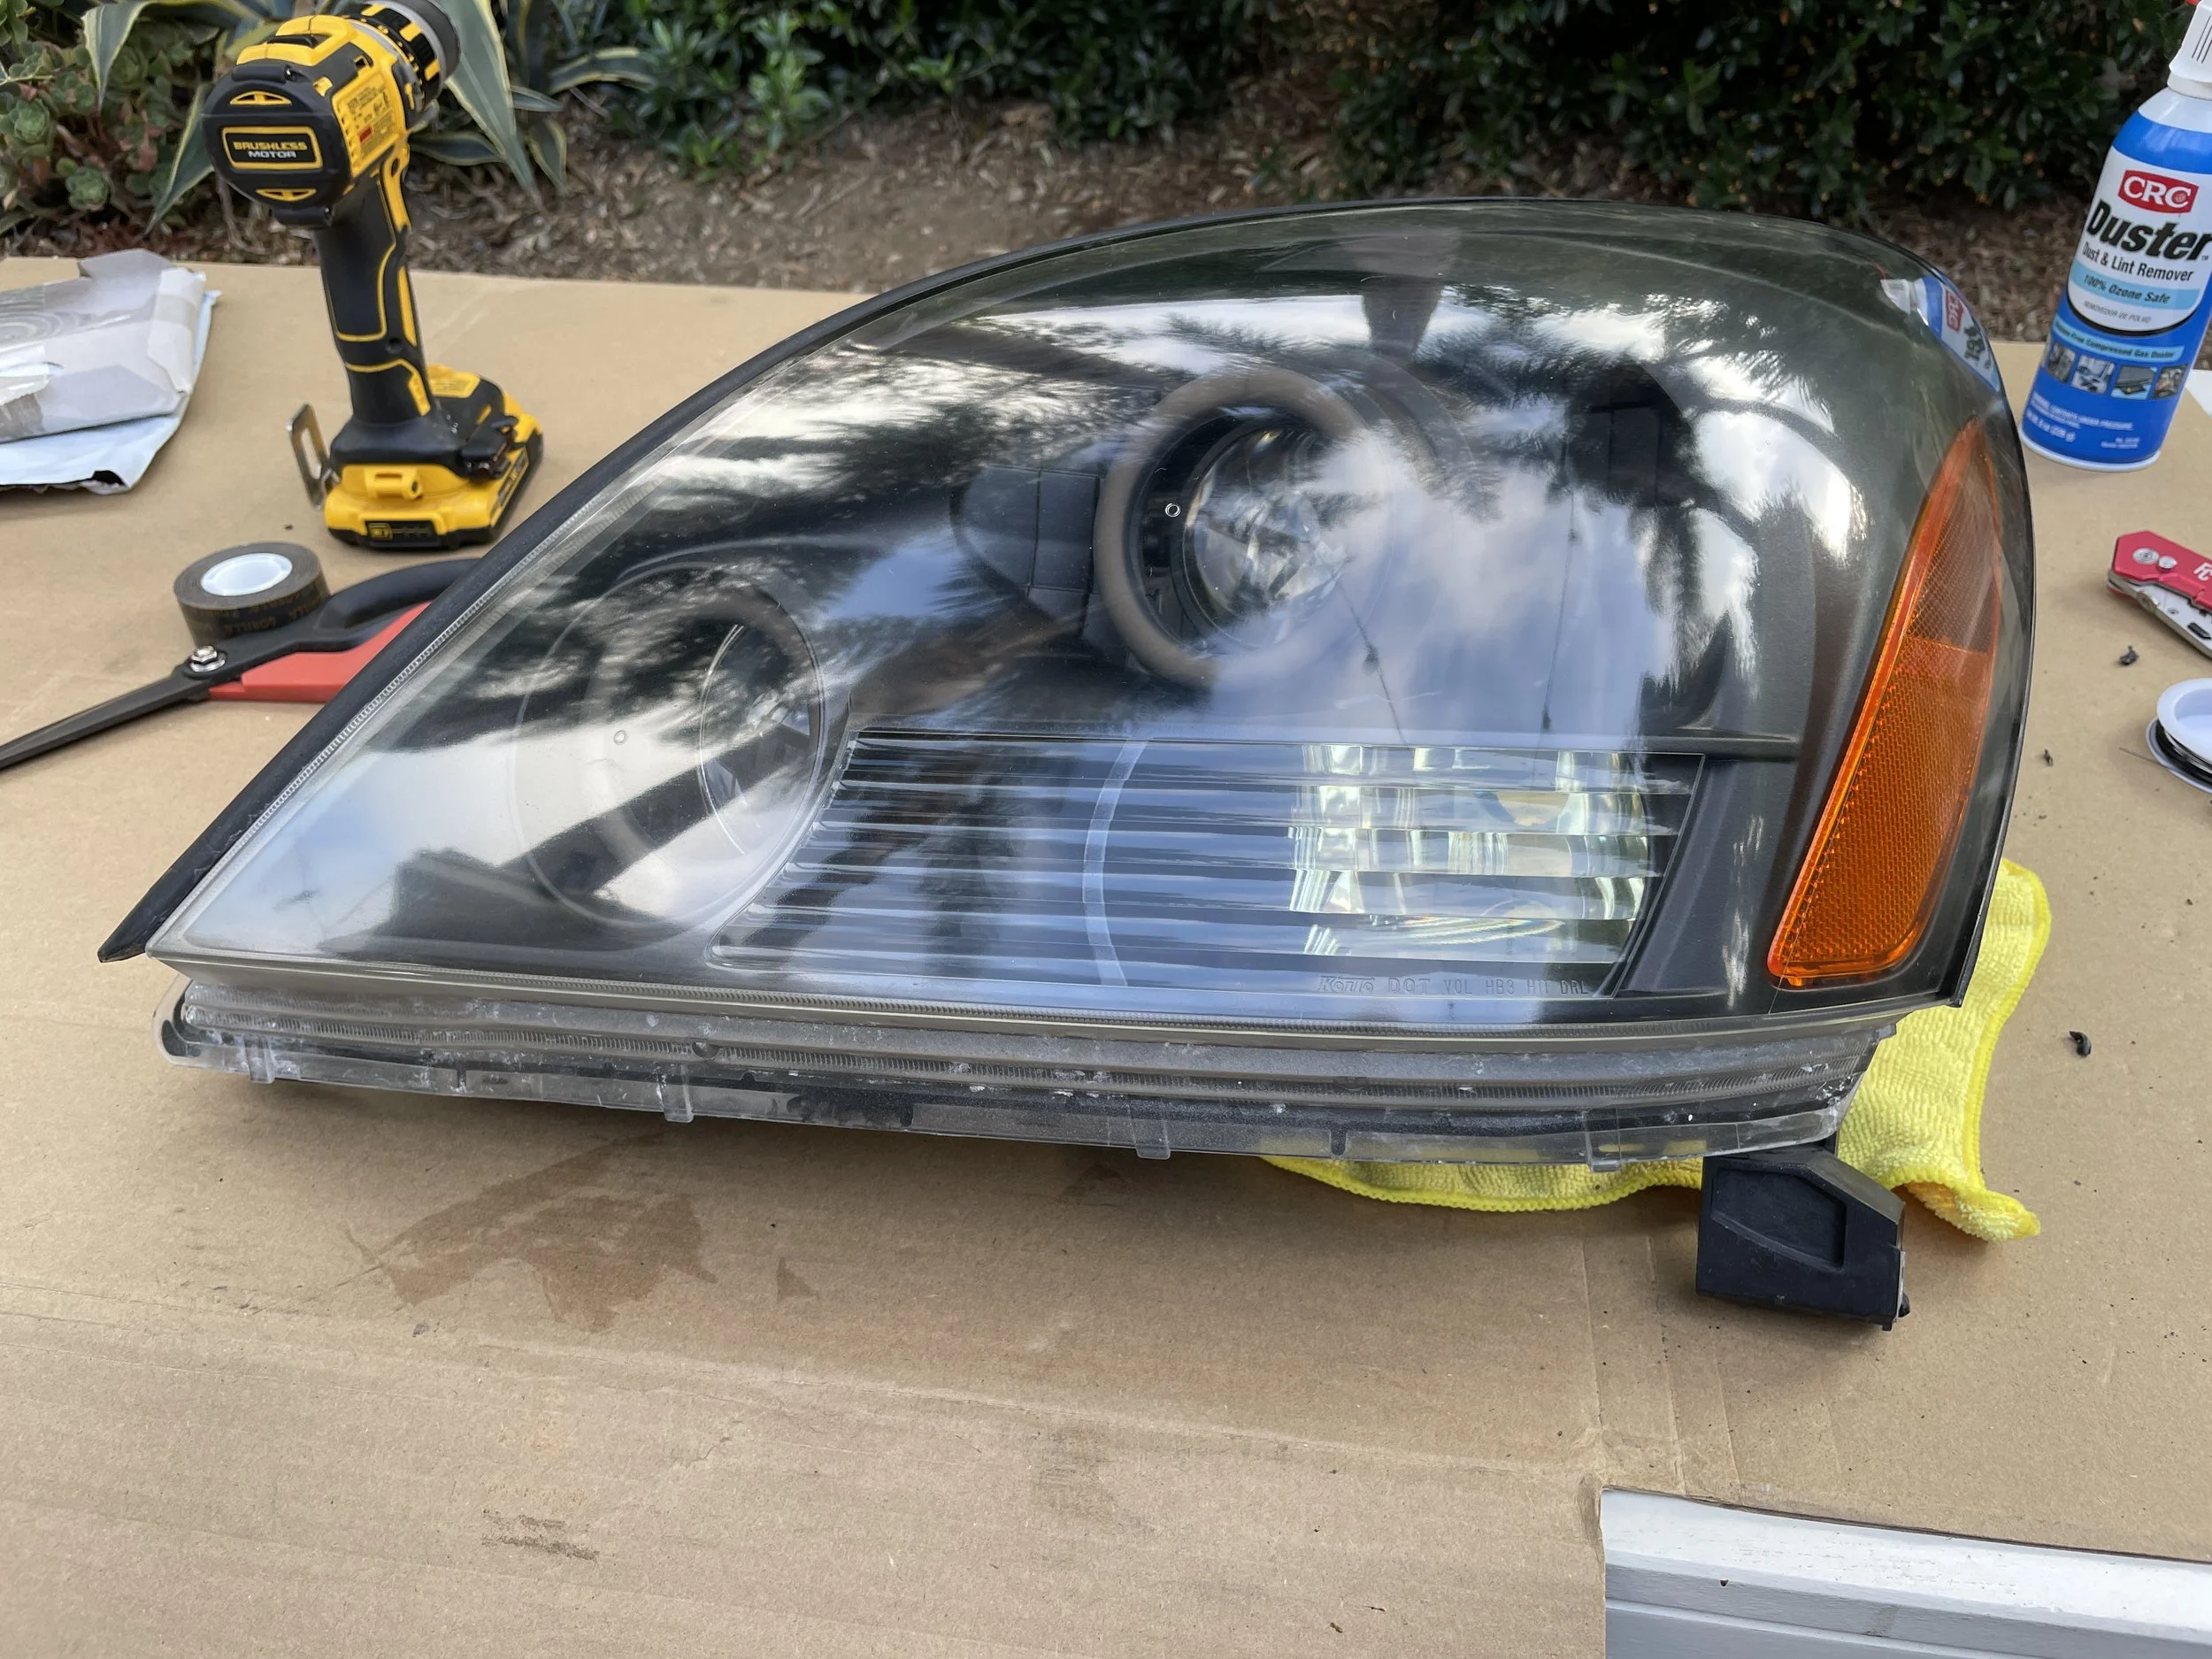
If your lenses look anything like ours, then a refinish is in serious order.
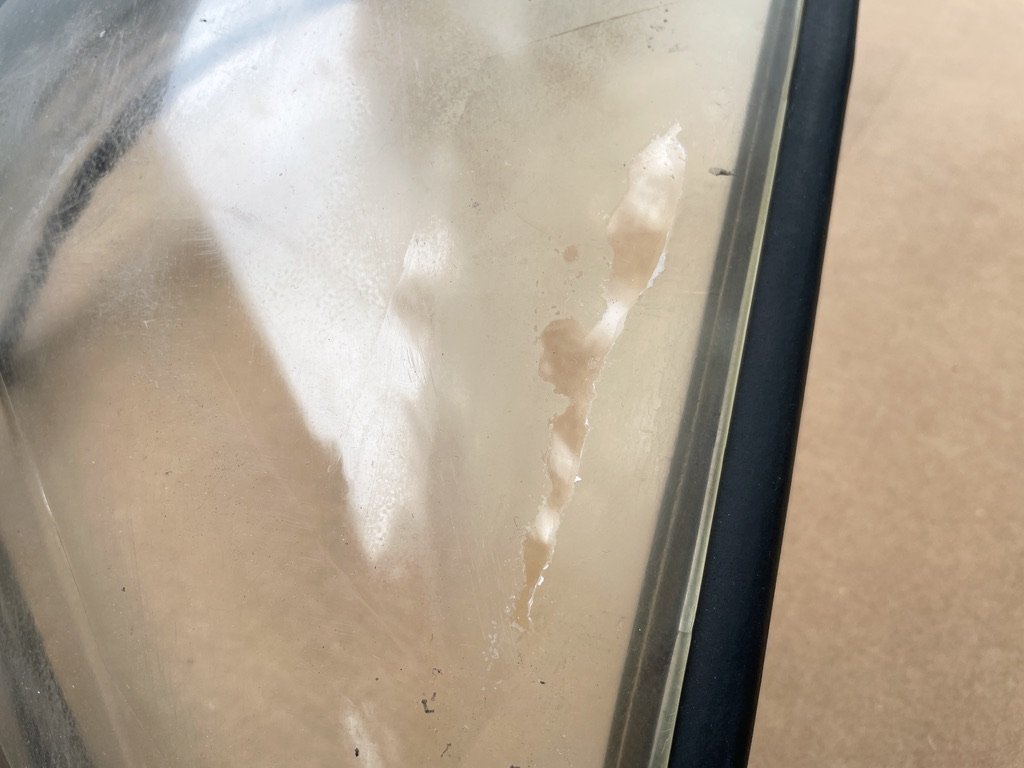
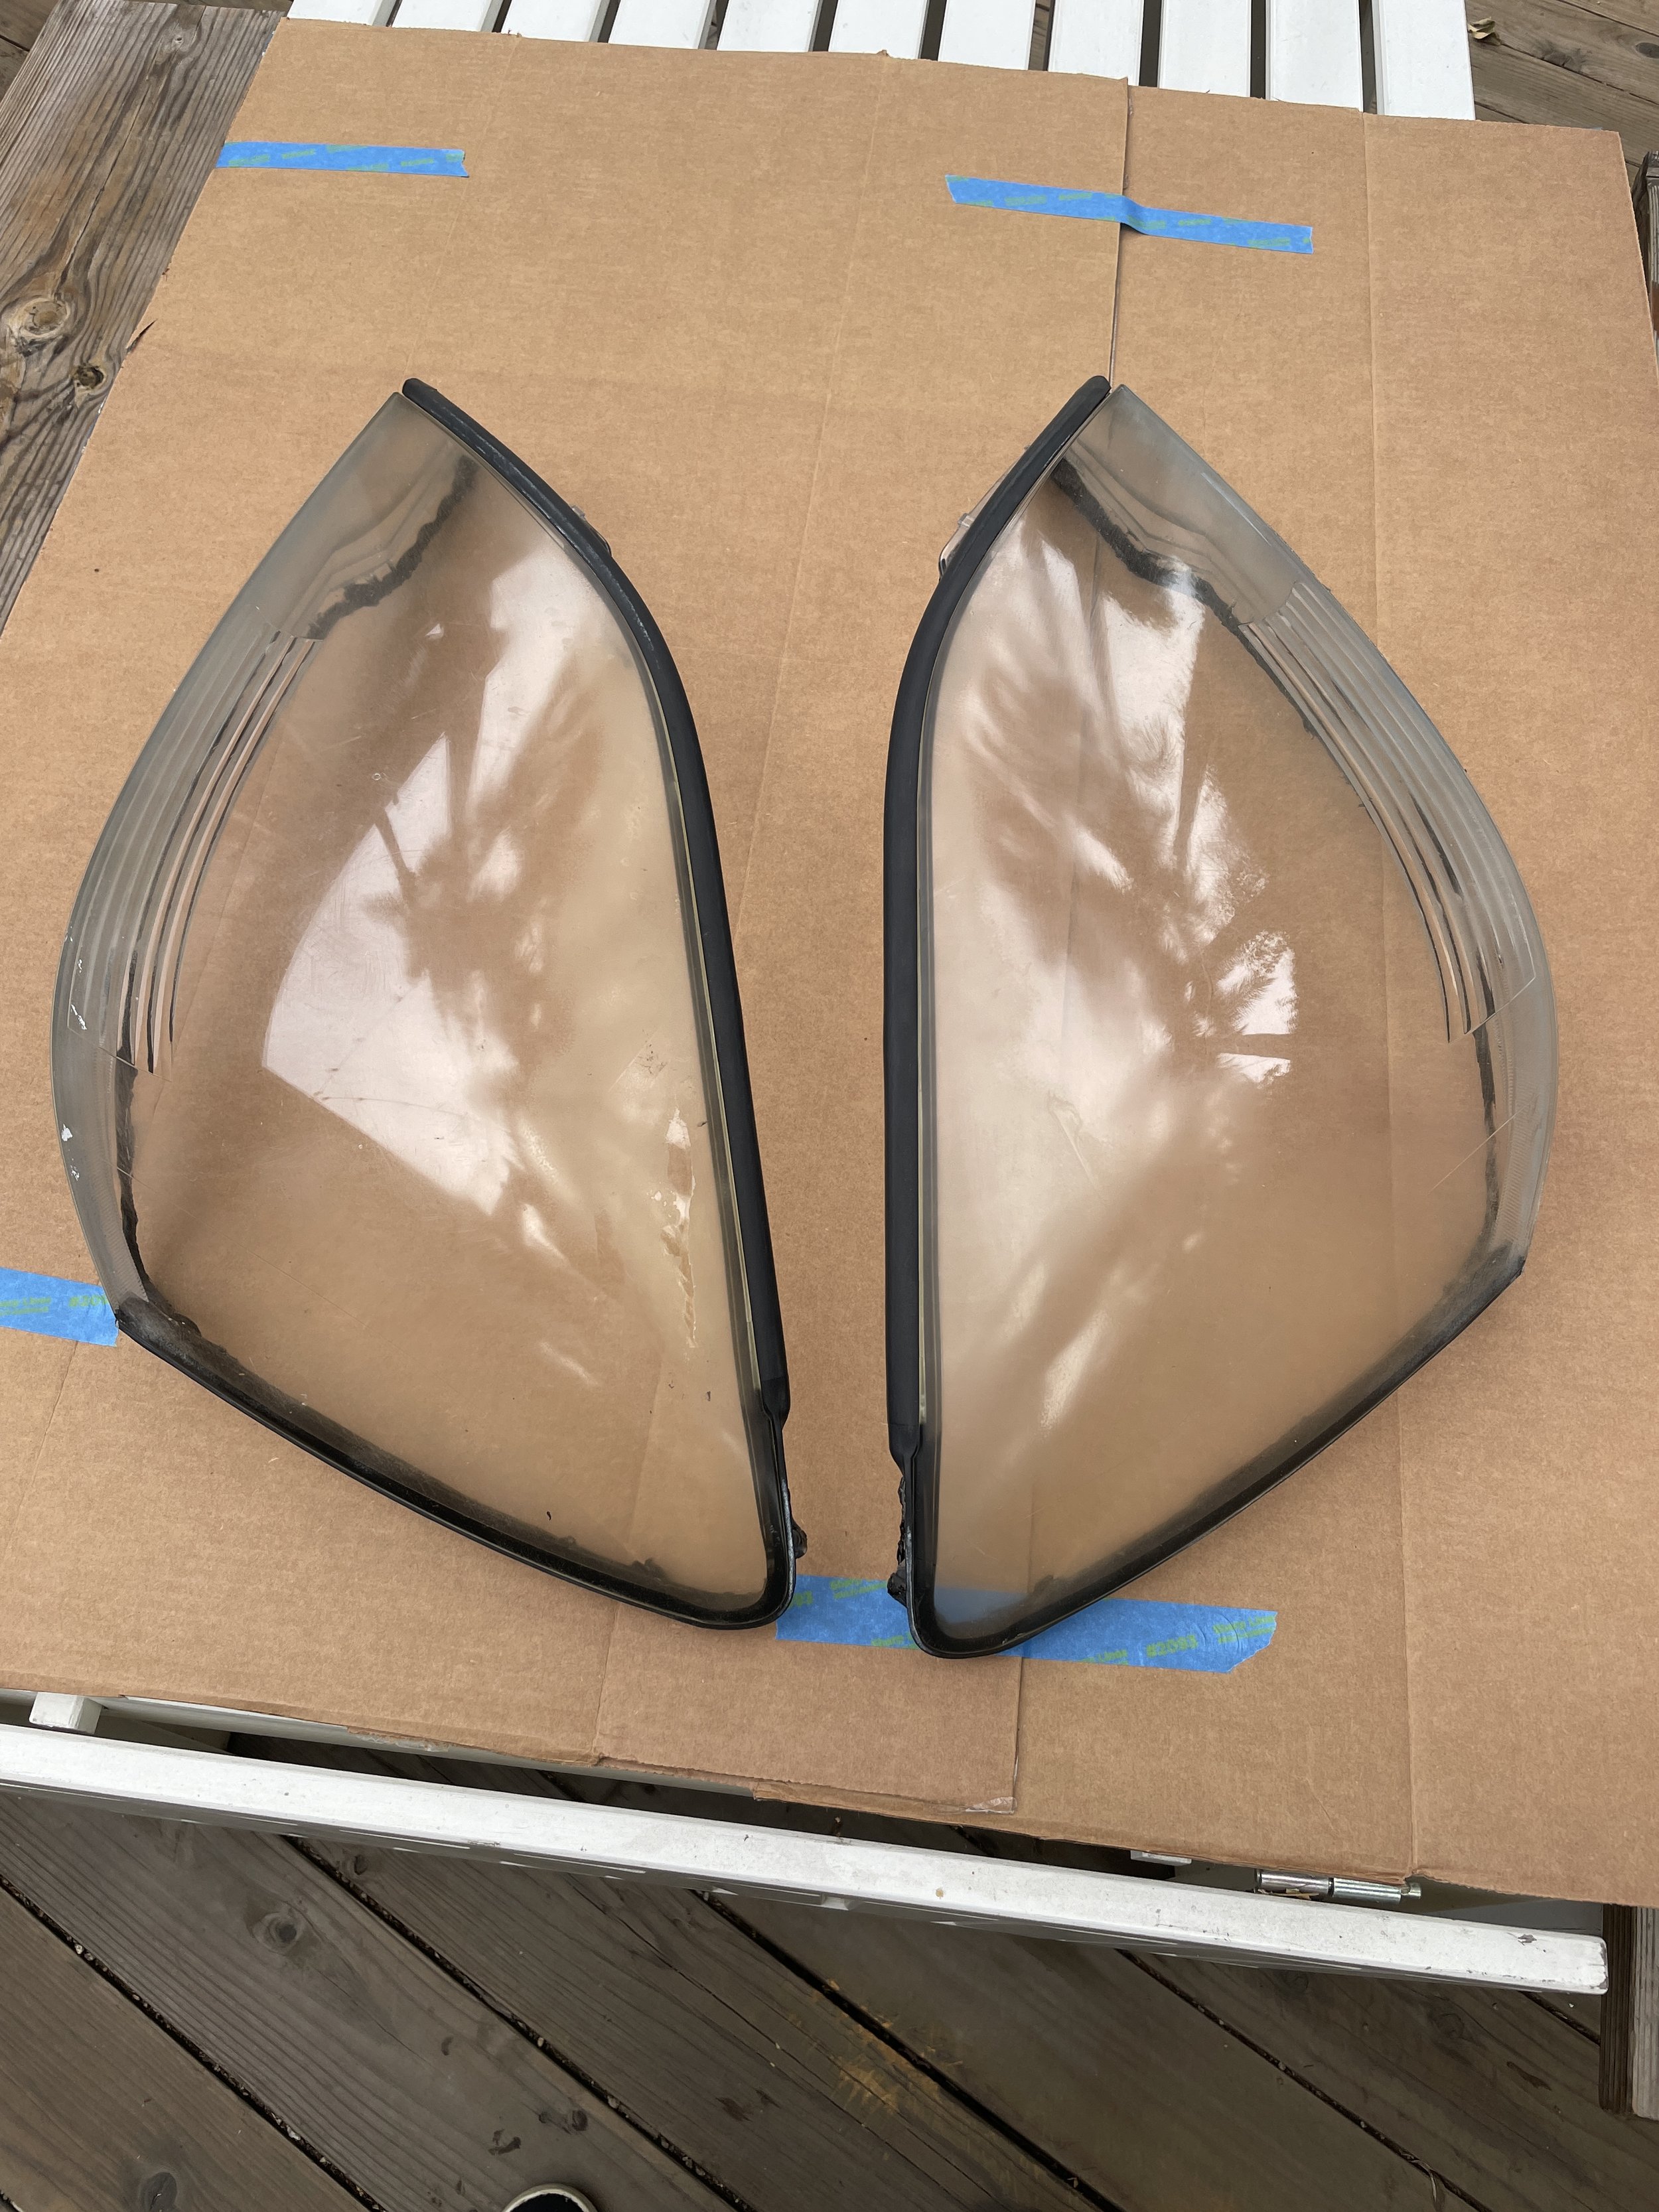
There are a TON of how-to’s out there for refinishing your headlights. We’ve followed the recommendations in the video referenced above. We also tried to implement a bit of the “chrisfix” method which requires a few coats of clear, UV resistant spray paint. Perhaps we didn’t get enough coats in (we did about 6) but our headlights ended up with a distinctly frosted glass look to them forcing us to go back through the wet sanding procedure (outlined below) for a second time to smooth them back out. YMMV.
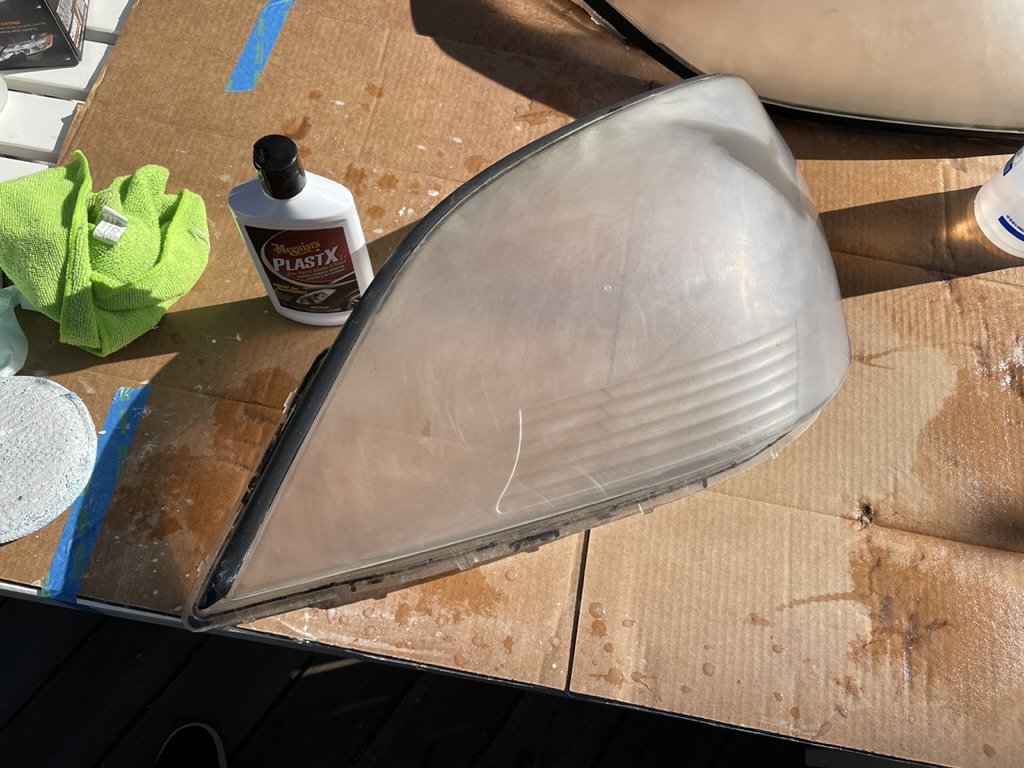
We also added a coat of Meguiar’s PlastX for a thorough polishing before the ceramic coat. That step we’d thoroughly recommend.
Step 1:
You’re basically following the Cerakote instructions here, but adding a little more sanding depending on the state of your headlights. Start with the included oxidation remover from the Cerakote kit. They recommend 4 wipes per headlight; we were satisfied after 3 wipes in total.
Step 2:
This step is actually many steps crammed into one description. Determine how aggressively you want to sand your headlights. As you can see, ours were in rough shape, so we oped to start with 400 grit sandpaper. Using your selected grit, wet sand (as in keep your headlights lens very wet while sanding) each lens thoroughly. We worked our way up from 400 → 800 → 1500 → 3000 grit, rinsing the headlight between each sanding.
NOTE: Your headlights will get cloudy through this process. Yes, it will look like you’ve ruined your headlights. Trust the process and keep going. (See pics below for what to expect.)
After the 800 grit sandpaper.
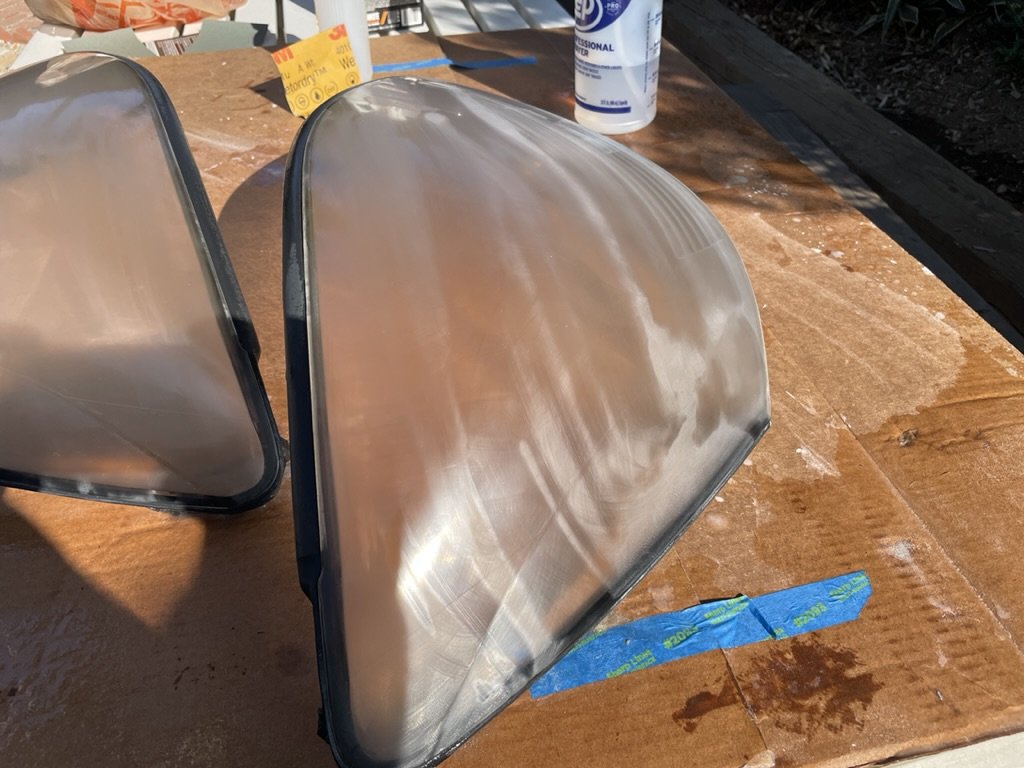
After the 1500 grit sandpaper.
After the 3000 grit sandpaper.
As you can see, after a thorough sanding with four different grits of sandpaper, our headlights look like an unsalvageable mess. This is where the headlight polish and ceramic coat step in to save the day.
Step 3:
Using an applicator pad or a terry cloth rag, liberally polish the headlight lens with the Meguiar’s PlastX following the directions on the bottle. Don’t be afraid to put some elbow grease into the polishing; it’s a fine polish. Here’s what the finished product looks like compared to where it started…

Now, this is the part were we messed up. After viewing the Chrisfix video (linked above), we were convinced to try a few coats of clear UV resistant gloss spray on the headlights. Unfortunately, after applying the spray, it looks more like a frosted glass effect than anything else.
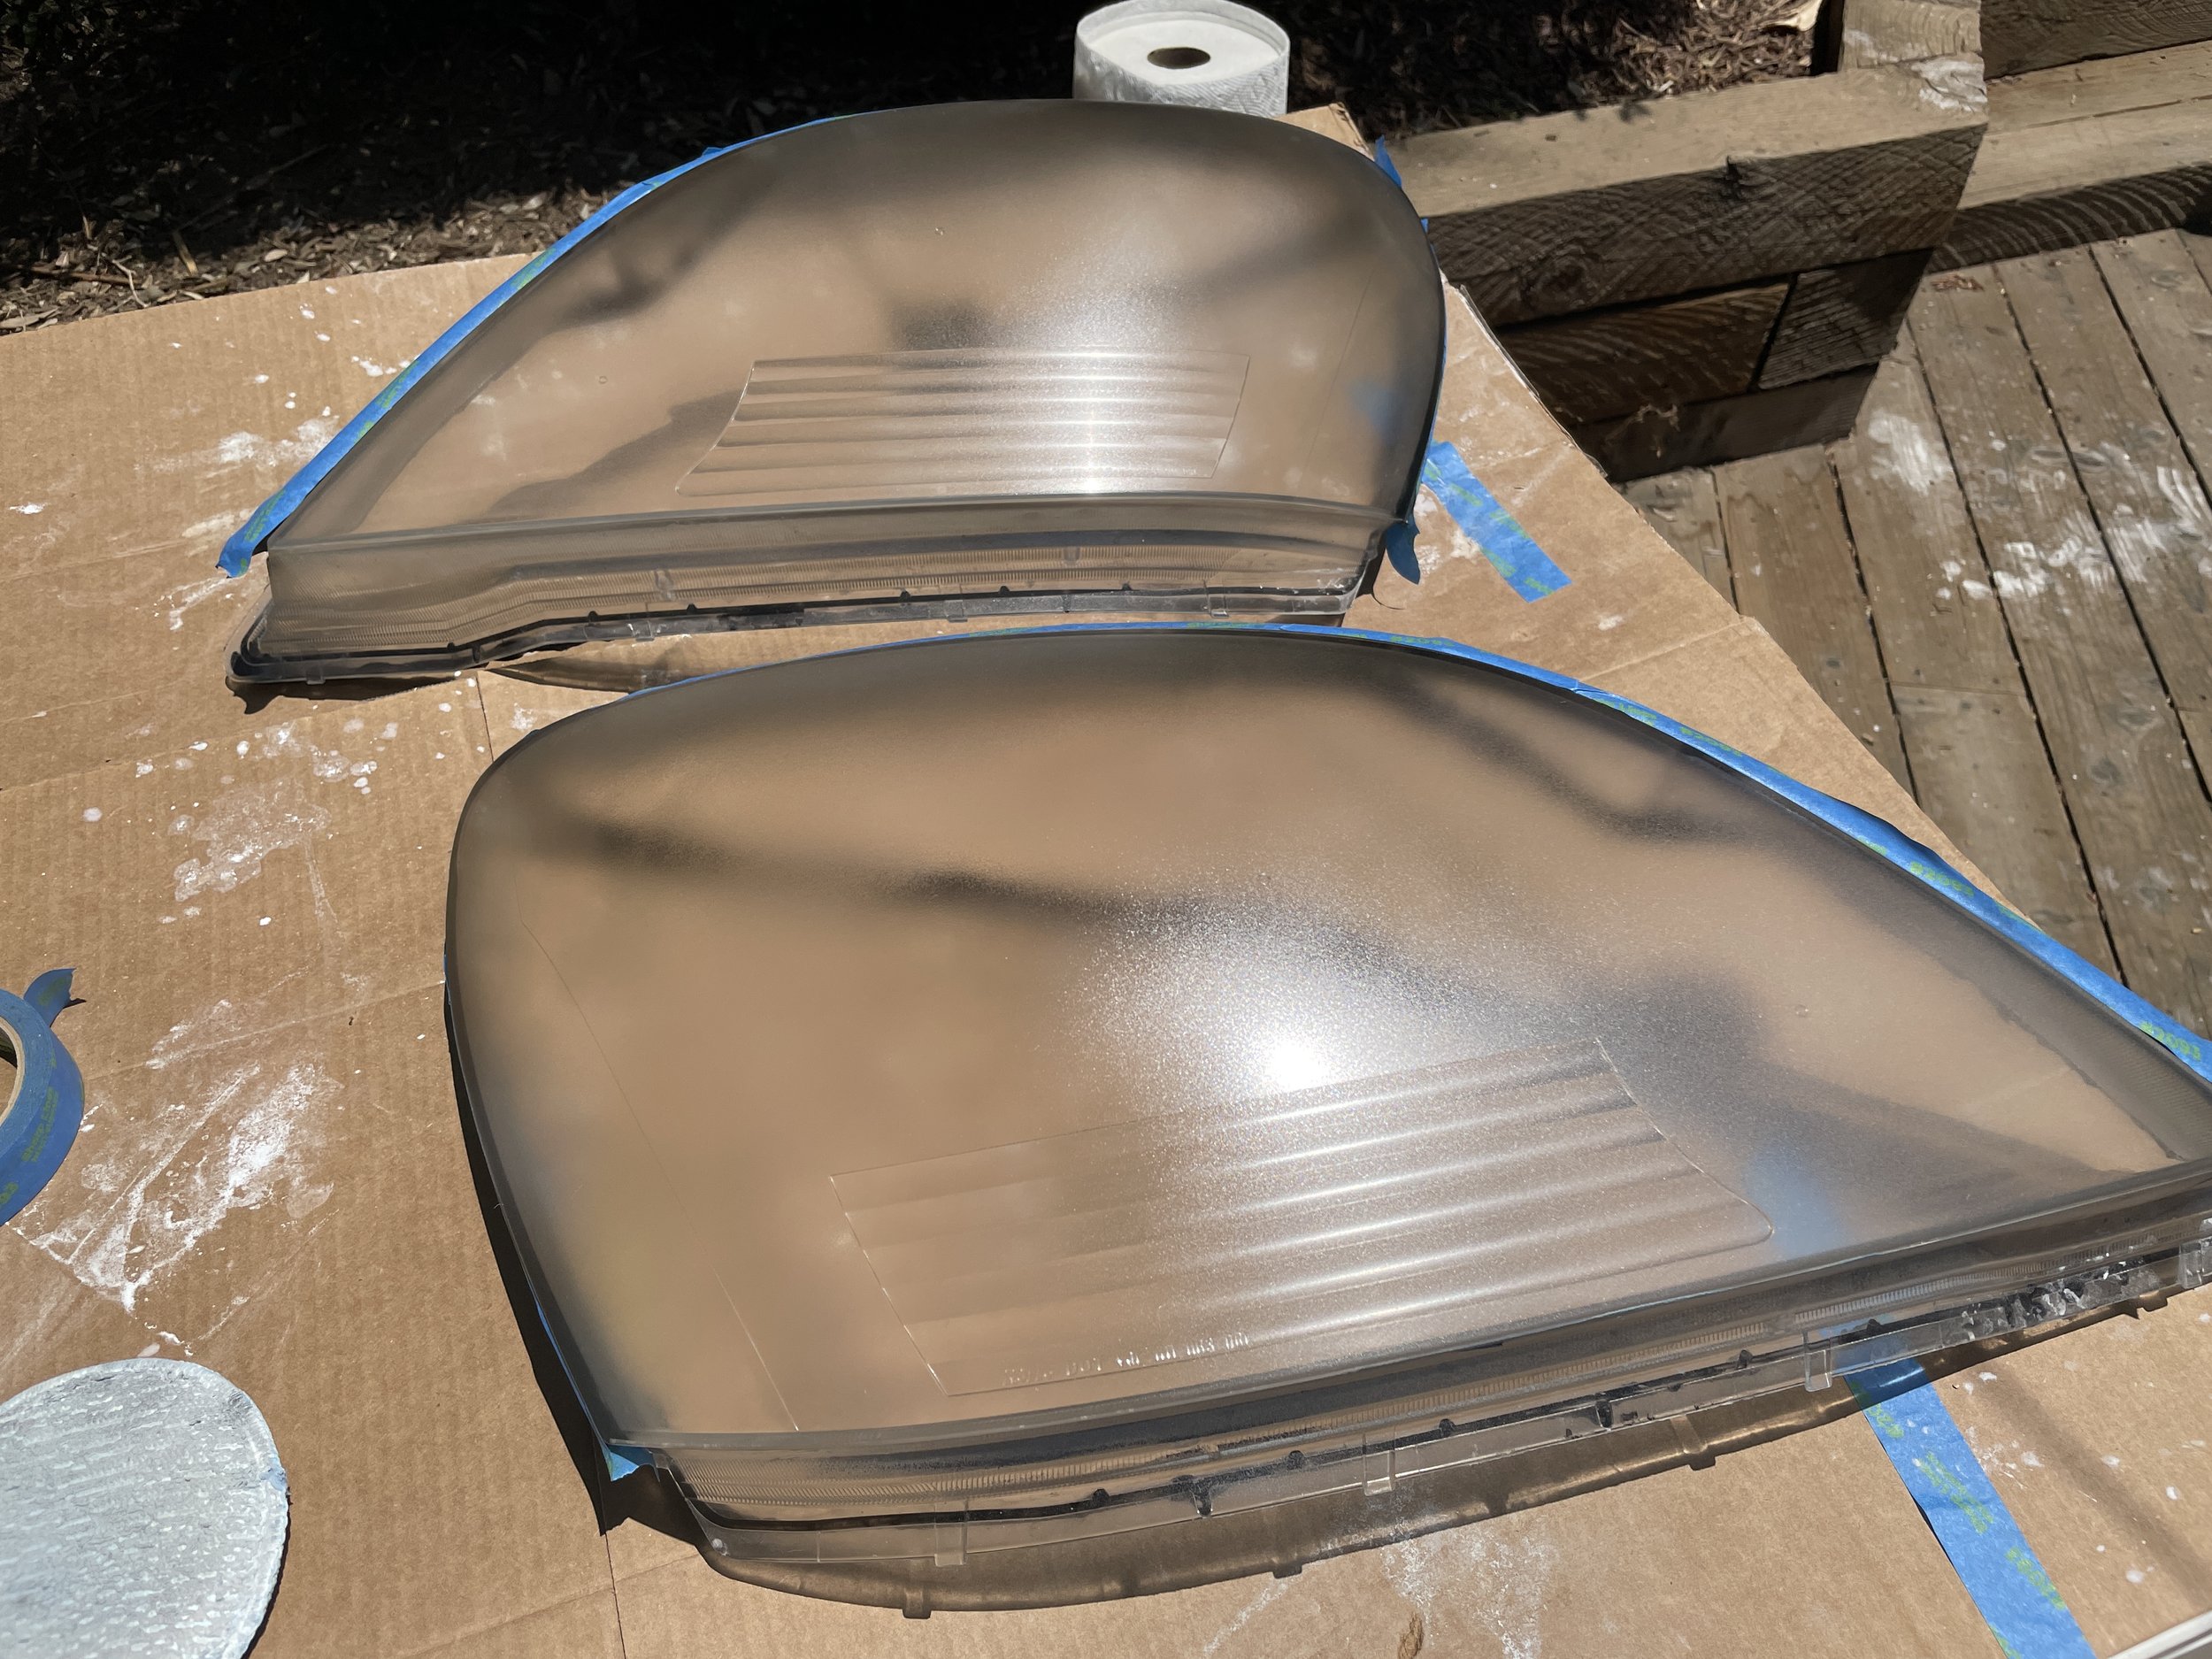
The video does mention that you may need to re-sand with a low grit to smooth out the “orange peel” in the clearcoat. We tried sanding with 1500 then a 3000 grit sandpaper followed by another polishing with the PlastX. Unfortunately it proved not to be enough forcing us to start over and re-sand from 400 up again. YMMV, but we’d lean against recommending the clear coat.
Fast forward another round of sanding and polishing, and here’s what our headlight lenses look like. They’re pretty impressive considering where they started, but still have a hint of cloudiness to them.
Step 4:
Now you’re ready for the last step in the Cerakote process, the ceramic coating. The box should include 2 wipes, which they recommend using for each of two headlights. Once again, we were able to stretch one wipe across both lenses with no ill effect. (Which means we’re left with enough Cerakote components to handle another set of headlights.
This is the first time we’ve used a ceramic coat on our headlights, and to say we’re impressed would be a gross understatement. Time will tell how they hold up, but the difference made by one swipe with the ceramic coating cloth is undeniably impressive. Here’s what ours looked like after…
Putting your Headlights Back Together…
You should be about ready to begin reconstructing your headlights.
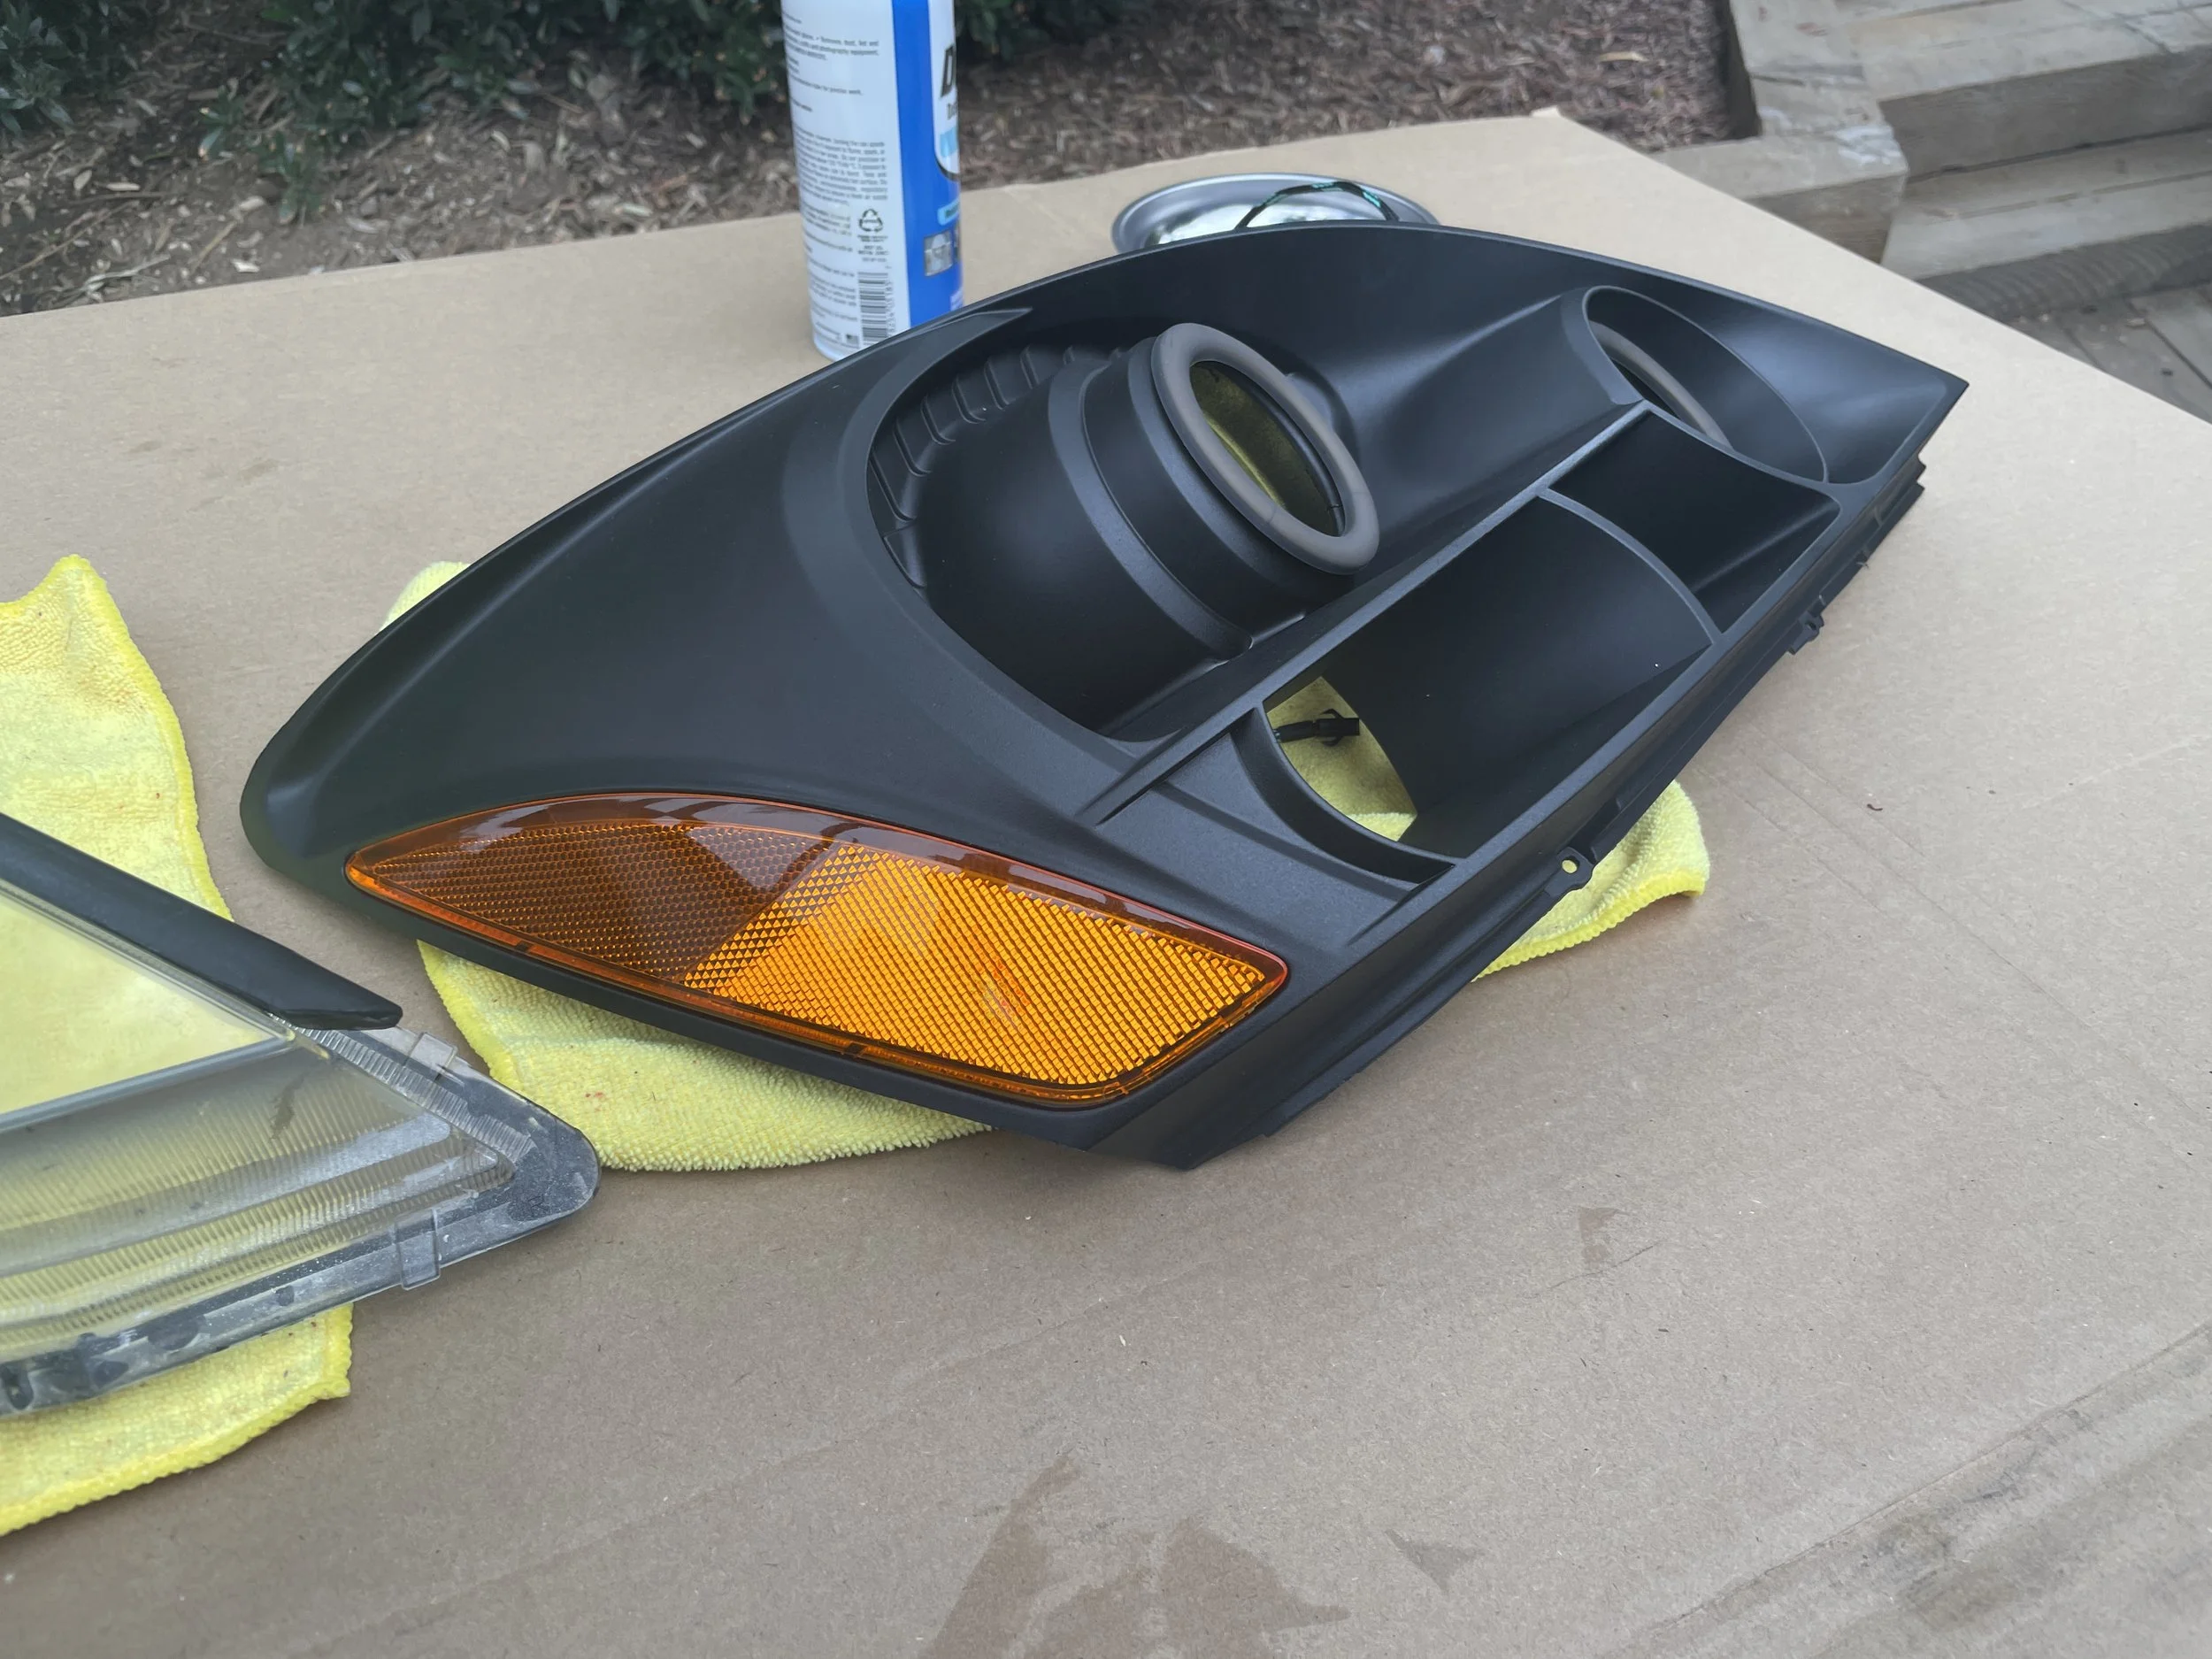
Step 1:
Reinstall the orange reflectors on the sides of your previously-chrome reflector housings. To do so, align the top and bottom tabs, then gently finesse the two side tabs into place. It should require very little force.


Step 2:
Once your reflectors are in place, use your can of compressed air to clean out the inside of the headlight lenses and the front of the reflector housings. You want to remove any dust and particulate that may be stuck there to ensure it isn’t sealed into your headlight.

Step 3:
Carefully insert the reflector housing back into the headlight lens. Ensure you line up the mounting tabs and the two screw holes at the bottom of the reflector. Once the pieces are aligned, replace the two screws at the bottom of the reflector to secure it to the lens.
Once installed, you can flip them over and begin to see what your finished headlights will look like.
Step 4 (if you didn’t install halos, skip to step 5):
Now that your lenses and reflectors are back together, it’s time to grab the rear housing. The first thing to do is drill a hole to pass the halo pigtails through. We opted for the groove just beside the projector where the sponge (which we removed) sits in the back of the headlight. Our pigtails have plugs on the end, so we went with a 3/8” hole. YMMV.

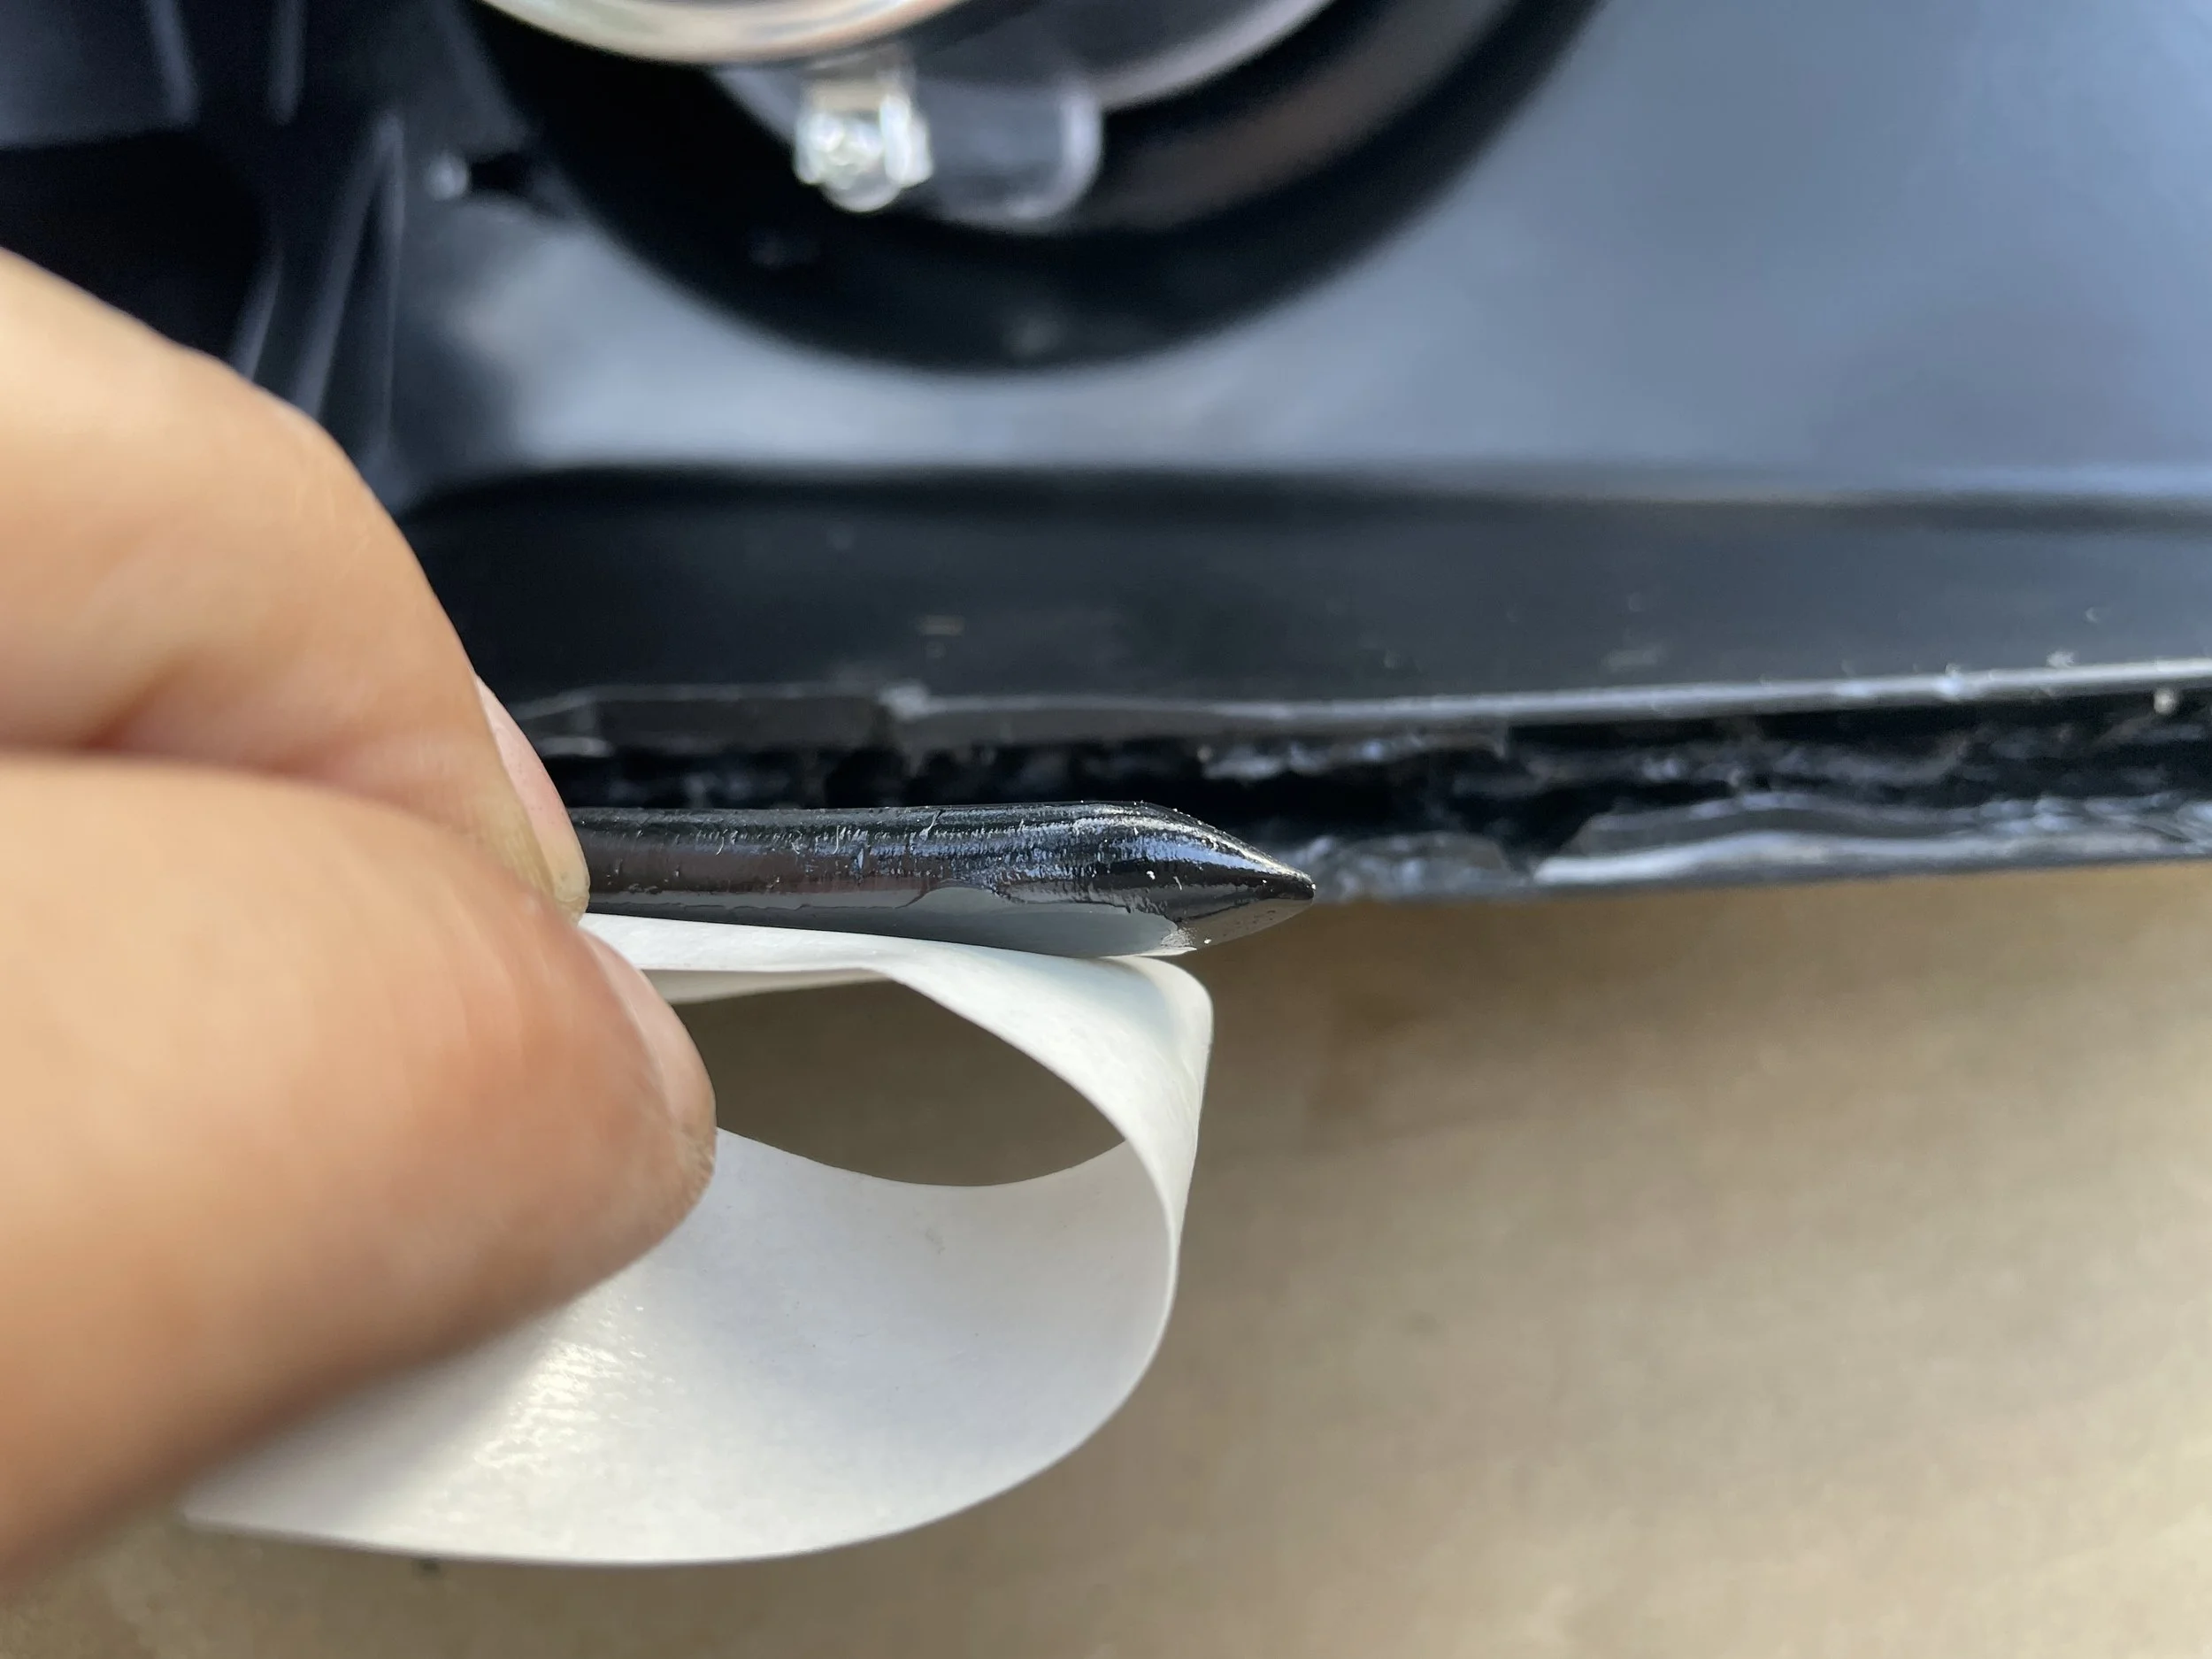
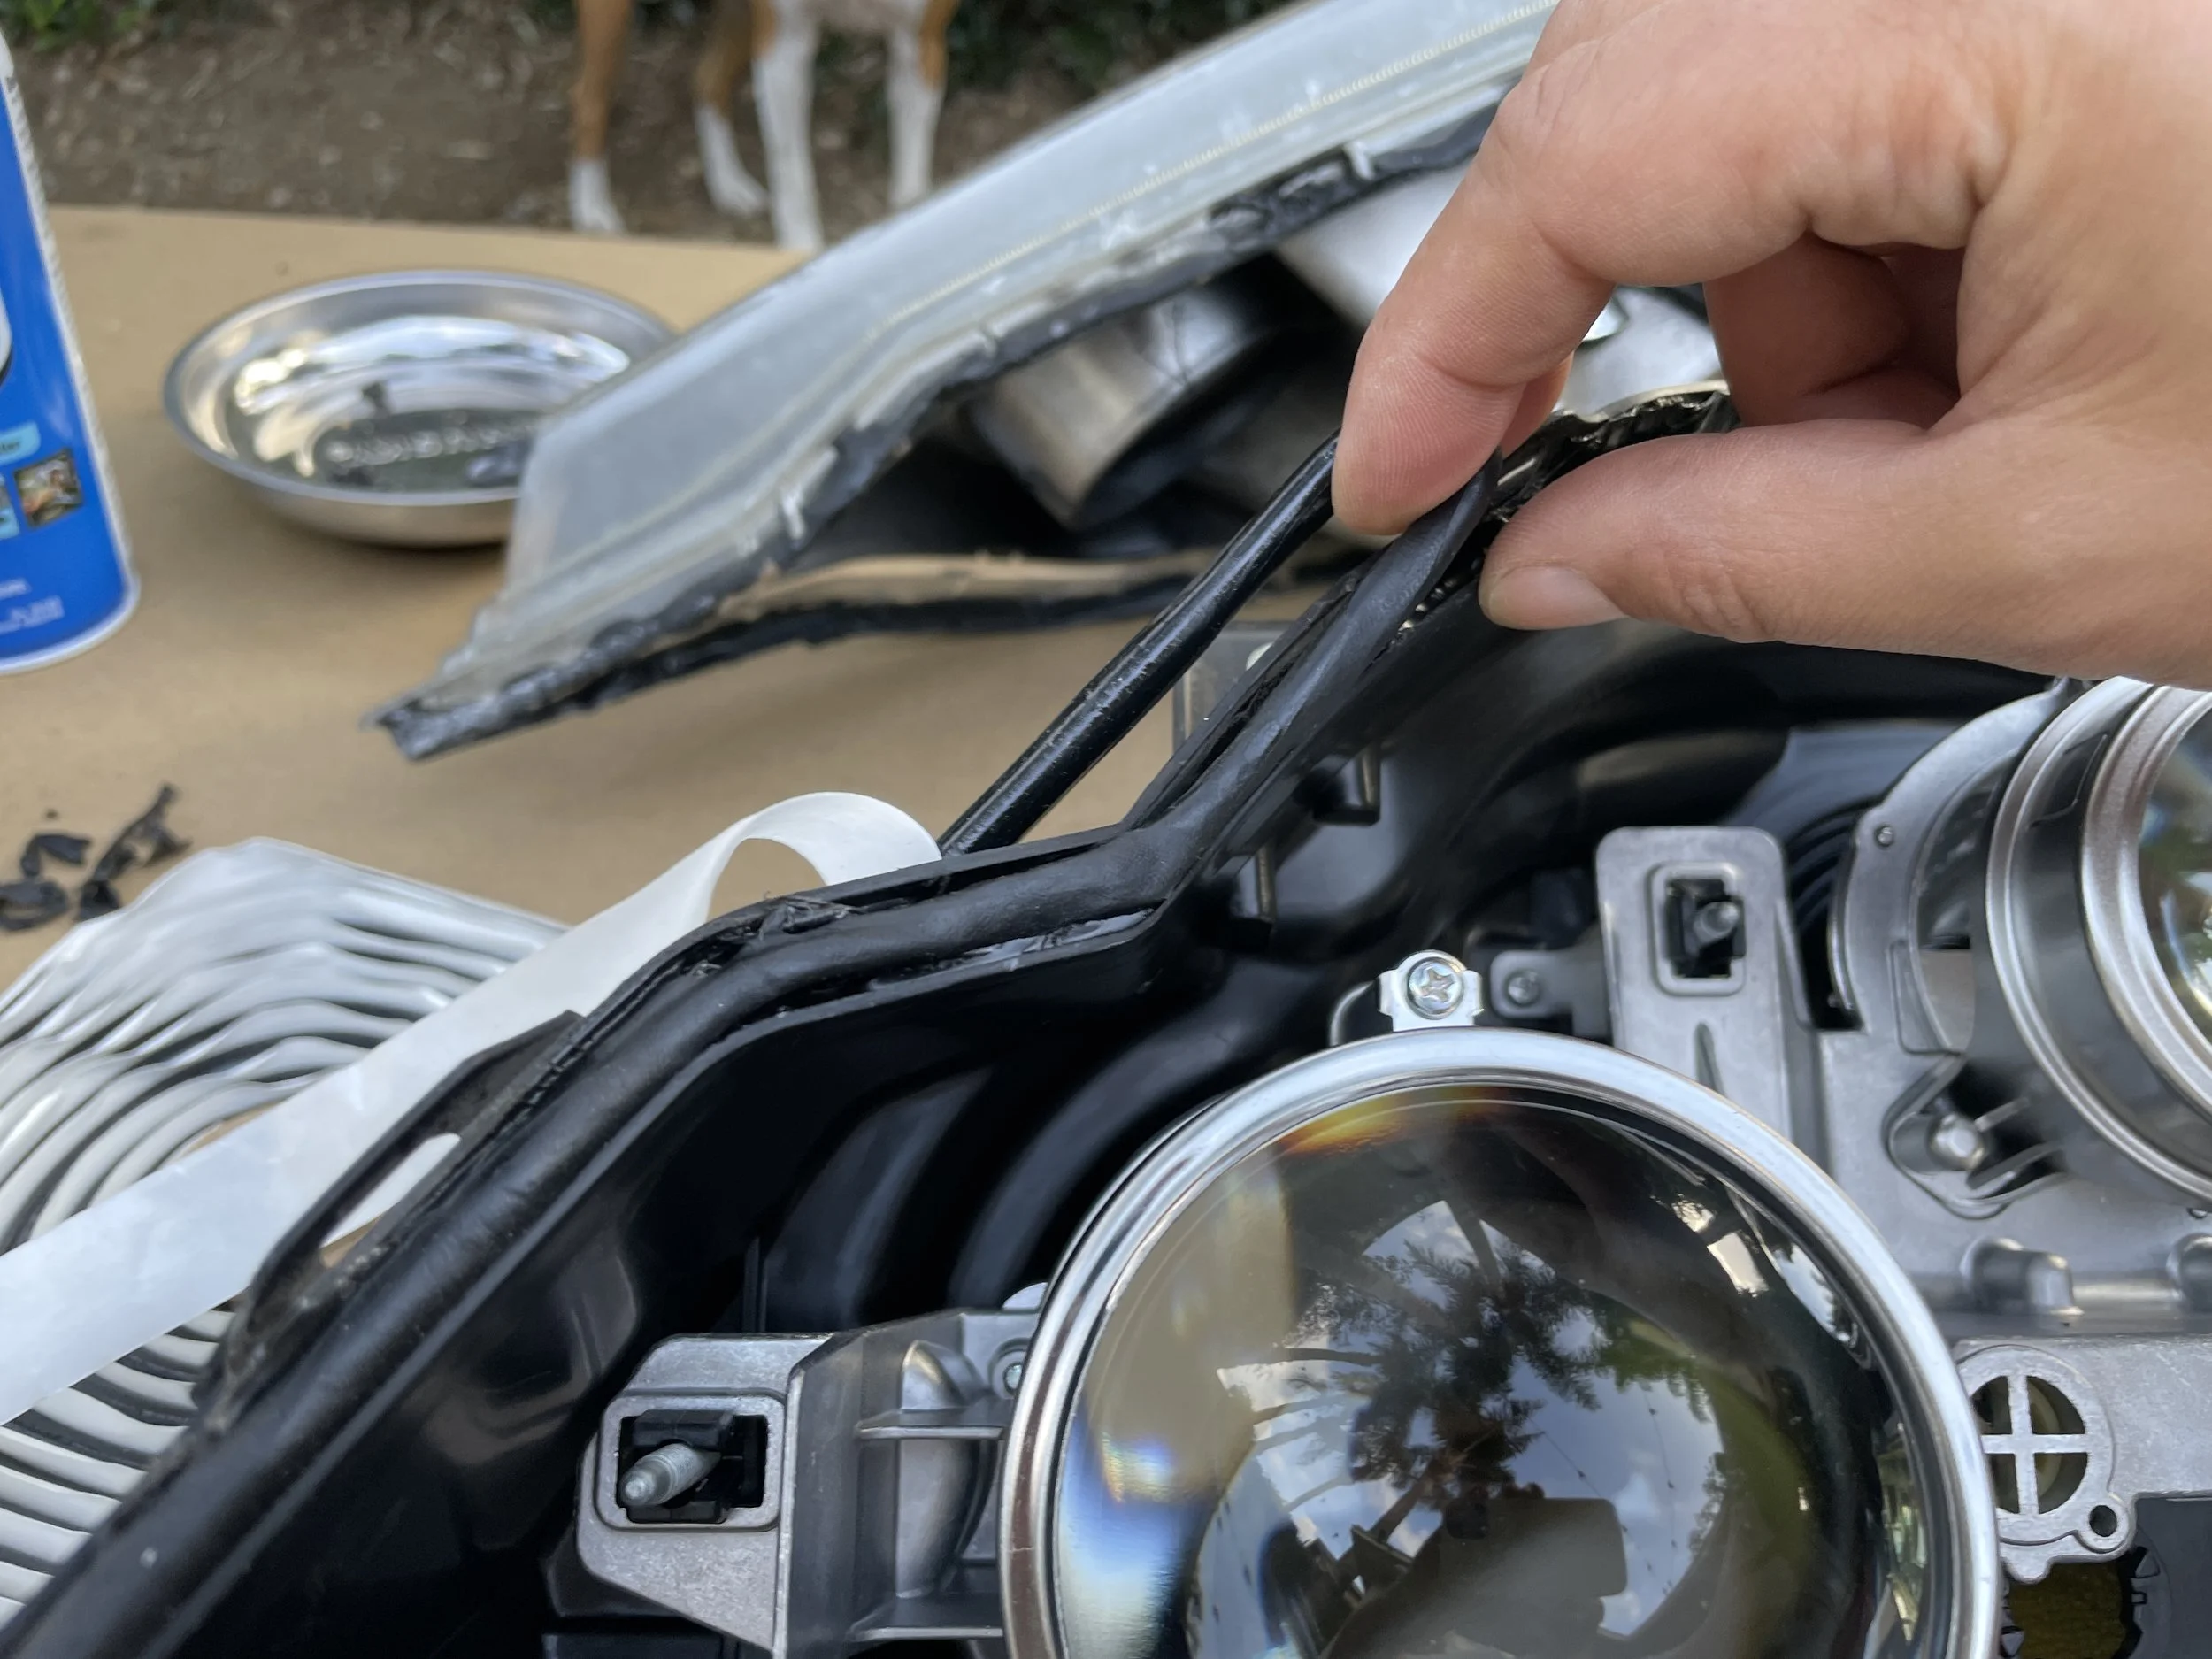
Step 5:
Next, get your butyl sealing tap. Push the butyl sealing tape into the groove on the headlight rear housing, working your way all the way around the perimeter. Pro-tip: stretch the butyl a little as you go to help it fit into the groove.
Step 6:
User your dust can to blow out the lens and housing one last time. Then feed your halo pigtails through the hole you drilled and align the lens to the housing. Press them together lightly, but don’t expect the seal to fix yet. You’re just looking to line up the two halves.
Next, pop the headlight in the oven again. We opted for 200° for 13 minutes. When the buzzer dings, pull the headlight out (wear gloves!) and carefully press the two sections together to seal the butyl sealing tape. Be sure to align the tabs on the two halves and clip them as you work your way around.
The last step is reinstalling the four screws around the back of the housing.
Repeat for the second headlight.

Congrats, you’ve reconstructed your headlights. You can sit back and admire your handy work for a moment, but we’re not quite done yet…
Wiring your Headlights…
DISCLAIMER: We are NOT electrically minded. We went into this process with a “figure it out” mentality.
Now that your headlights are rebuilt and looking oh so gorgeous, it’s time to wire them up. We had a lot of trouble finding clear-cut directions on this. The best guide we’ve found is this video (which happens to be for a Tacoma, but the gist is the same).
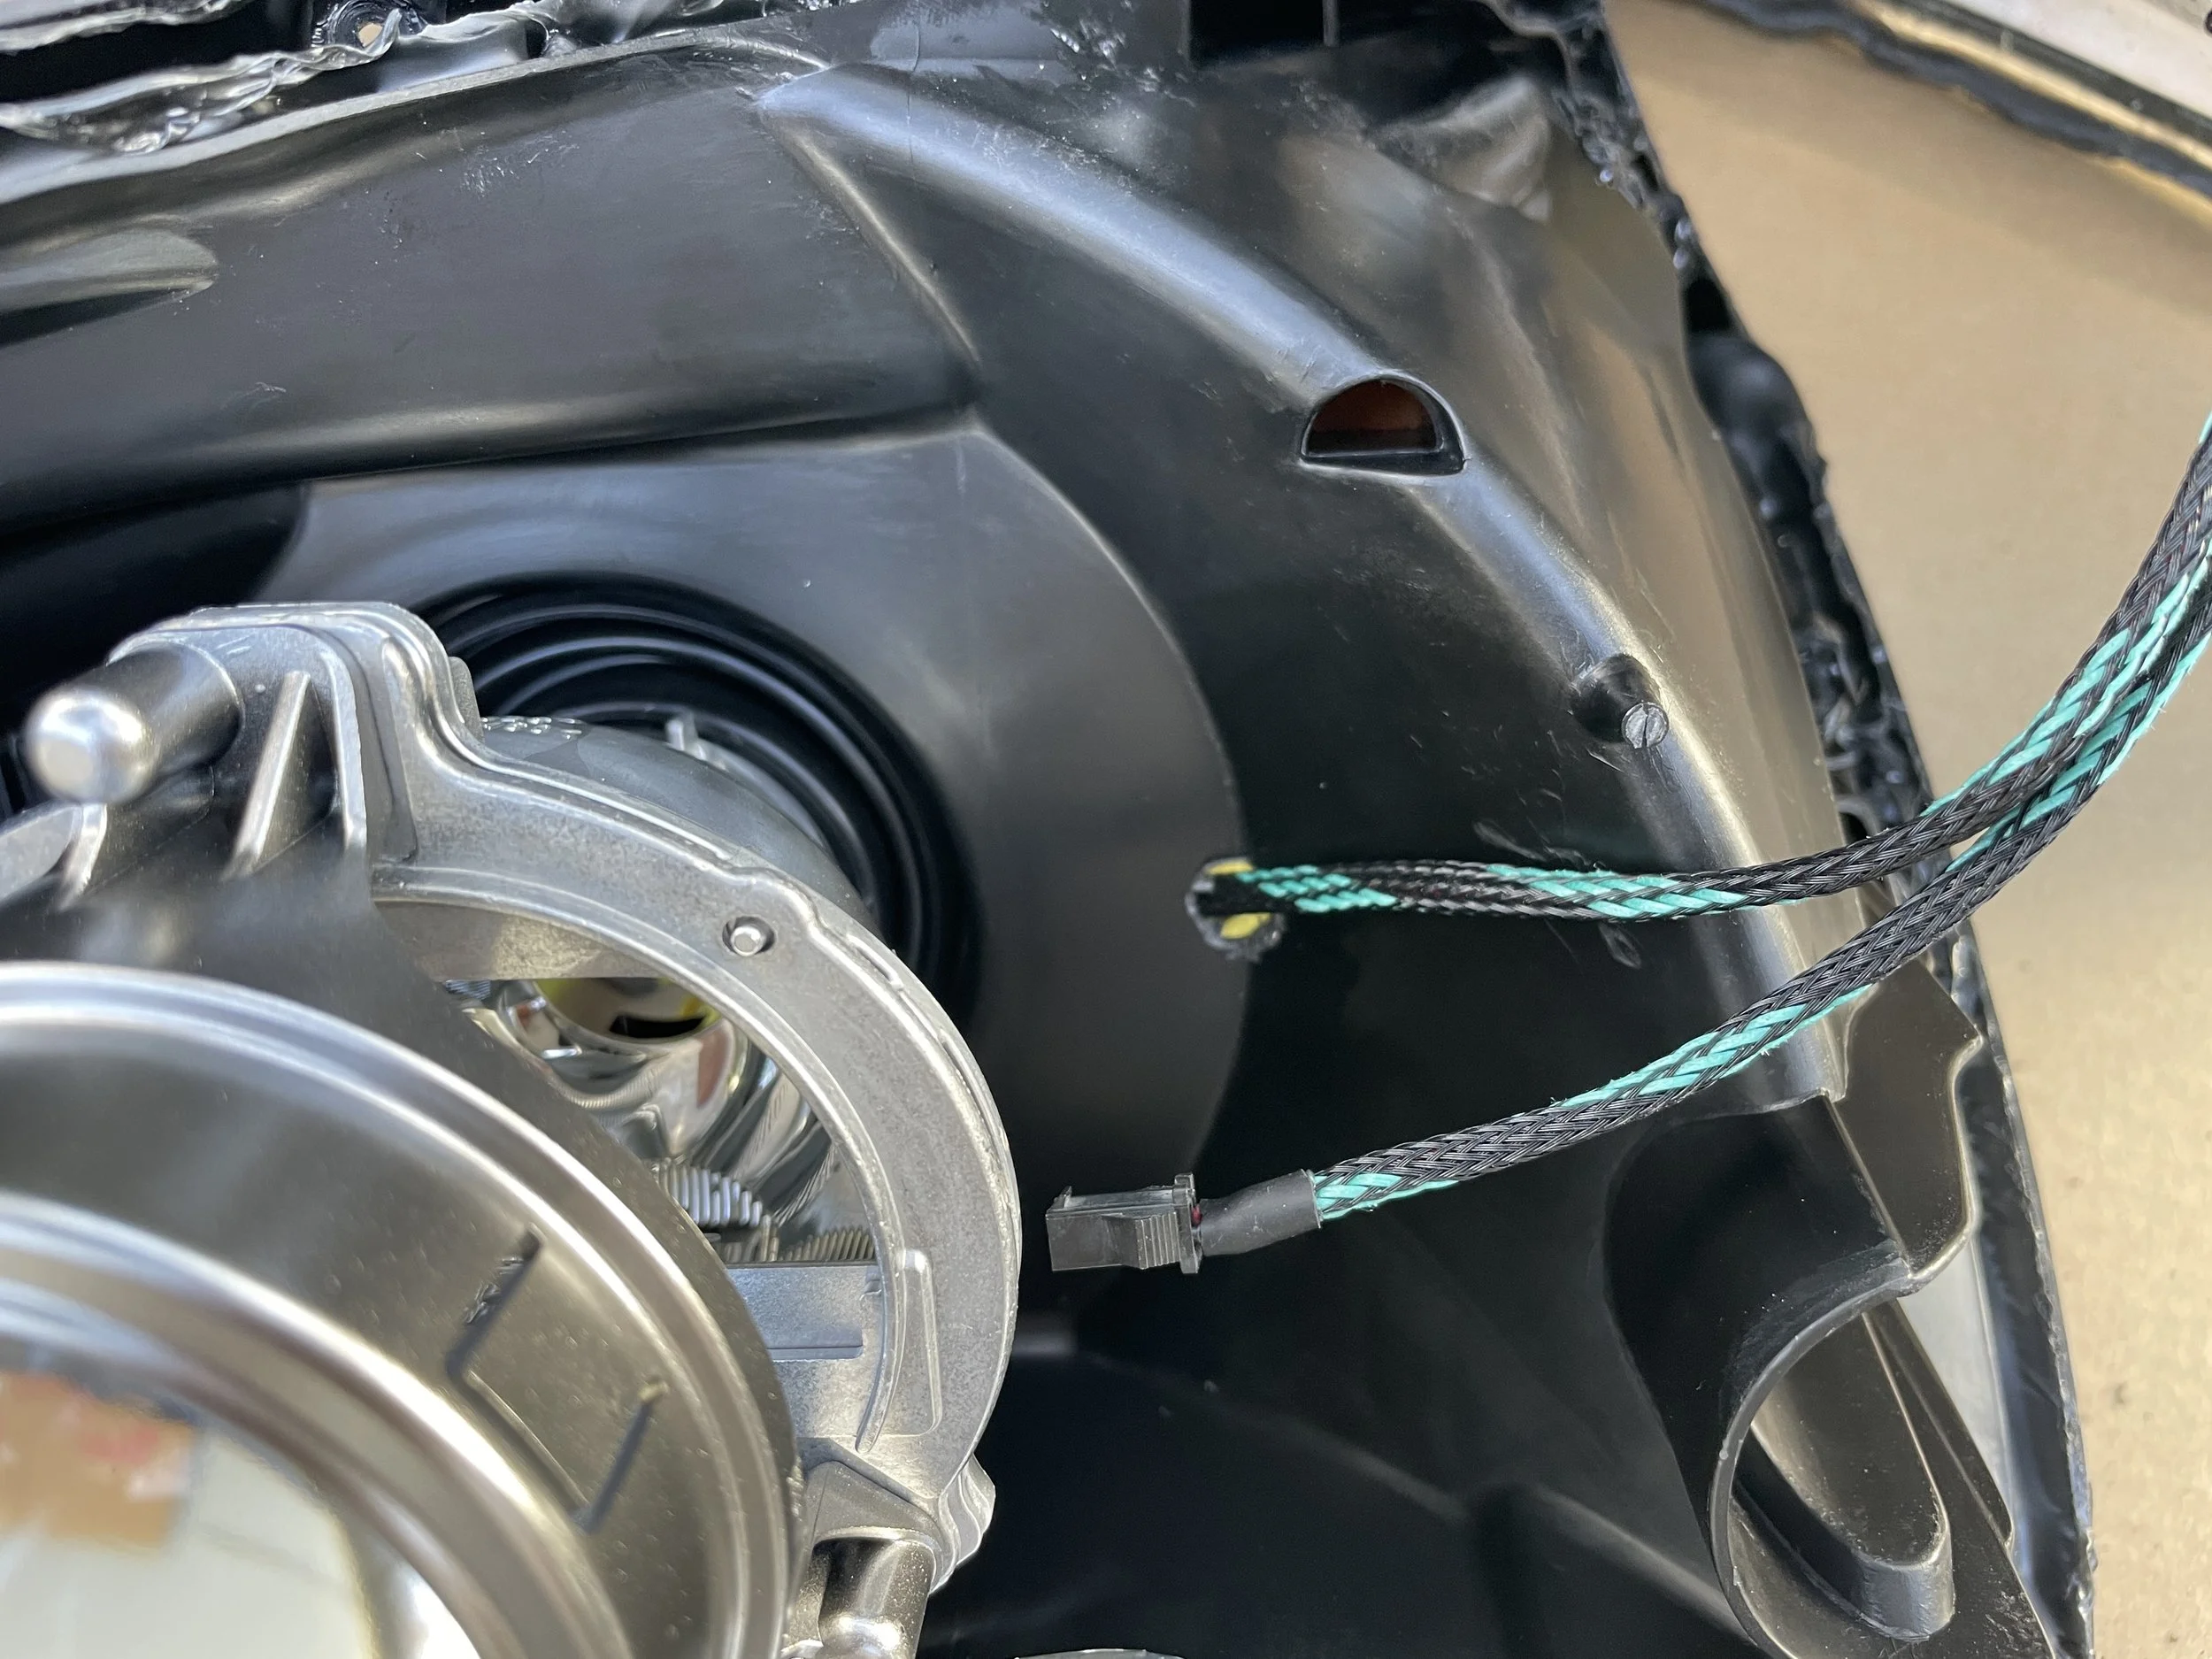
Step 1:
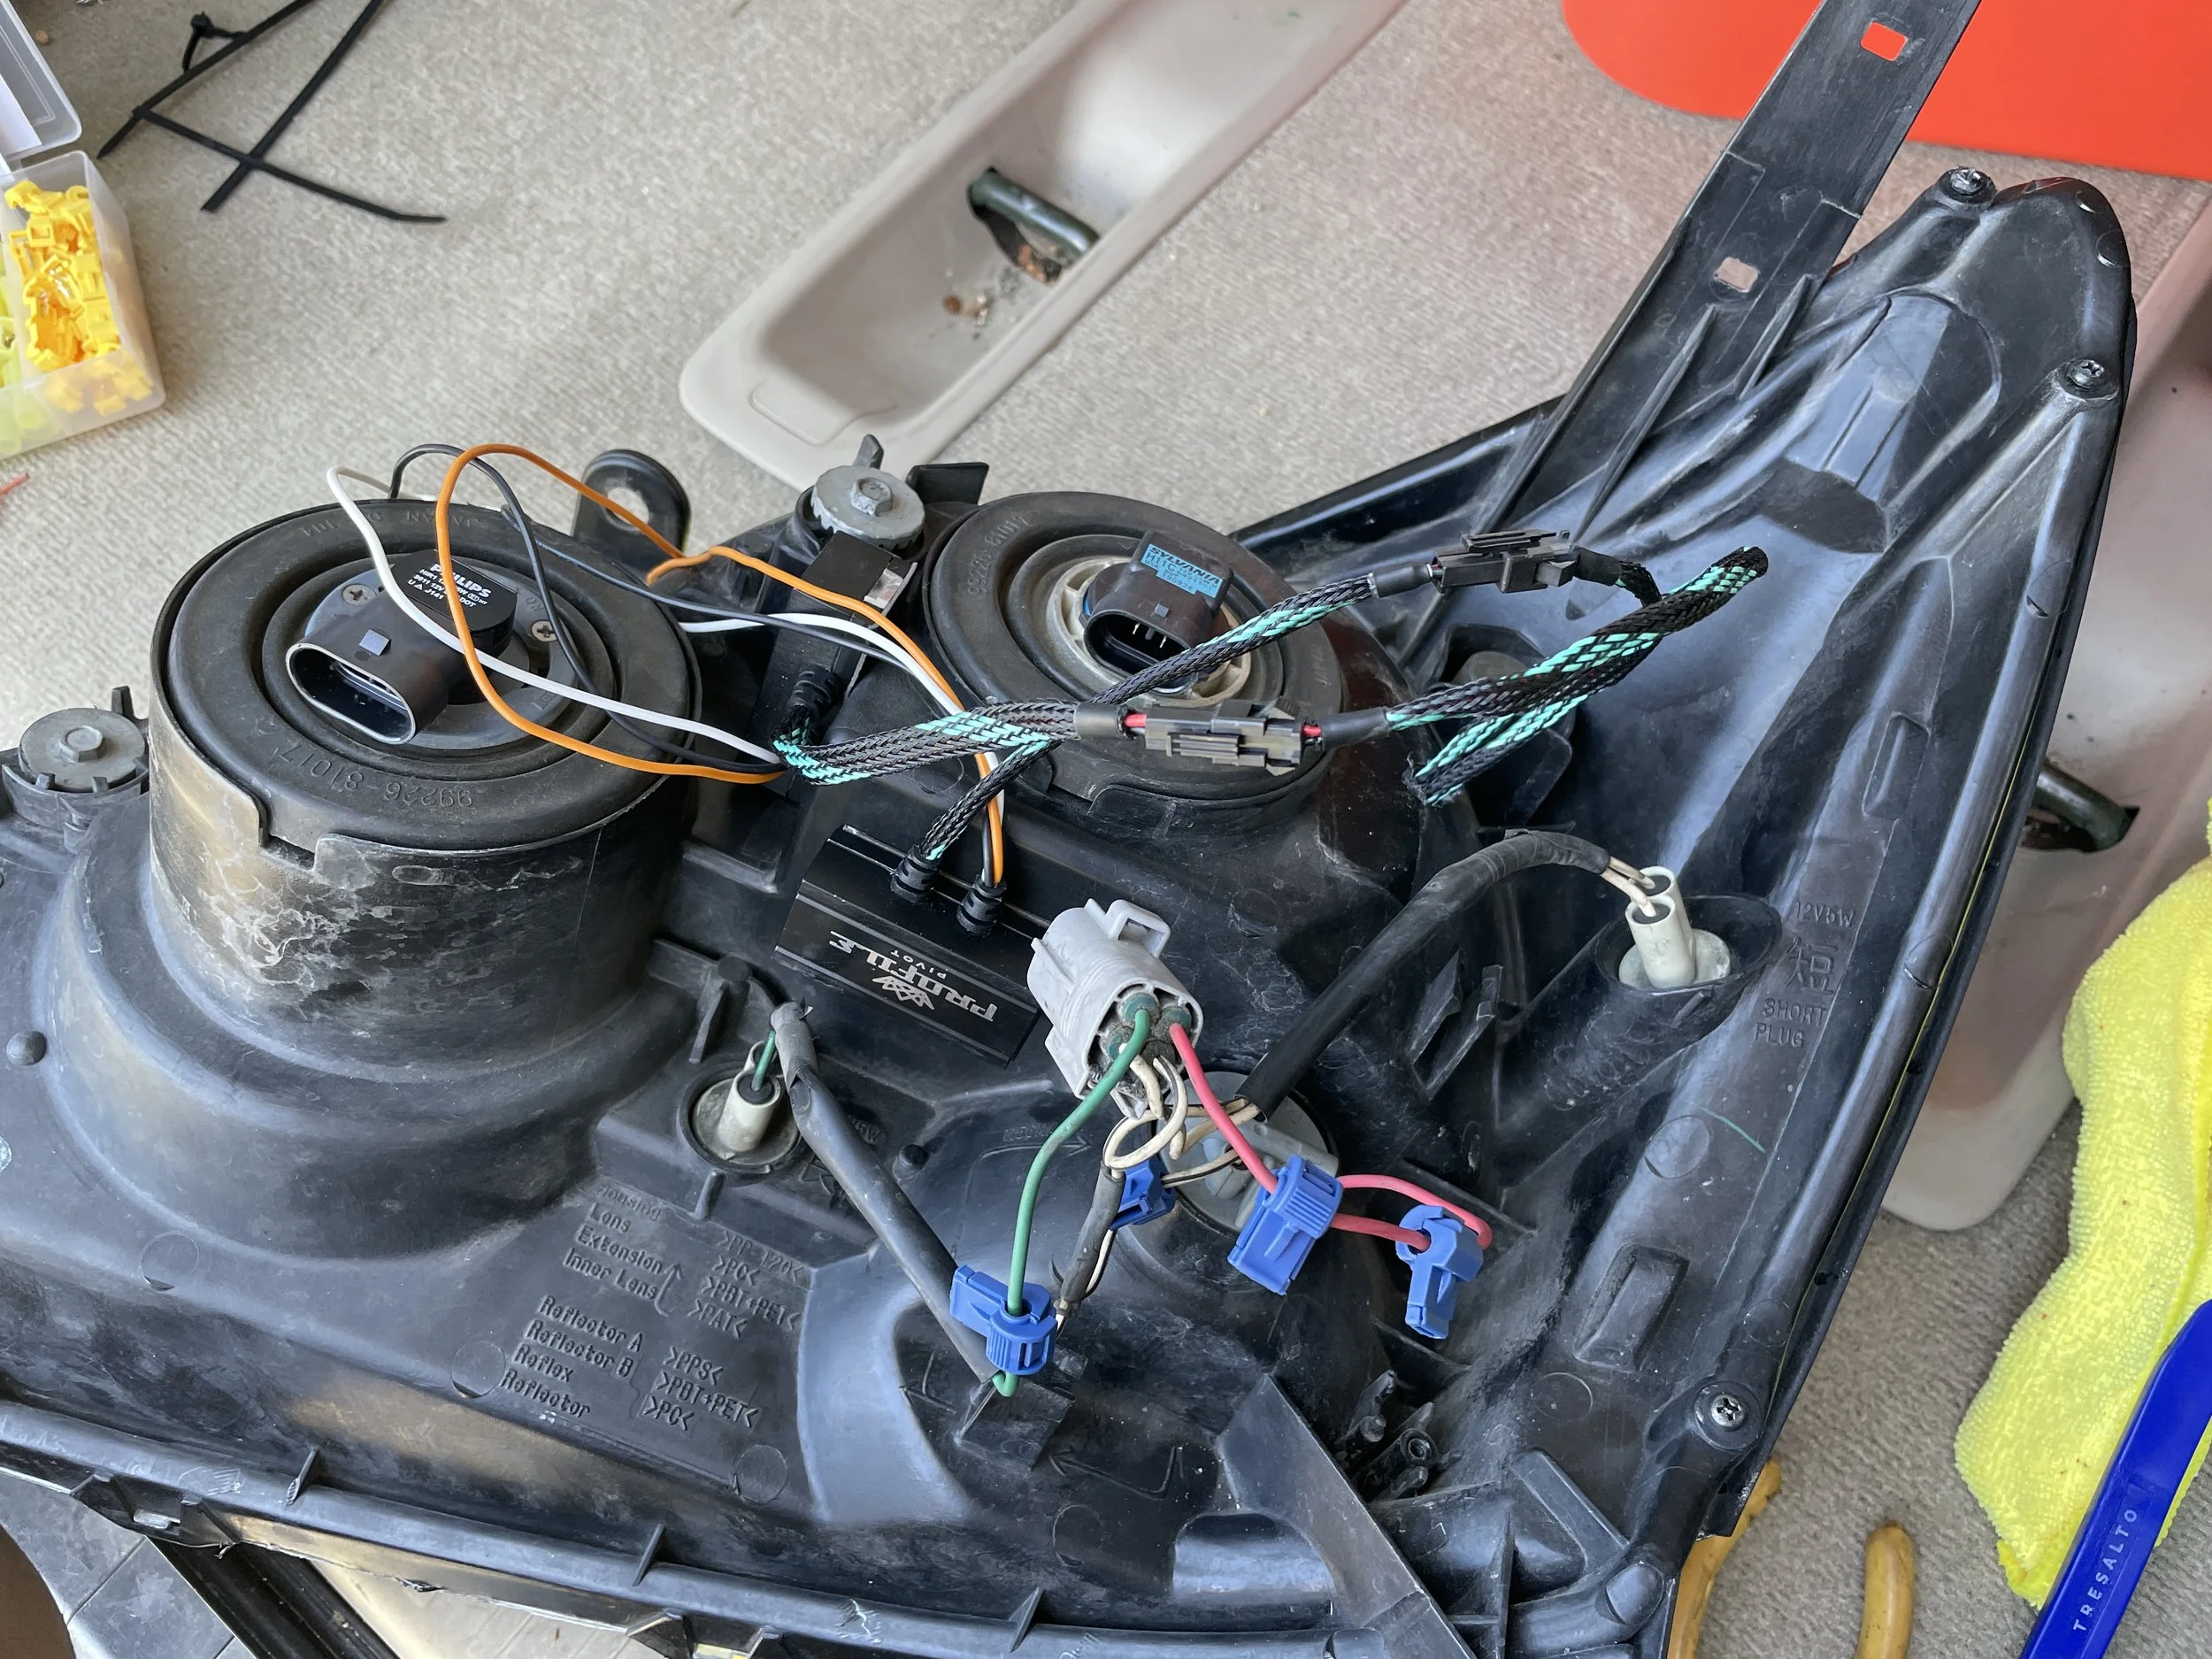
If you installed halos, they may have come with control boxes that you’ll need to mount on the back of your headlight. Ours had mounting tabs for screws, but we opted to grind them off in favor of double-sided tape so we’d have fewer holes in our housings. Here’s where we taped ours…

Once they’re in place, you can plug your pigtails into the control boxes leaving you with six wires to route:
-
2x black for ground
-
2x white for powering the white halos
-
2x orange for powering the amber halos
Step 2:
Next up is the fun part — removing your old headlights so you can cannibalize the wiring harness for your newly rebuilt headlights. We’re not going to outline the headlight removal process as there are numerous videos out there (like this one) that show you how to do that. If you’re using your existing headlights (instead of starting with a spare set like we did) then you’re ready to go. If not, pull your old headlights and move the wiring harness, parking lights, turn signals, and sidemarkers over to the new headlights.
Step 3:
Following the video above, we decided to wire our white halos into the parking lights and our ambers to the turn signals. You’ll need to install splice wire connectors onto the appropriate wires on your existing headlight harness. We opted to jump the ground and white power wires together into a single connection point. Our amber wires shipped with spade connectors already installed, so we left those as-is and used separate jumpers for each.
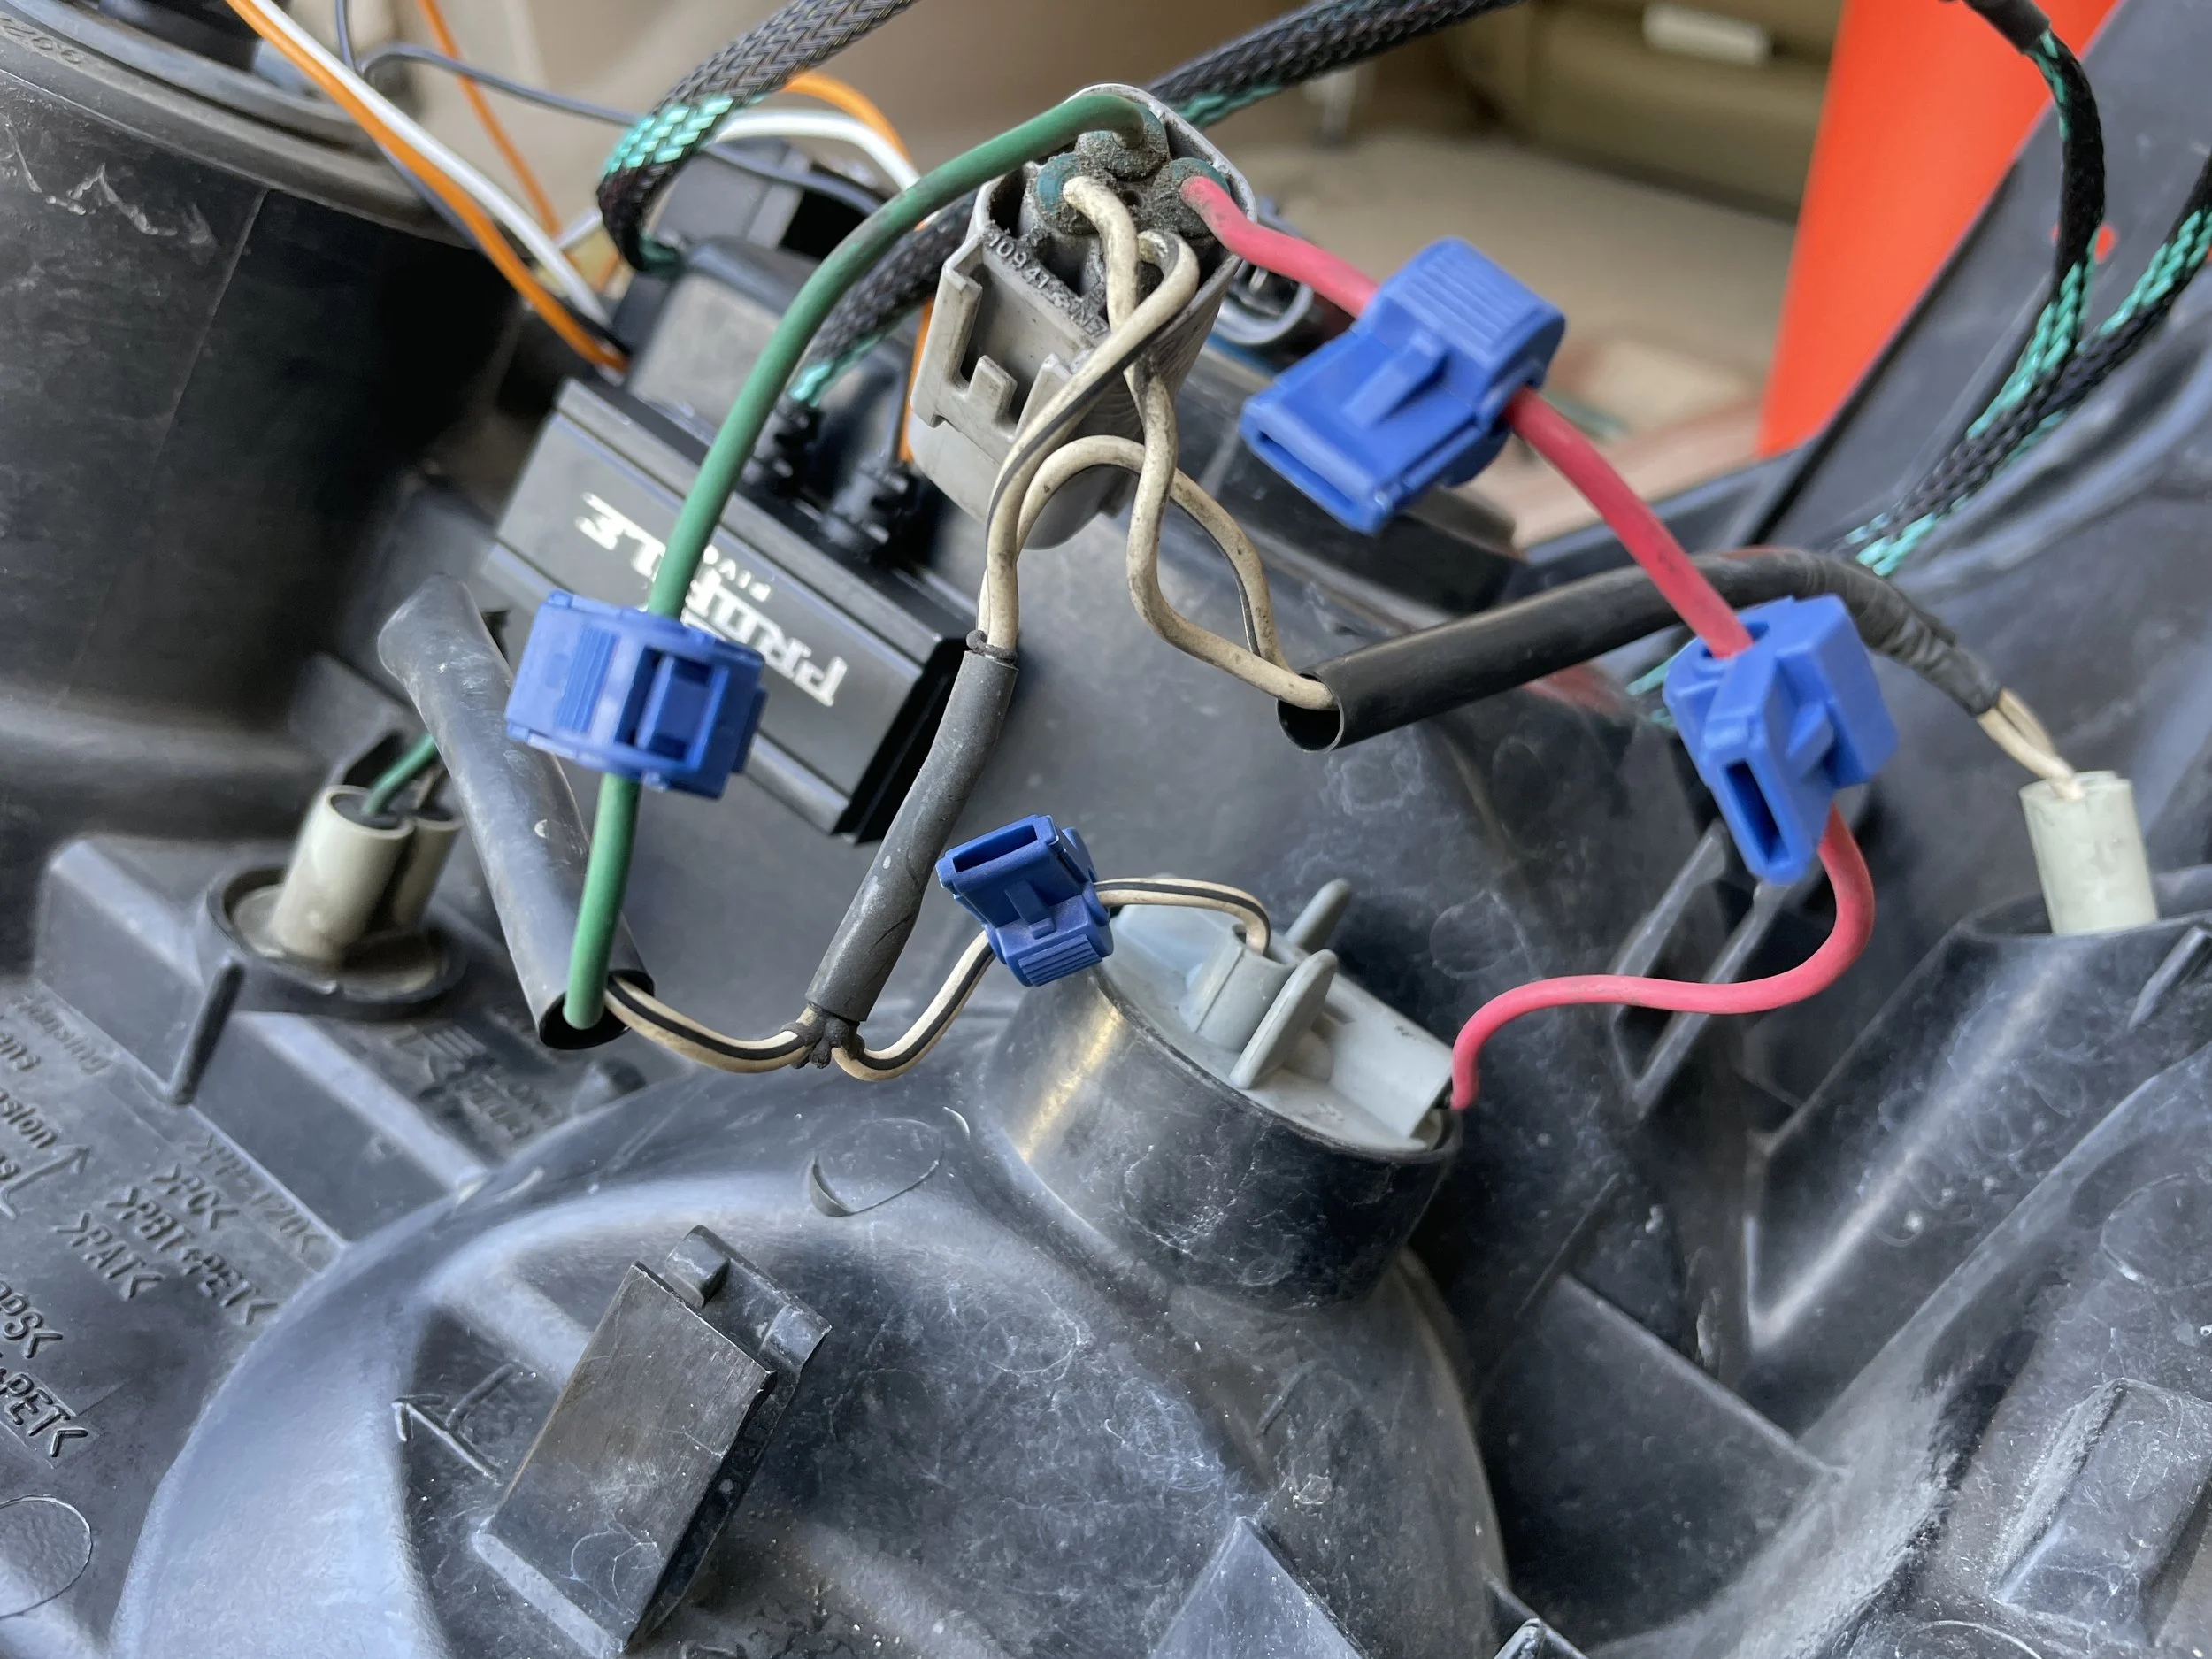
Your black halo wires are the ground wires. Strip back the ends, twist them together, and install a spade connector onto the pair. Next, locate a white wire with black stripe (there’s one coming from the turn signal and another from the parking light — either will work). Add a splice onto the ground cable of your choice — make sure that the connector makes contact with the wire and not just the plastic housing. Then connect the ground wire spade connector to your splice point.
Repeat the same process for the white halo power wires — we opted to connect these to the green power wire coming off the parking light. Last, splice the amber wires into the red power wire on your turn signal. When you’re done, your splice points and connected cables should look like this…

Repeat this for your second headlight and install your headlight bulbs.
Step 4:
Once you’re done, plug your headlights into the vehicle. Test that all of the headlight functions work before you begin putting the front end back together!
Step 5:
Bolt the headlights, brackets, and front bumper back in place. Step back and admire your handy work.